Wednesday, September 4, 2013

Make Your Royal Icing Shine: comparing drying techniques

A question that comes up again and again about cookie decorating is,
"How can I get royal icing to dry shiny?"

When royal icing is wet, it's super shiny, glossy, and vibrant.  So, when it dries to an almost matte finish, it can be disappointing.
how to make royal icing on cookies SHINE...comparing 3 drying techniques :: bake at 350 blog
I've air-dried my royal icing-decorated cookies for years (and years and years).  Usually they dried with just a bit of sheen, not totally matte.  If you were comparing them to paint finishes...somewhere between and flat and an eggshell.

Lately though, I've been trying a couple of new drying techniques.  One is placing an oscillating fan near the table where the cookies are drying (thank you, Sweet Sugarbelle).  The other is using a food dehydrator on the lowest setting (thank you, LilaLoa).

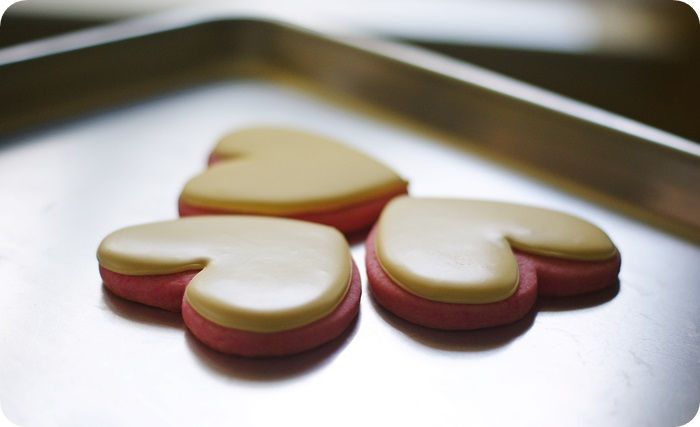
The difference was difficult to capture on camera until I glanced at the cookies backlit from the window.
Can you see the difference?
how to make royal icing on cookies SHINE...comparing 3 drying techniques :: bake at 350 blog
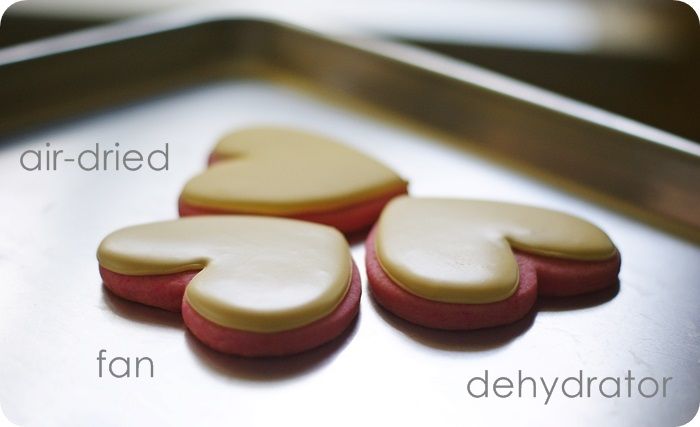
The cookies that were air-dried (no fan, no ceiling fan, but yes air-conditioner) dried almost totally matte.  The cookies dried with the oscillating fan and dehydrator dried with a definite sheen.

Again, if we were using the paint finish comparison, I'd say the fan and dehydrator cookies were somewhere between a satin and semi-gloss finish.  Still not the glossy look, but definitely shinier.

how to make royal icing on cookies SHINE...comparing 3 drying techniques :: bake at 350 blog
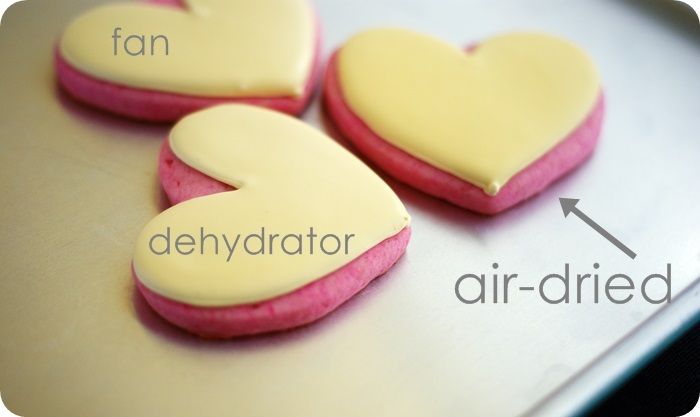
Also, can you see that the air-dried icing dried darker than the other cookies? 
how to make royal icing on cookies SHINE...comparing 3 drying techniques :: bake at 350 blog

I think the fan and dehydrator cookies dried with the icing a bit "poofier," too. (But, I may be making that up.)
how to make royal icing on cookies SHINE...comparing 3 drying techniques :: bake at 350 blog

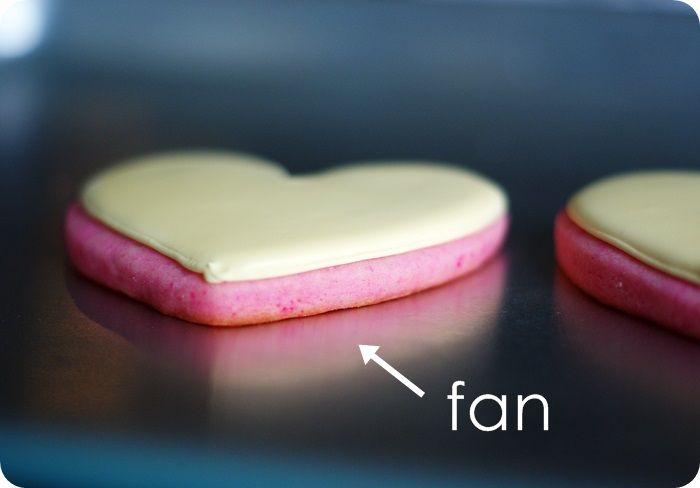
The cookies dried with the fan and dehydrator don't differ much in the finish.  As a matter of fact, I was having to really concentrate when taking the pictures to remember which was which.  A couple of bonuses to the dehydrator...1. the cookies dry faster. 2. I feel more confident filling in a dark outline with light flood icing after an hour or so in the dehydrator.

The cons to the dehydrator? Moving the cookies with wet icing onto the trays...and then off again if you are doing more decorating. I have smudged a few outlines transferring, and there's always that fear that you'll drop one. *knocks wood*
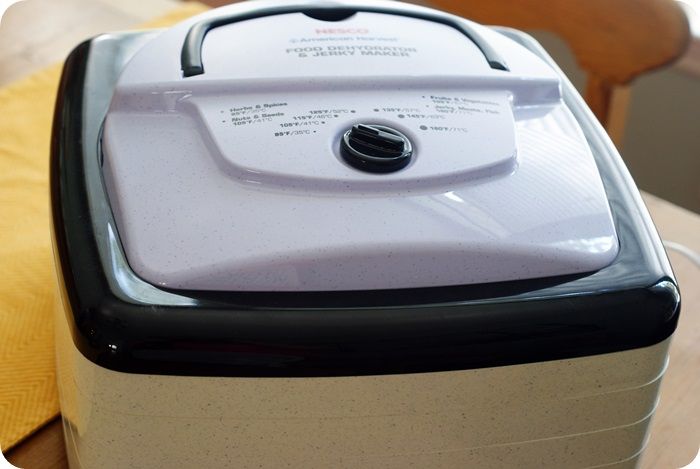
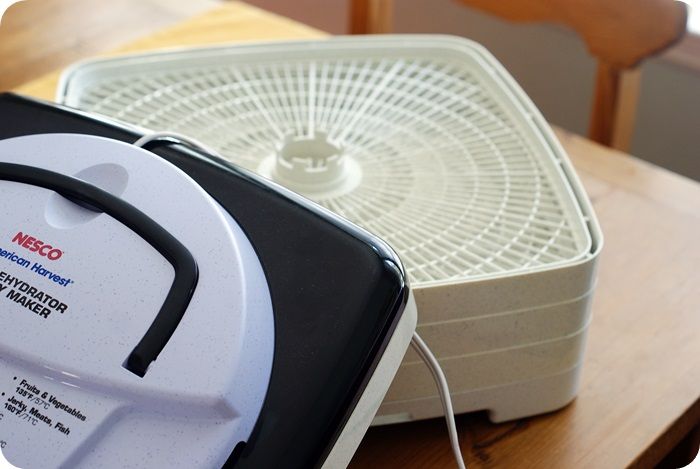
dehydrator photo dehydrator.jpg
This is the dehydrator I bought.  I thought the rectangular trays would hold more cookies than circular ones.  I have no idea if that's true.  I haven't loaded it completely, but I think it would hold 7 dozen or more 3"-4" cookies.
dehydrator open photo dehydratorinside.jpg
Be sure to look for one that has variable temperature settings and use the lowest setting.  You don't want to re-bake your cookies.  (Hey, biscotti?  Hmm...)  Oh, and don't worry about the cookies drying out...they don't. Yay!

I use a little clip-on fan like this one. I love that it's small and I can toss it in a closet when I'm not drying cookies. I may even buy a few more for larger cookies quantities.

Tips for drying all cookies:
  • place the iced cookies on cookie sheet and leave uncovered to dry,
  • if it's warm outside, run the A/C,
  • do not open the windows if at all humid, or if you've just run the sprinklers (just ask Mr. E),
Air-drying:
  • give the cookies a full 6-8 hours or overnight to dry,
    Oscillating fan:
    • rotate the cookie sheets during drying (or have several fans for large projects),
    • still allow 6-8 for drying, using the fan for at least the first 2 hours,
     Dehydrator:
    • place the temperature on the lowest setting,
    • use caution when moving cookies from the cookie sheets to the dehydrator (this is the part I like the least about moving them),
    • to lock in the shine, run the dehydrator for about 4 hours or so, then let them dry the remainder of the way without the machine running,
    • the cookies will dry sooner, but to be on the safe side, I still allow a full 6-8 hours to dry completely.
    how to make royal icing on cookies SHINE...comparing 3 drying techniques :: bake at 350 blog
    Bottom line: 
    If you want your royal icing to dry with more shine, use a fan or a dehydrator!  Shiny or not, though, decorated cookies are always cute.  ♥


    ShopBiscoff.com!

    Labels:

    Monday, June 10, 2013

    Brusha, brusha, brusha: Brush Embroidery Cookie Tutorial

    First, for all of you who thought immediately of Jan in Grease when you read that post title, I love you.
    Here's a clip.
    brush embroidery cookie tutorial ::: bake at 350 blog
    {Brush embroidery cookies look so romantic, almost like they belong in Victoria Magazine.}

    Over the last couple of weeks, my dining room and kitchen tables have been covered in cookies.  Pint glasses filled with piping bags have collected on the kitchen counter.  We were eating a lot of take-out...and ice cream. (That has absolutely nothing to do with cookie decorating, but it happened.)

    This is how things typically run at the end of a school year.  I even tried the ol', "I bet your teachers would like gift cards instead of cookies this year."  Kiddo was having none of it.
    brush embroidery cookie tutorial ::: bake at 350 blog
    So, in my mad rush to make and package cookies, I neglected to photograph any tutorials.  I popped a quick picture onto Instagram and, well, the masses spoke.  OK...3 people spoke, but I decided to take some quick how-to pics.

    Here's what you need to know about brush embroidery: IT'S SUPER DUPER EASY!!!  I think the first time I ever saw it was a Ali Bee's beautiful blog.  I used a method almost exactly like hers except, I used a damp brush.

    brush embroidery cookie tutorial ::: bake at 350 blog
    To make brush embroidery cookies, you'll need:
    • sugar cookies that have been outlined and filled with royal icing, and have dried overnight (I used a mix of AmeriColor Dusty Rose + Lemon Yellow for the base color.)
    • royal icing for the embroidery, I used AmeriColor Ivory (piping consistency) 
    • disposable icing bag
    • coupler and tip (#2)
    • clean, flat paintbrush
    • cup of water
    • paper towels
    {Please note that I had already decorated all of the cookies BEFORE taking pictures for this tutorial. I scraped all of the brush embroidery off of one cookie to show you. Hence, the weird finish on the base.}
    brush embroidery cookie tutorial ::: bake at 350 blog
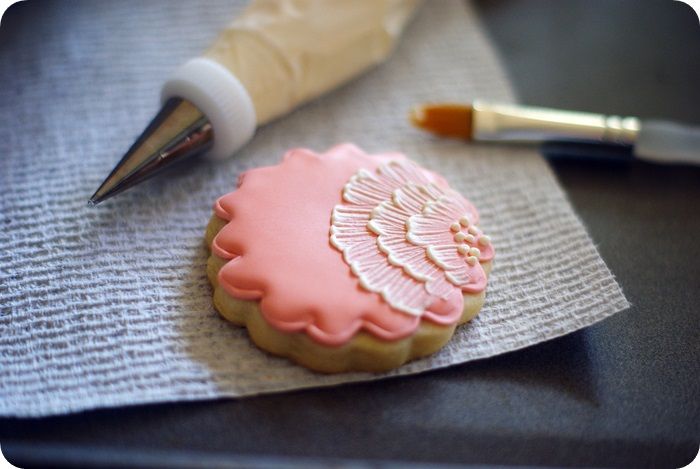
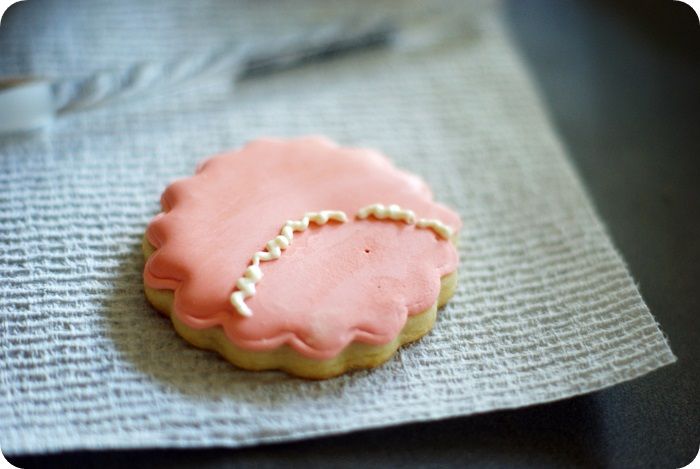
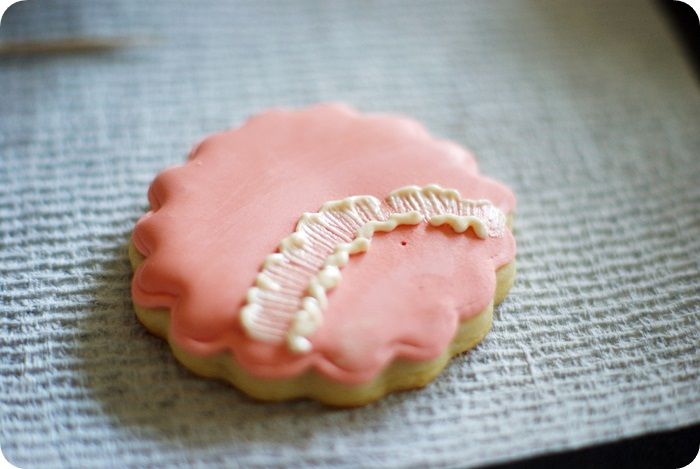
    Use a #2 tip to pipe squiggly lines as an outer layer of petals.

    brush embroidery cookie tutorial ::: bake at 350 blog
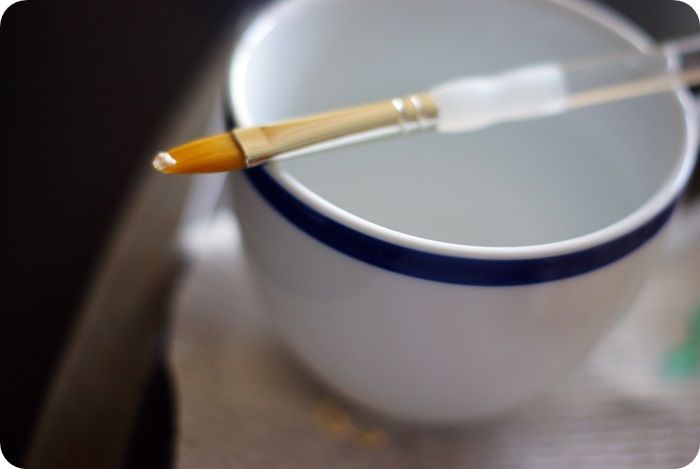
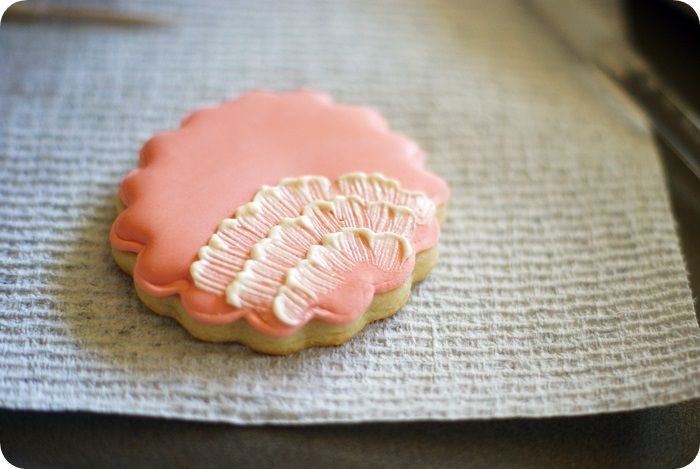
    Dampen the brush with water, then blot very well on a paper towel.  Place the brush right into the icing and pull towards the center.

    brush embroidery cookie tutorial ::: bake at 350 blog
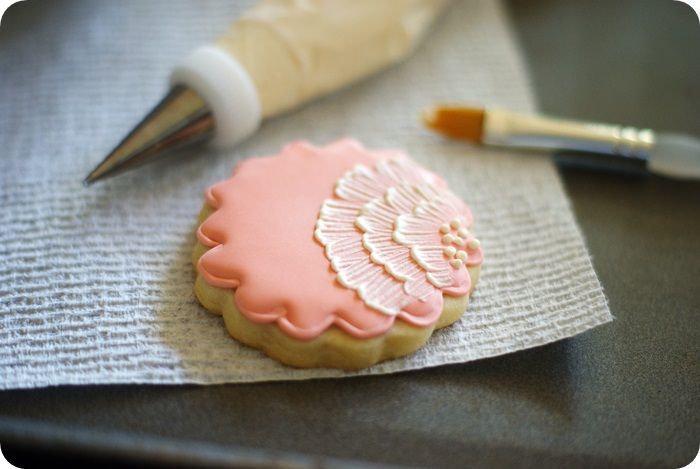
    Make another layer,

    brush embroidery cookie tutorial ::: bake at 350 blog
    and then another.

    brush embroidery cookie tutorial ::: bake at 350 blog
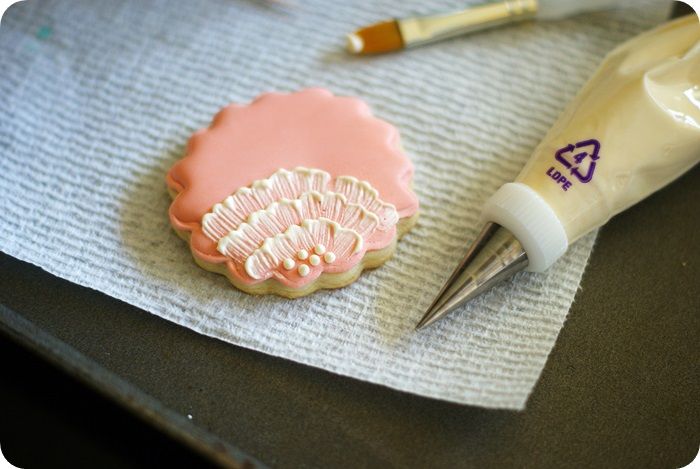
    In the center, pipe some dots for the flower center.

    Done.  See?  EASY!

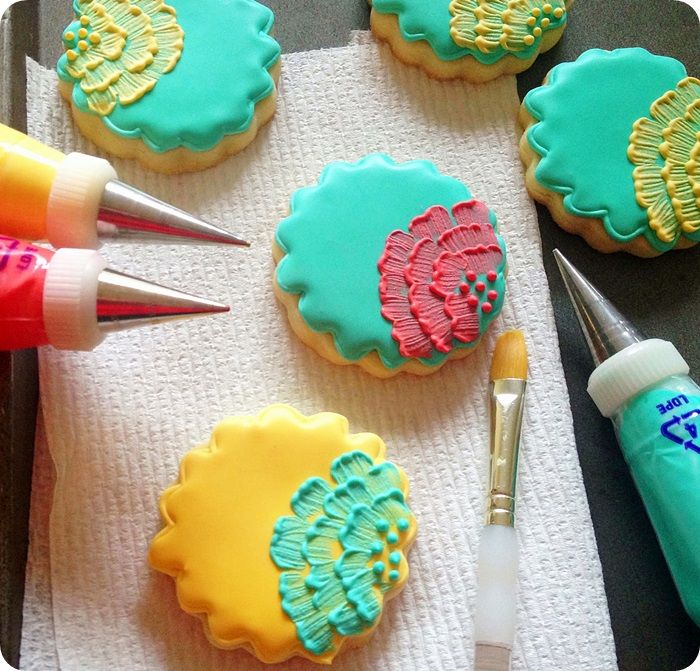
    And, who says brush embroidery has to be soft and pastel?
    brush embroidery cookie tutorial ::: bake at 350 blog

    Who wants to try it?!?
    {Some of the links above are Amazon Associates links.}


    decorating cookies badge photo decoratingcookiesbadge-1.jpg

    Labels: , ,

    Tuesday, January 15, 2013

    Shades of...Pink! (Works for Me Wednesday)

    Pink!  Pink, pink, pink!  PINK!!!
    Forget Fifty Shades of Grey; we're talking PINK, people.  {PS...having not read FSoG, but having *heard* about it, it totally creeps me out to sit next to someone on an airplane who is reading it.  I rather NOT know that about you, total stranger.  Airplanes are for John Grisham or Michael Crichton. The end.}

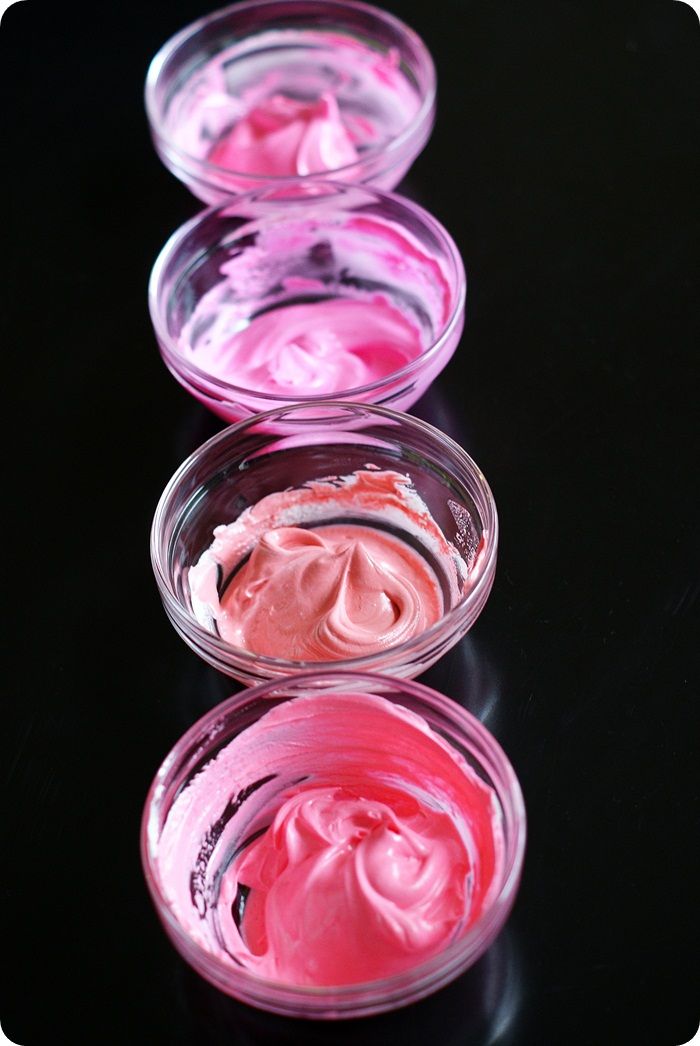
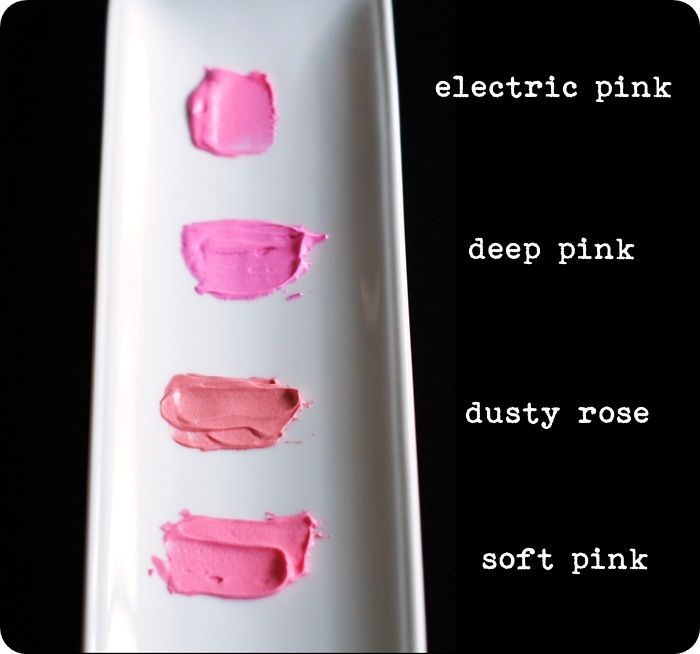
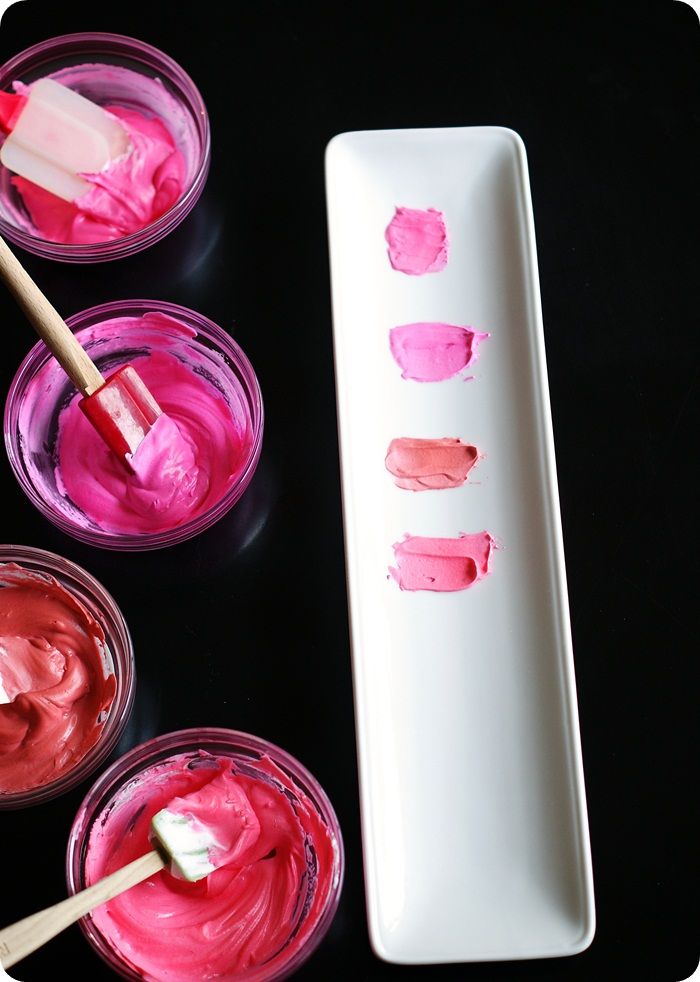
    OK.  Pink.  Did you know that you had so many choices?  I'm showing you here four pinks.  All AmeriColor brand. I love, love, love AmeriColor.
    • soft pink
    • dusty rose
    • deep pink
    • electric pink

    Most often when I'm making pink cookies, I'll reach for Deep Pink.  It's vibrant, bright, and perfect for almost everything.  I think it has a little bit of a blue undertone. (But what do I know?)

    Soft Pink is, well, softer.  In the pictures, I'm showing it pretty saturated, but I use it when I want a light, not to vibrant pink. It looks to have more yellow in it than the Deep Pink.

    Dusty Rose.  Just those words remind me of tea time and wallpaper from the 1980's.  Shown here, it's really saturated, but a little lighter and is makes a *perfect* ballet slipper color.  And...roses.

    Electric Pink.  This is a really fun color.  I use it when I want my cookies to SCREAM pink.  Not neon, but definitely bright.  It's Deep Pink kicked up a notch.

    Of course, the colors will vary depending on the amount of icing and the amount of color you use. I never measure out icing and food coloring, but the colors you see here are a heaping 1/4 cup of royal icing mixed with about 1/8 teaspoon food coloring.  Give or take. :)

    Pink...works for me!


    Labels: ,

    Tuesday, September 11, 2012

    How to Apply Disco Dust...Works for Me Wednesday

    Disco dust.  Have you tried it?
    Disco dust will make your cookies sparkle like nobody's business.
    {It also drives me slightly insane, which leads me to why I apply it the way that I do.}

    About the size of fine glitter, disco dust tends to spread EVERYWHERE....just like glitter.  If you attempt to sprinkle it just on one area of your cookies, I promise, it will stick to every damp surface of that cookie.  I like to apply it to a DRY cookie.

    Just like applying sanding sugar, let your cookies dry overnight.
    Then, you'll need this:
    • Mix equal parts meringue powder and water (for small batches, start with just 1/4 teaspoon of each).  
    • Use one paintbrush to apply the mixture onto the cookie where you want the disco dust to stick.  
    • Sprinkle on the disco dust over a basket-style coffee filter.  
    • Shake off the excess and use the filter as a funnel pour back into the container.
    • Use the 2nd (dry) paintbrush to brush off as much excess from the cookie as possible.
     
    {Side note: unless you'd like to be WEARING disco dust all over your face and hair, I strongly discourage blowing on the cookie to remove the excess.  Not that I've ever done that or anything.}

    Where to buy disco dust?
    1. Amazon
    2. Sweet Baking Supply
    3. Layer Cake Shop 
    Disco dust...works for me
     
    Now, go get your DISCO on!

    Labels: ,

    Tuesday, July 24, 2012

    Cookie Decorators, Raise Your Work Surface...Works for Me Wednesday

    Every now and then, husbands know best.


    I'd been decorating cookies for a couple of years...I always decorated at night after putting kiddo to bed. It never failed, I'd crawl into bed after a few hours of decorating with an aching back and tense shoulders.

    One night, Mr. E walked into the kitchen as I was decorating and said, "why don't you raise up your work surface?"
    Ding, ding, ding!!!  Life. changed.

    Now when I decorate, I *always* raise up my cookie sheet.
    If you don't have a step stool, I *know* you have a stack of cookbooks. 

    Raise 'em up.  No more hunching.  
    Thank you notes from your back can be addressed to Mr. E. ;)

    Labels: ,

    Wednesday, July 11, 2012

    Help! My cookies have streaks!!! (Works for Me Wednesday)

    Has this happened to you?

    You've spent hours mixing colors, outlining and flooding.  Your cookies look perfectly perfect. You decide to let them dry overnight and go to bed. You wake up the next morning to STREAKS in your royal icing.

    Nooooooooooooooo! 

    Those white or light colored streaks are caused by.....water.  Yep.  Water.

    Let me tell you how that water probably got there:
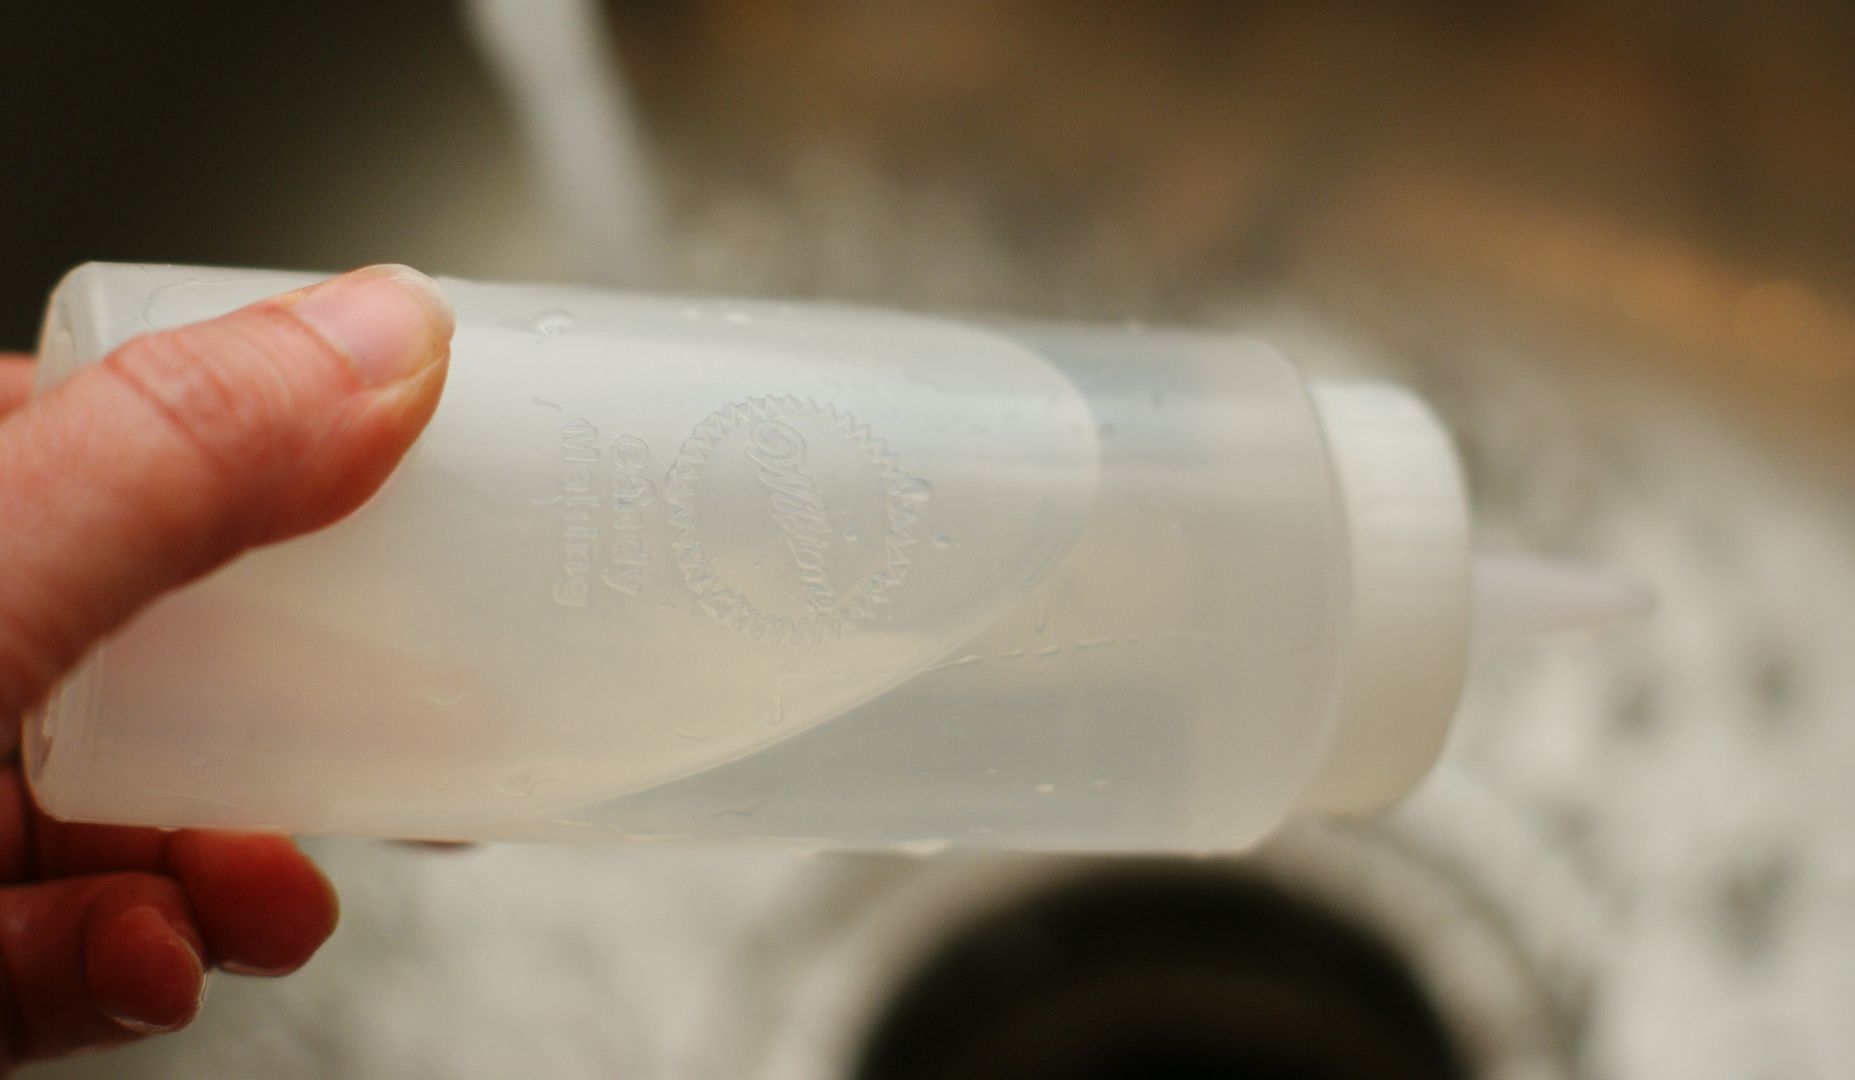
    1. Squeeze bottles used for flooding weren't *completely* dry.  Even a small drop of water clinging to the side of the bottle can wreak havoc on a cookie.  Solution: check all bottles before filling.  If there is a drop of water, dry with a paper towel.
    2. When thinning a bowl of icing, a drop of water goes unnoticed on the side of the bowl.  When the icing is poured into the squeeze bottle, the drop of water is poured in as well.  Solution: always add water with a measuring spoon into the bowl.  Never hold the bowl under running or dripping water.
    3. The icing in the bottle is too thick for flooding, so a drop or two of water is added and not properly mixed.  Solution: to add water, pour the icing back into a bowl and stir. Do not under any circumstances SHAKE the bottle.  This will fill your icing with air bubbles (another issue for another day.)
     squeeze bottle clear water Pictures, Images and Photos
    If you happen to spot a drop of water when you're filling your cookies, use a paper towel to blot out the water and add more icing if needed. 

      Have streaks ever happened to you?  Have you had other issues decorating cookies?  What are they?  Tell me, tell me!  I bet I've had them, too.

      {In the meantime, check out this post from the archives on Troubleshooting.}


      Preventing streaky cookies....works for me!

      Labels: ,

      Tuesday, May 15, 2012

      How to: Dry Luster Dust Application...Works for Me Wednesday

      I love using luster dust to add a metallic shine and shimmer to my cookies.  Did you know you can apply it wet OR dry?
       
      It's a little hard to see the effect of a dry luster dust application in photos sometimes. Think of it this way....dry luster dust is like a shimmery body powder.  Wet luster dust application is like a gold lame skirt.

      The wet application is perfect for when you want an opaque finish that really transforms your cookie into silver or gold.  These First Communion Chalice cookies are a great example...and the tutorial for applying is there for you as well. 

      Instead of using the wet application for the keys, I kept the cookies in the same color palette by adding the luster dust dry.

      Adding the luster dust dry lets you see the original cookie color, but adds a sheer, metallic shimmer. 

      It really couldn't be easier.  Let your cookies dry overnight, then use a clean and dry paintbrush to brush on the luster.
      Can you see the difference? It's a little hard to pick up in a photo.  The cookie in front has luster; the one in the back doesn't.

      How about now?

      The same luster dust color I used here can be found at Sweet! 

      Happy lustering! 

      Labels: ,

      Tuesday, December 13, 2011

      Decorating Cookies with Kids...Works for Me Wednesday

      Blame it on the commercials, you know they ones...mom, grandma, and kidlets all in matching aprons, standing in a sparkling clean kitchen decorating cookies together.  They're smiling, hugging, and having an all-around wonderful, memory-making time.  Not to mention, the cookies look perfect.
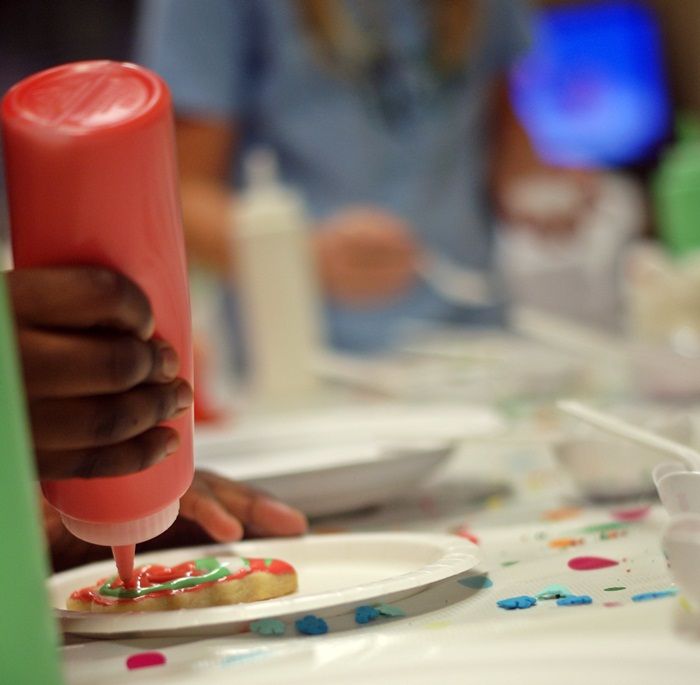
      Let's be honest here...decorating cookies with kids CAN be fun...but it can also be a hair-pulling, cry-inducing, mommy-needs-wine-please mess.  I've found that I have to remove this sentence from my vocabulary, "Here, let me help you with that."

      Here are some tips to {stress-free} cookie decorating with kids:

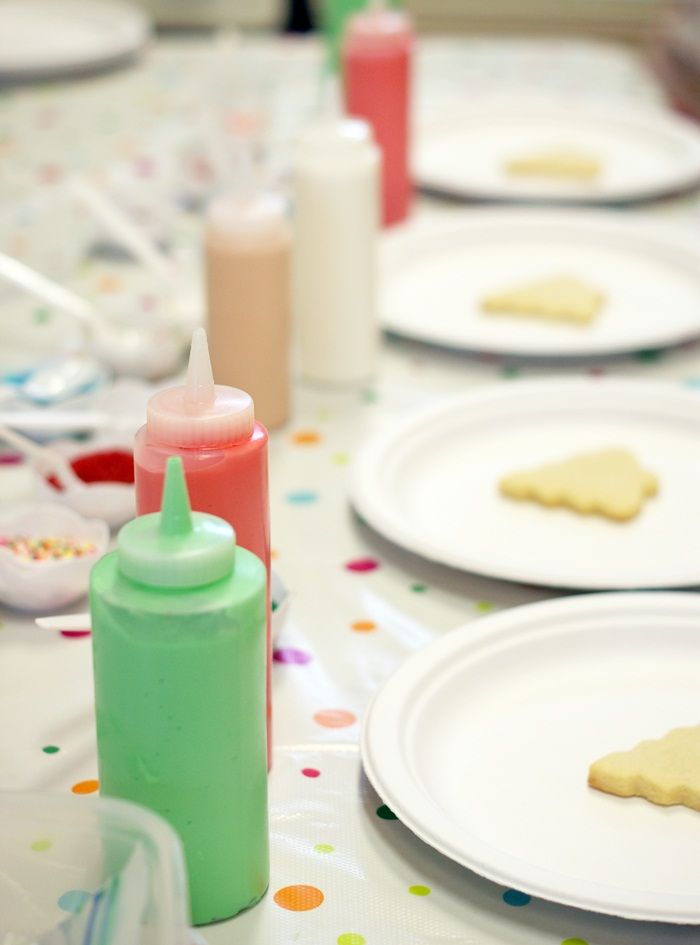
      1. Have everything ready BEFORE bringing the kids into the kitchen.  That means, the cookies are baked, icing is made and tinted, all supplies are out and available.  (If you really think your kids will like the color the icing themselves, tint most of it, then save a bowl or two for them to color.)

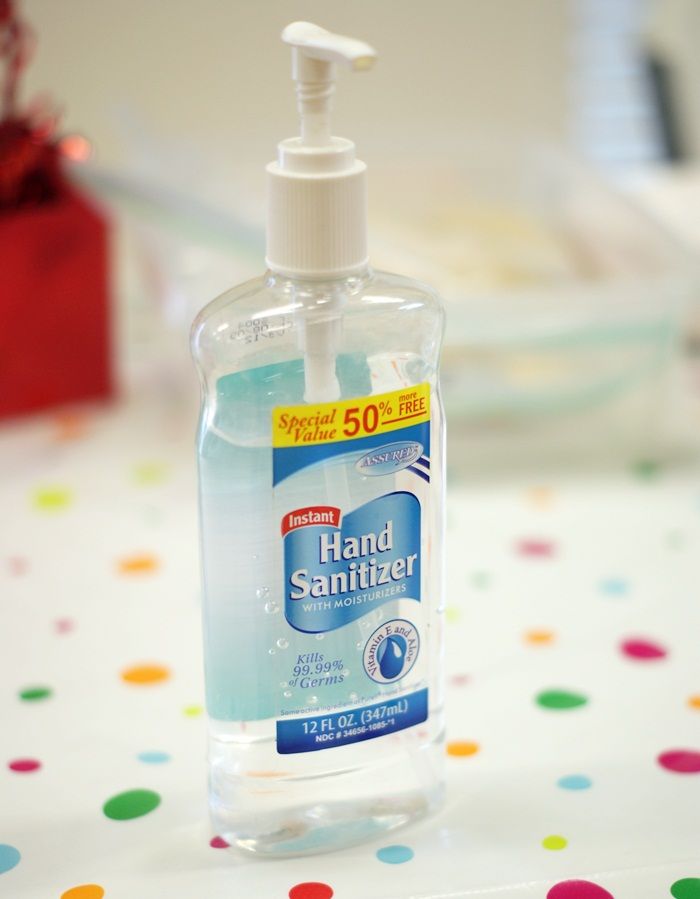
      2. Hand Sanitizer.  Obviously, if you are doing this at home, you can have your kids wash their hands.  If you are with a large group (these pictures were taken at a community center), break out the hand sanitizer.

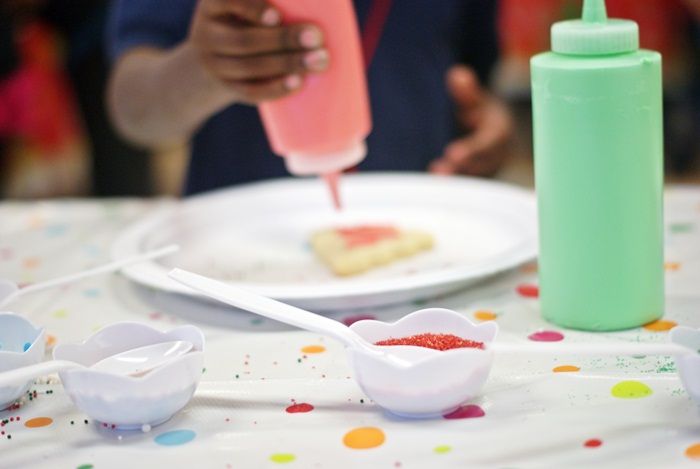
      3. The icing.  Royal icing can be made in advance and refrigerated for a few days.  Before the decorating begins, bring to room temperature and thin with a bit of water.  You'll want it looser than a piped icing, but not so thin (like a flood icing) that it runs off the cookies.  Thin it enough so it can be easily squeezed out of a bottle.

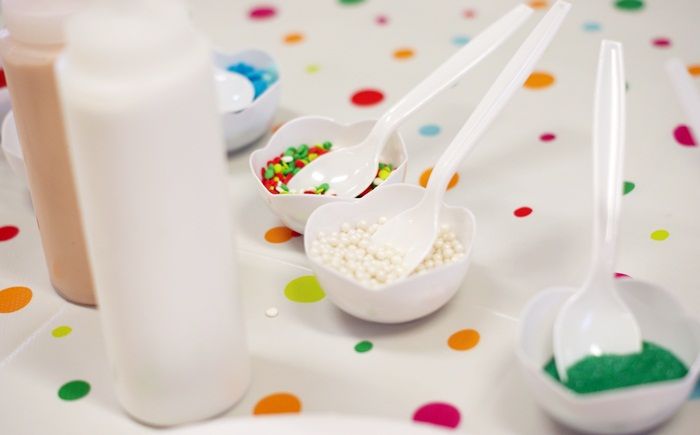
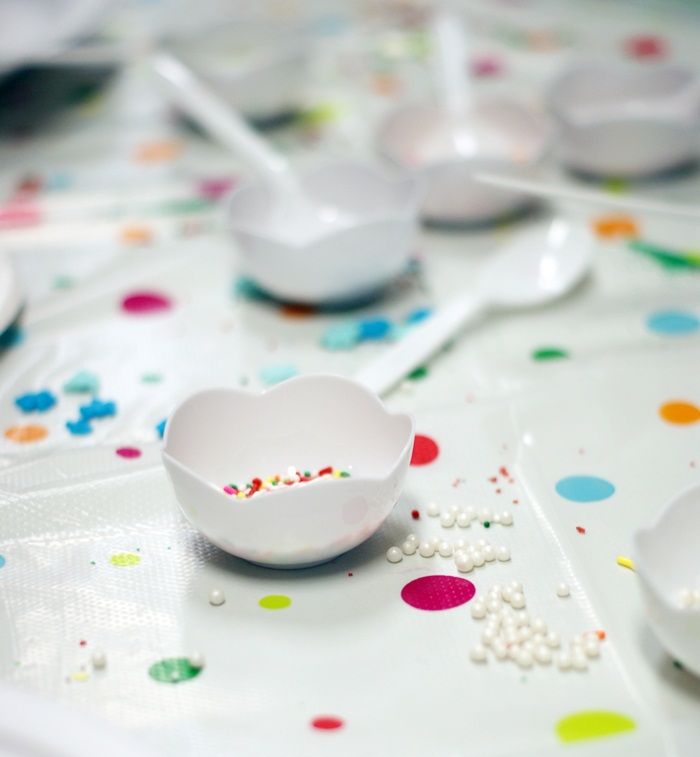
      4. Sprinkles and sanding sugar. Kids love 'em.  I think they're a must.  You might not want frosting-covered hands grabbing for the sprinkle containers, so small bowls and ramekins with spoons work great.
      {PS...if you put out 7 kinds of sprinkles and sugars, kids will want to use ALL 7 on their cookies.}

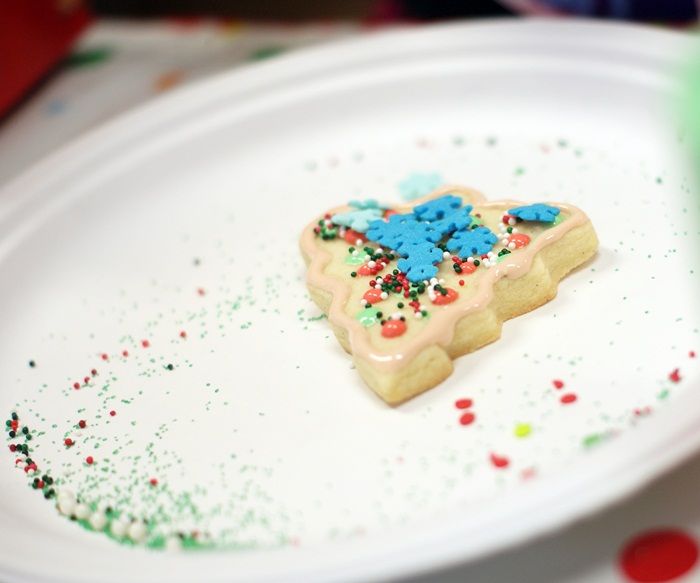
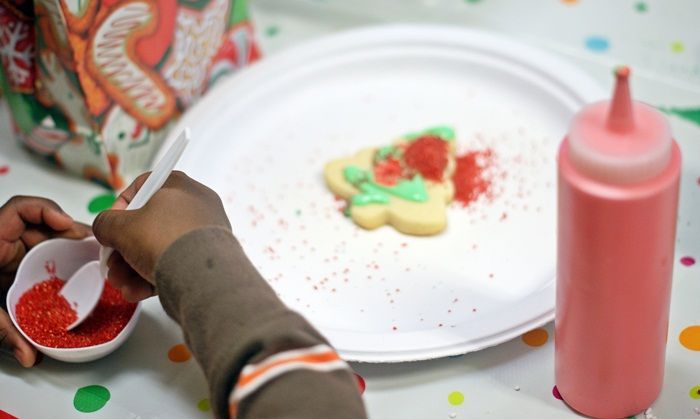
      5. Decorate ON something with an edge.  Here we used paper plates, but if you're decorating at home, a rimmed cookie sheet works perfectly.  Remember those sprinkles?  You'll want to catch them on that rimmed sheet before you're slipping & sliding all over your floor.

      6. Let them eat COOKIES!  Even if you're saving your cookies for Santa or the neighbors, make sure each child has a cookie to eat.  (Otherwise, Santa is going to have a big ol' bite out of one of his cookies.) 

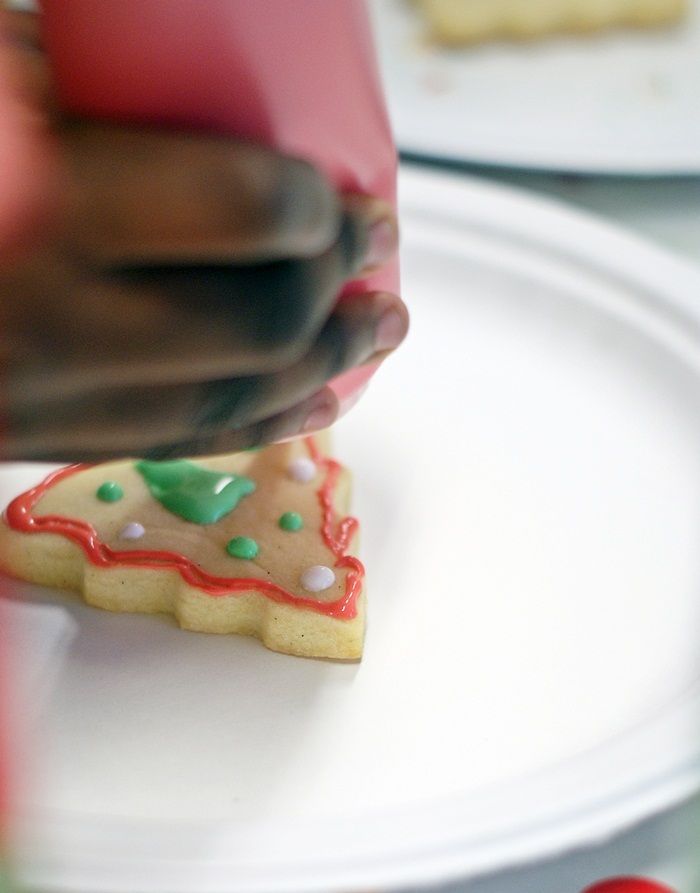
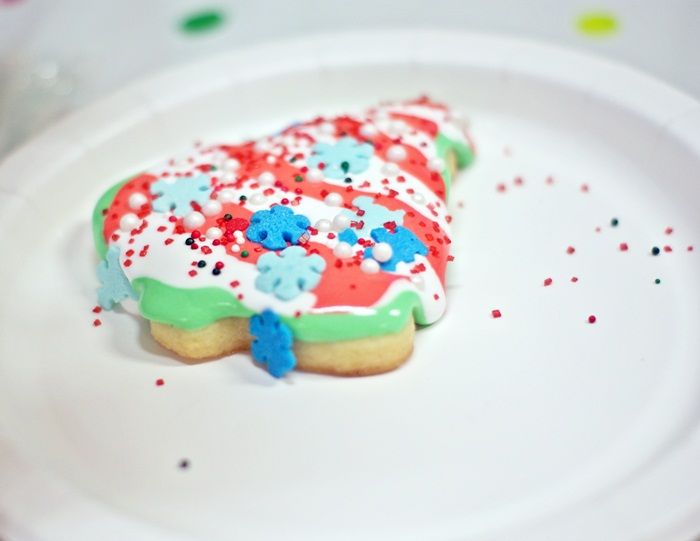
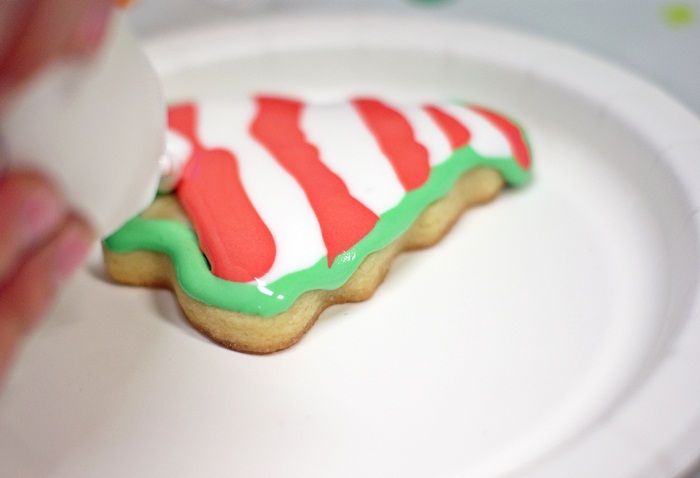
      7. ENJOY the moment!!!  Kids are so fun to decorate with because they're not scared.  They dive right in and have the *best* ideas.  I'm in love with this striped tree:

      {Be prepared to see it on the blog next year.} ;)


      Do you have any tips for cookie decorating with kids?

      Labels: ,