Thursday, September 25, 2014

Xanadu, your neon lights will shine...

Birthdays...when we were growing up, my parents instituted a "birthday party rule."  Birthday PARTIES were every other year...on the "off years," we could invite a friend or two to dinner, or to the movies, and over for cake.  I have no idea where they came up with this idea, but we decided to carry on the tradition with kiddo, too.

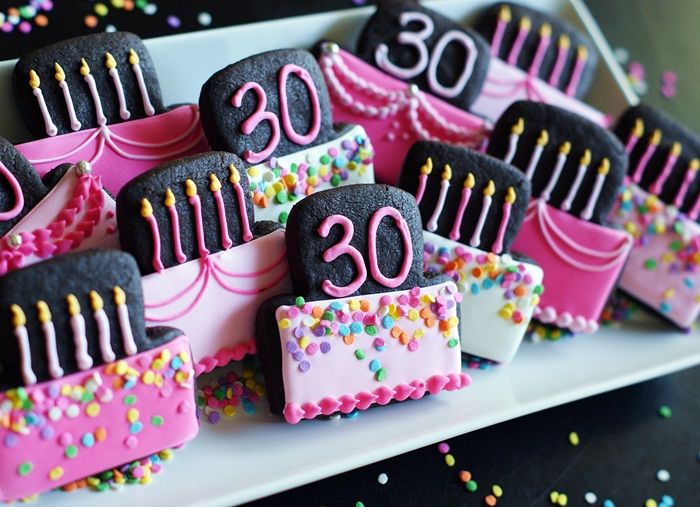
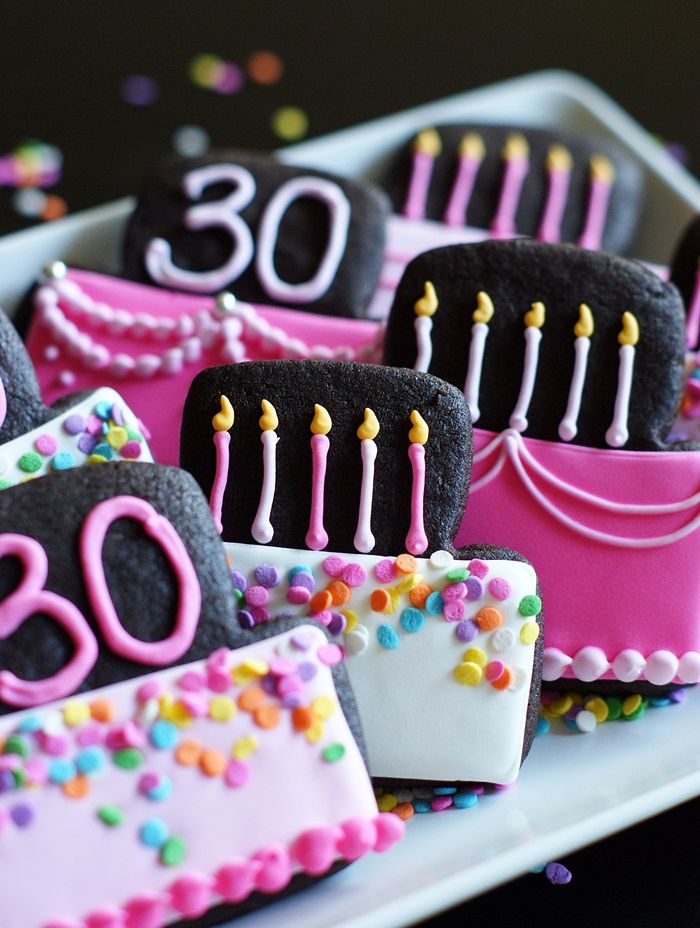
xanadu decorated cookies + a recipe for vanilla-clementine cut-out cookies
I had been thinking about one of my teenage birthdays...I think I was 12 or 13.  One of the movie theaters in "the city" was having a special showing of Xanadu.  I think the movie came out a couple of years earlier and I already had my white roller skates and knew all of the songs by heart.  My parents took a few of us down for the movie.  I can't remember much else from that birthday...just Xanadu.
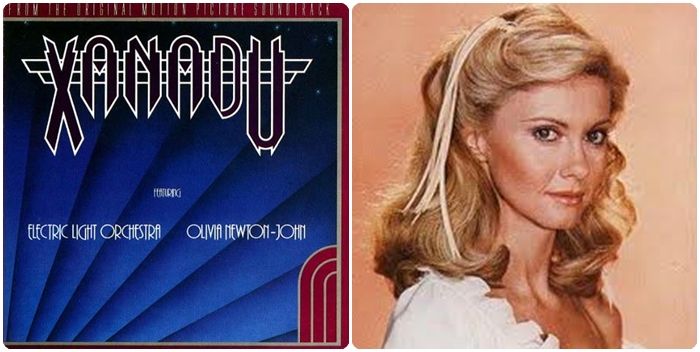
xanadu!
{photo credit olivia-newtonjohn.com}
Please tell me you're a Xanadu fan, too!  I loved all things Olivia Newton-John.  Her voice, her face, her accent, her perfect hair!!!  Remember those thin hair ribbons?  And, that off the shoulder white top?  Oh!  And, that cowgirl outfit?  And Gene Kelly?!?  Oh my gosh...yeah.  I loved Xanadu.

xanadu decorated cookies + a recipe for vanilla-clementine cut-out cookies
In my mind, I was ONJ as Kira....in reality, I was a frizzy-haired girl with braces who was a little (a lot) wobbly on those skates, but man, it was fun to pretend.

decorated cookies: olivia newton-john in Xanadu + a recipe for vanilla-clementine cut-out cookies
The week I was thinking about those birthday memories, I got an email from McCormick.  They're celebrating their 125th (!) birthday this month. Did you know September is the most popular month for birthdays?  I didn't, either!

xanadu decorated cookies + a recipe for vanilla-clementine cut-out cookies
To celebrate, McCormick is igniting a conversation about birthdays and asking people all over the globe to share their favorite birthday flavor story.  For every story shared on McCormick's website or social media channels, McCormick will donate $1 to United Way to feed those in need.

In honor of birthday month, they released a new vanilla extract: Extra Rich Pure Vanilla Extract.
It's luscious and rich...25% stronger than the classic vanilla and the perfect balance between sweet caramel and bourbon-rummy flavors.  It is PERFECT in baked goods...and also to dab a little behind your ears. ♥
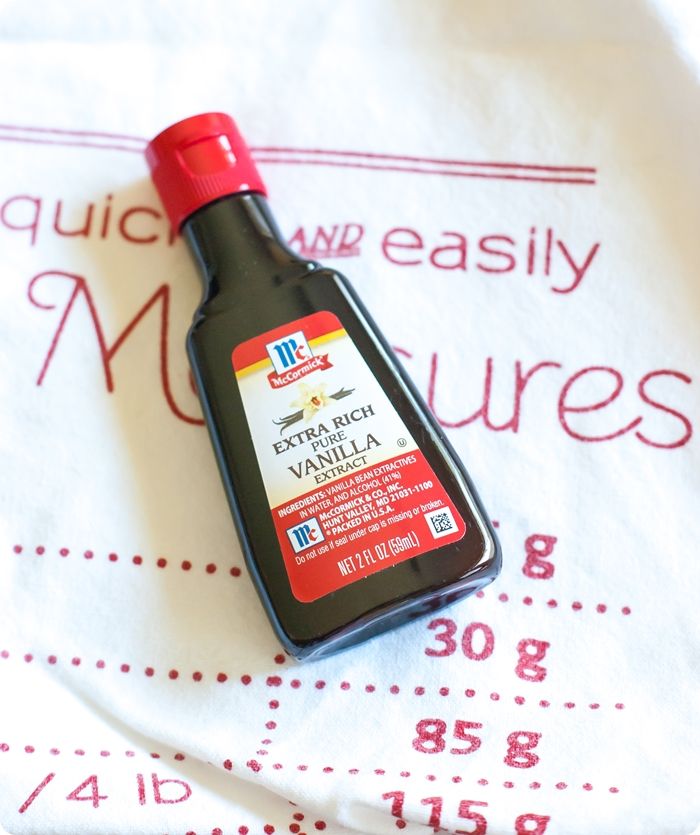
McCormick Extra Rich Pure Vanilla Extract + a recipe for vanilla-clementine cut-out cookies

I used it to make Vanilla-Clementine Cut-Outs for the Xanadu-inspired cookies.  The strong vanilla flavor combined with the sweet and fresh clementine is just swoon-worthy.  The cookies also have a little kick of salt that balances out the flavors so well.  I love them almost as much as I love Xanadu. ;)


print recipe photo printrecipe.jpg
Vanilla-Clementine Cut-Out Cookies
{makes about 12 cookies, depending on cutter size}

2 & 1/3 cup unbleached all-purpose flour
1 teaspoon baking powder
1/2 teaspoon kosher salt
3/4 cup unsalted butter, cut into chunks
2/3 cup granulated sugar
1 egg
2 teaspoons McCormick Extra Rich Pure Vanilla Extract
zest of one clementine
1 teaspoon clementine juice

Preheat oven to 350. Whisk the flour, baking powder, and salt together.  Set aside.

In the bowl of an electric mixer, cream the butter and sugar together until light and fluffy.  Add in the egg, vanilla, zest, and juice.  Beat until well combined.  Add in the flour mixture on low speed, mixing until just combined.

Cover the dough with plastic wrap and refrigerate for at least 30 minutes.  Once chilled, roll to 1/4" thick on a surface dusted with flour, and cut with cookie cutters.  If the dough becomes sticky, refrigerate.  Place shapes onto parchment-lined cookies sheets.  Freeze the shapes for 5-10 minutes before baking to help retain the shape.

Bake for 9-11 minutes, or until done.  Cool completely on wire cooling racks before decorating.  Use royal icing to decorate.
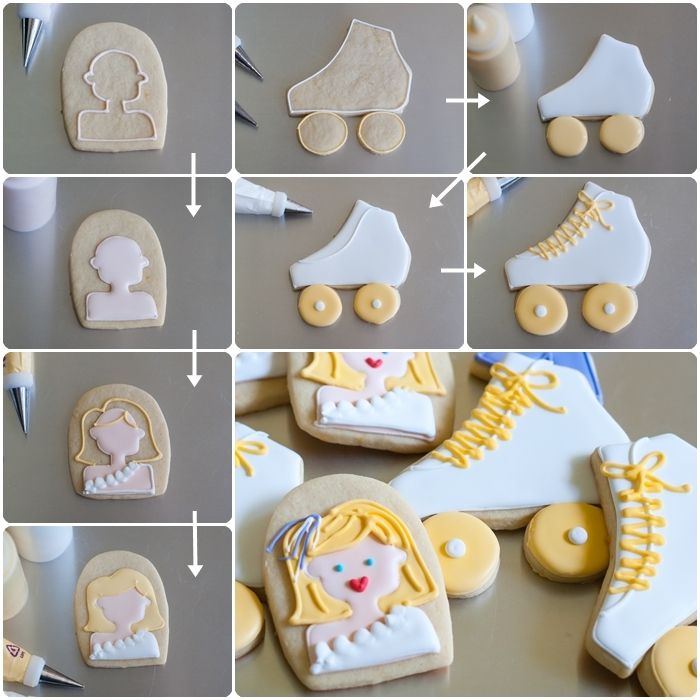
xanadu cookies decorating tutorial

What's one of your favorite birthday memories?  Does it involve Xanadu?

xanadu and olivia newton-john decorate cookies + a recipe for vanilla-clementine cut-out cookies


Labels: ,

Monday, July 28, 2014

Birthday Halfsies

Celebrating half birthdays continues to be one of my favorite family traditions.  There are no presents, no Pinterest-worthy parties, nothing fancy...just half of a cake, and maybe, if you're lucky, a cut-in-half birthday card.

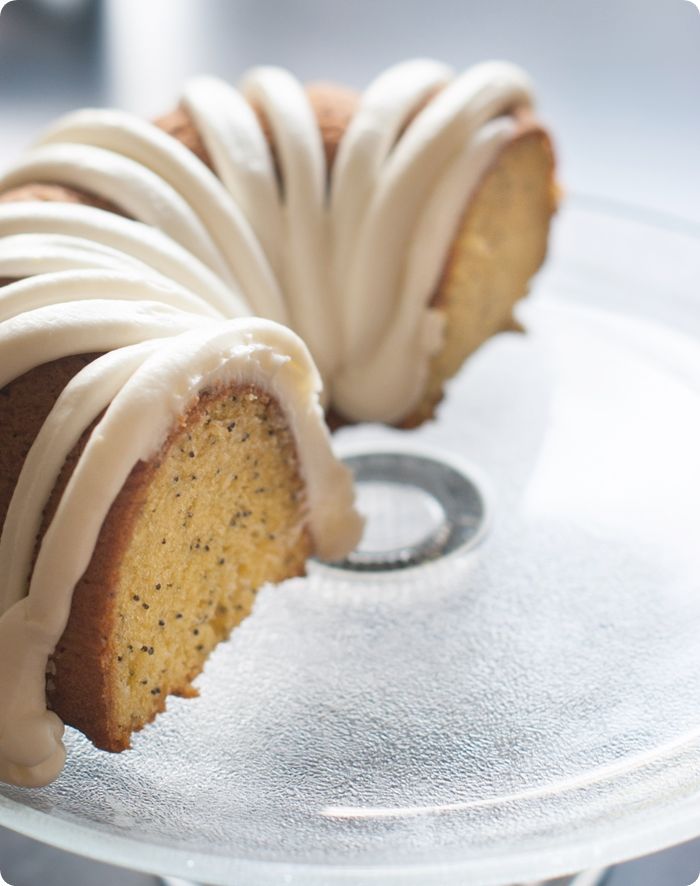
lemon poppyseed bundt cake recipe for a half birthday
Even though my mom liked to bake, I remember our half birthday cakes usually being the half Bundt cakes from the grocery store.  See what I mean?  Half birthdays are NOT fancy.  I tend to go the Bundt cake route, too, but not always

lemon poppyseed bundt cake recipe for a half birthday
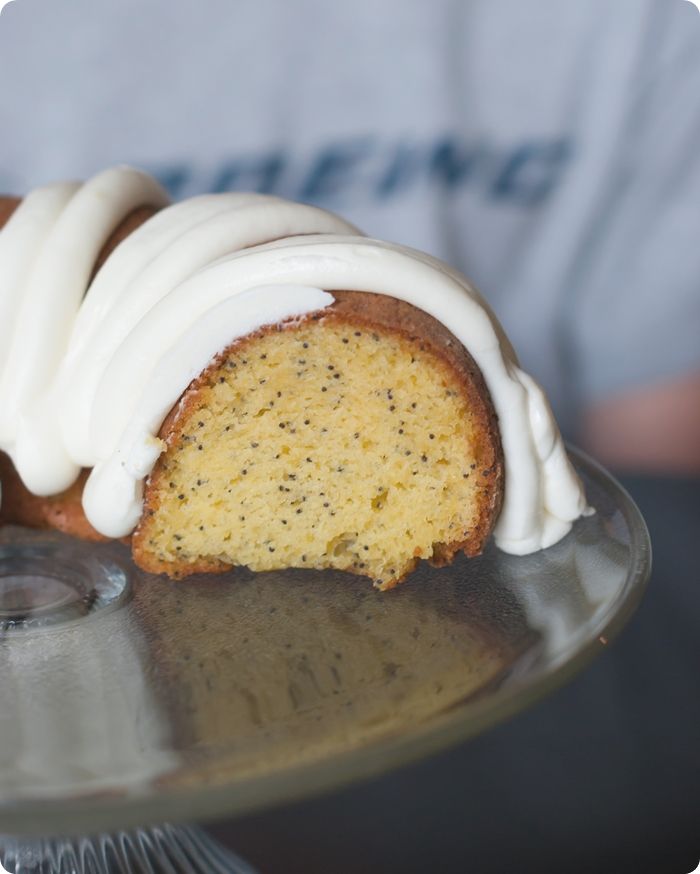
Bundt cakes can sometimes be dry or dense...too dense.  Not this one.  It's moist, lemony, and topped off with an irresistible lemon cream cheese frosting. 

lemon poppyseed bundt cake recipe for a half birthday
Here's the rule, though:  you must not present the half birthday person with the whole cake.  Give the other half away.  It's fun; I promise.

print recipe photo printrecipe.jpg

Lemon Poppy Seed Cake with Lemon Cream Cheese Frosting 

{makes 1 Bundt cake...give away the other half for half birthdays!}

for the cake:
1 box lemon cake mix
1 box instant lemon pudding mix
3/4 cup vegetable oil
3/4 cup water
4 eggs
2 TBSP poppy seeds

for the frosting:
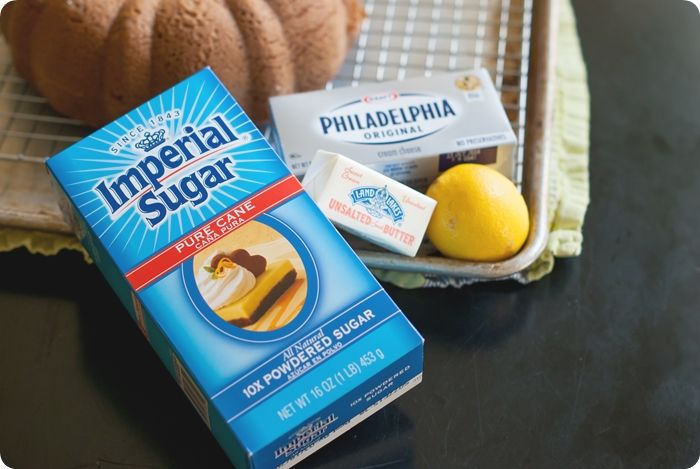
8 oz. cream cheese, room temperature
1/4 cup unsalted butter, room temperature
zest and juice of 1 lemon
1 lb. powdered sugar
pinch kosher salt
1/4 teaspoon lemon extract (optional)

Grease and flour a Bundt pan.  Preheat oven to 350.

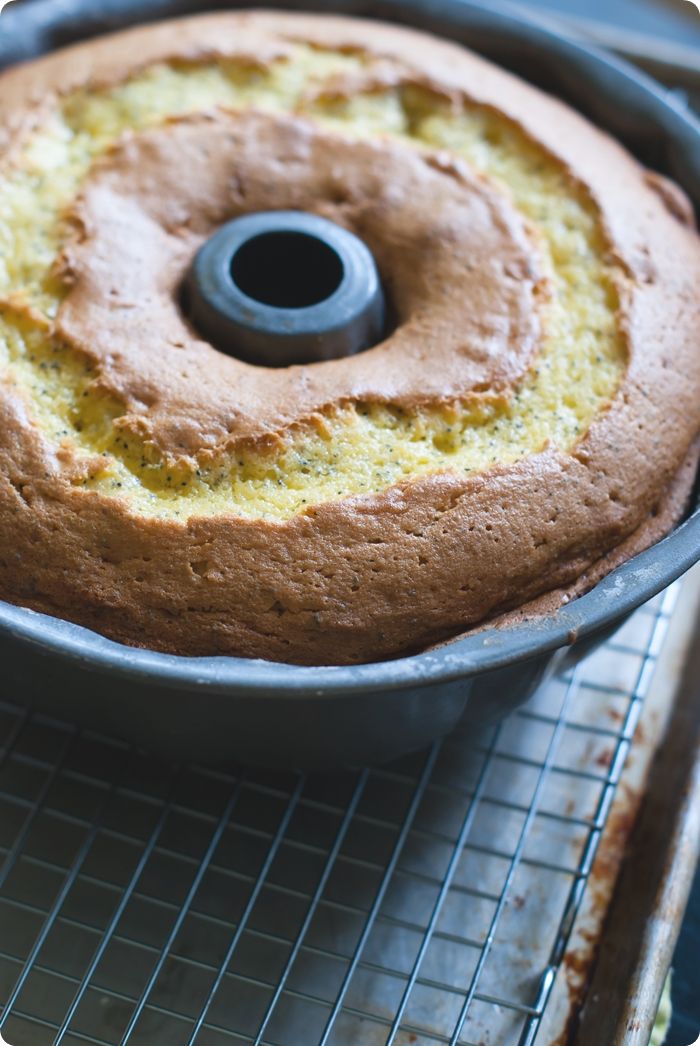
Combine all of the cake ingredients in the bowl of an electric mixer.  Beat on low until combined.  Increase speed to medium-high and mix for 2 minutes more.  Pour into the prepared pan and bake 40-45 minutes, or until a toothpick inserted in the middle comes out clean.

lemon poppyseed bundt cake recipe for a half birthday
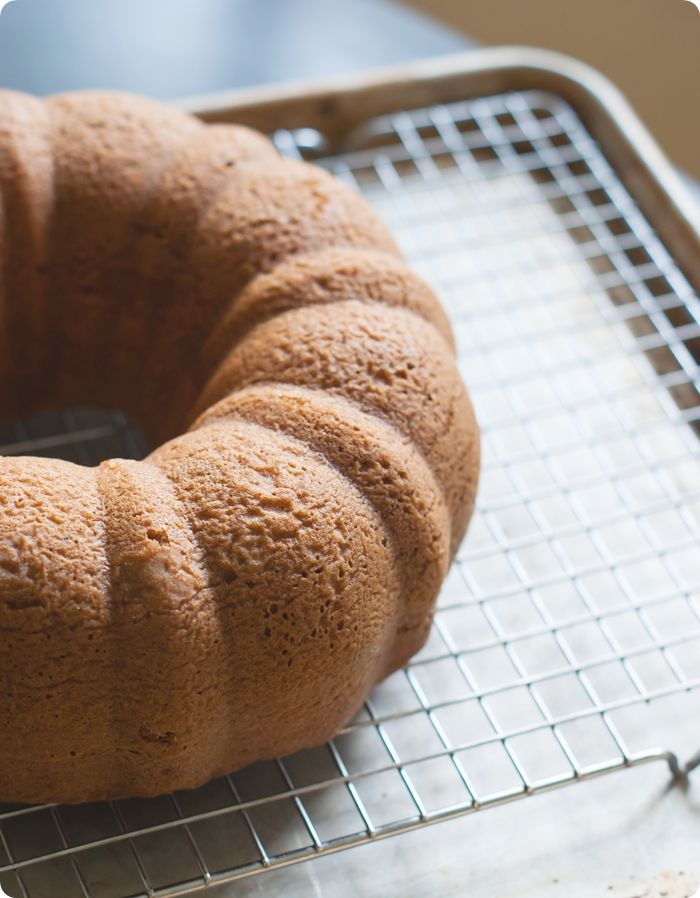
Cool in the pan for 10 minutes.  Place a wire cooling rack on the bottom of the cake (which is facing up).  Invert the pan onto the cooling rack, remove the Bundt pan and let the cake cool completely.
lemon poppyseed bundt cake recipe for a half birthday

To make the frosting: Beat the cream cheese and butter together using the paddle attachment of an electric mixer until smooth, combined and fluffy.  Add in the remaining ingredients.  Beat on low until the sugar is incorporated, then increase the speed to medium-high and mix until thickened and fluffy.

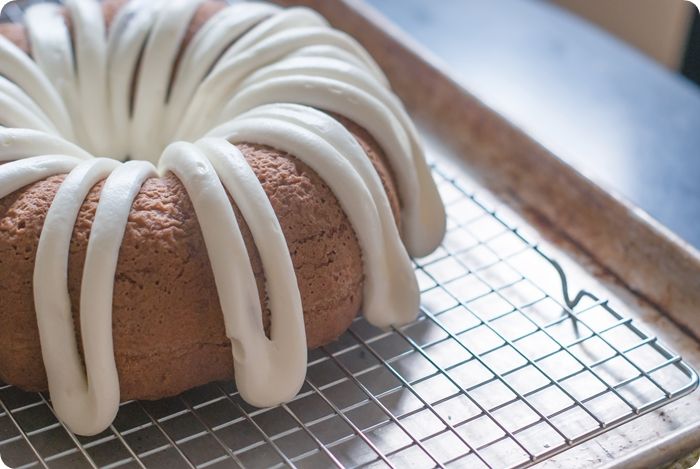
Scoop the frosting into a piping bag, cut off the tip and pipe back and forth on top of the cake.
(Obviously, there is a little Nothing Bundt Cakes inspiration happening here.)

Refrigerate to let the frosting set.  Now, if this is for a half birthday, cut the cake in half and give half away.  Ta-da!  You now have a half birthday cake!
lemon poppyseed bundt cake recipe for a half birthday
*cake recipe adapted from Sample House: Recipes from the Soup Shop and More, frosting recipe is my own.*


Labels: ,

Wednesday, November 7, 2012

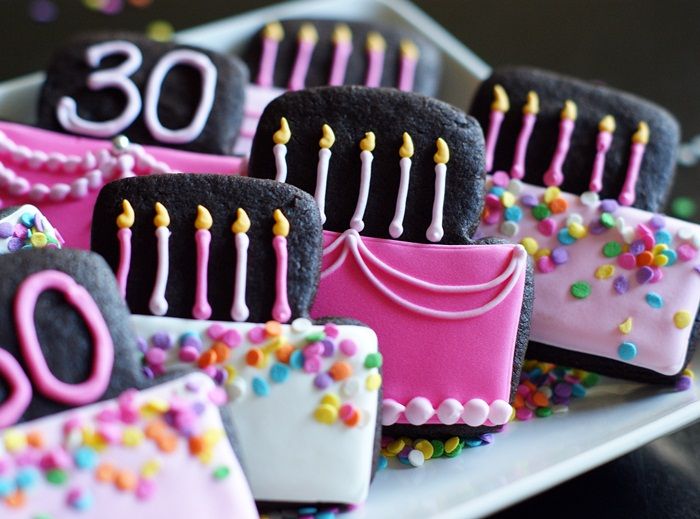
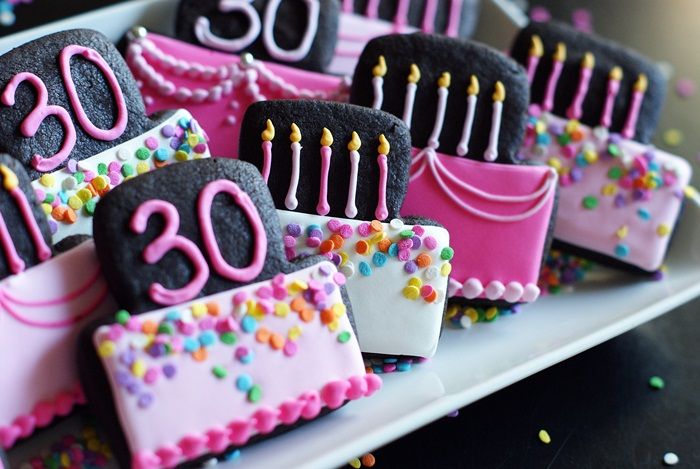
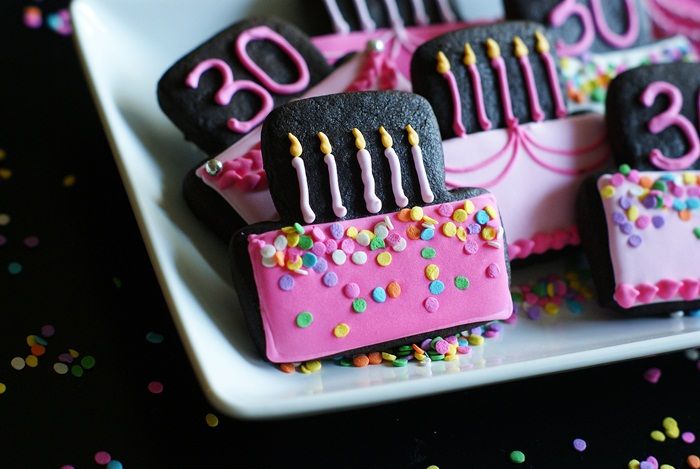
Chocolate Peanut Butter Cut-out Cookies...and a very special birthday!

I've talked before about how my very favorite part of blogging is something that I never, ever expected.  I always thought the sugar would be the highlight of blogging, but no...it's the people I've had the pleasure to meet.

That leads me to Jessica from the blog, How Sweet It Is
Jessica is having a milestone birthday today...
THIRTY!!!

{Ahhh, I remember 30.  Kinda.}

Now, Jessica has been one of my favorite bloggers for a long time.  I love this girl.  I admire Jessica for her amazingly creative and delicious recipes...her stunning photography...her hilarious sense of humor and writing...her impeccable style...her blogging and social media smarts...and her beautiful, fun spirit.

{Jessica...this hot pink was as close as I could get to neon. ;)}

In August, I met Jessica and I can tell you, she's even more lovely in person.  (I won't hold it against her that she was BORN just about the same time I was going to see Grease 2 (2!) with my fellow 13-year-old girlfriends.)  I wanted to make a little something to celebrate her big day.

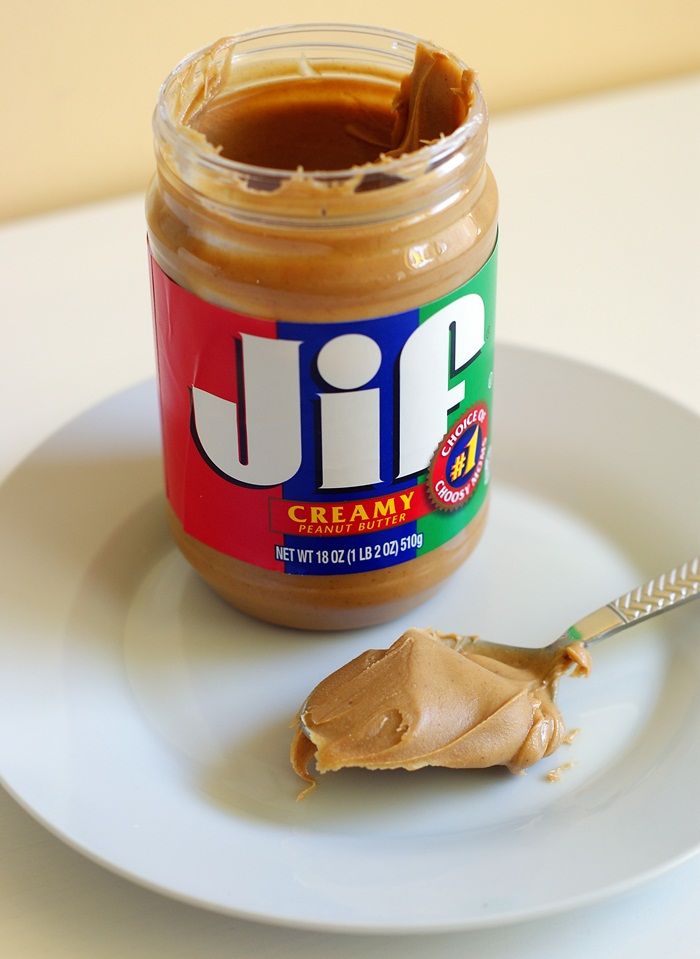
I just had this inkling that Jessica likes peanut butter and chocolate.  Maybe it was Jessica's Peanut Butter Stuffed Hot Fudge Cupcakes, or Chocolate Chip Cookie Dough Peanut Butter Cups, or Peanut Butter Fudge Brownie Trifle, or maybe Peanut Butter S'mores Squares...I sensed a trend.

So, I made cookies.  I made Chocolate Peanut Butter Cut-out Cookies.  And, y'all...you need to make them, too.

Chocolate Peanut Butter Cut-out Cookies for Jessica
{makes 12-18, depending on size}

2 & 1/2 cups unbleached, all-purpose flour
1/2 cup dutch-processed cocoa (such as Hershey's Special Dark)
2 teaspoons baking powder
1/8 teaspoon kosher salt
2 sticks (1 cup) salted butter, cut into chunks
1 cup sugar
1/2 cup smooth peanut butter (not all-natural)
1 egg
1 teaspoon vanilla

Preheat oven to 350.  Line cookie sheets with parchment paper.

In a medium bowl, whisk together the flour, cocoa, baking powder, and salt.  Set aside.

In a large bowl, use a paddle attachment to beat the butter and sugar together until light and fluffy.  Beat in the peanut butter until smooth.  Beat in the egg and vanilla.

In three additions, add in the flour mixture beating on low until just combined.  Scrape the bowl to incorporate any dry bits on the bottom of the bowl.

Divide the dough in half, form into two discs, and wrap in plastic wrap.  Refrigerate at least 30 minutes.

Mix flour and cocoa powder together to coat the rolling pin and rolling surface.  Roll the dough to about 1/4"-3/8" thickness.  Freeze the cut-outs on the cookie sheet for 10 minutes before baking.

Bake for 9-12 minutes.  Cool on the cookie sheet for 1 minute, then remove to wire rack to cool completely.

Decorate as desired with royal icing.

OH!  And, Jessica?  I ate them for you, too. ;)
HAPPY BIRTHDAY, sweet girl!!!

Labels: , ,

Friday, October 21, 2011

Please Eat the Wrapping Paper (cookies inspired by Paper Source)

Have you ever been to a Paper Source shop?  Oh, they are so beautiful..and fun...and inspiring.

I don't get to ours very often because it's about 45 minutes away and in a pretty dangerous part of town.  By dangerous, I mean, it's next door to Sprinkles Cupcakes and just a few steps away from Crate and Barrel. See what I mean?

Well, Paper Source has the most beautiful wrapping paper sheets.  I've used them before for photo backgrounds, like for these Homemade Oreos:


And for these Posie Cakes:

When I saw this wrapping paper, I decided to use it ON an cookie.  Well, not the wrapping paper itself, the wrapping paper printed onto a frosting sheet.  

So, that's just what I did.
  • I scanned the wrapping paper. 
  • printed it onto a frosting sheet,
  • baked the cookies (remember these?),
  • (you can see a bit of the rough edges from the trimming)
  • outlined and filled the cookies with white royal icing,
  • plopped on the cut images printed on frosting sheets, 
  • and added a few details.


    That's it!  These went to school with kiddo for his teacher's birthday.  I hope he didn't tell her she was eating wrapping paper.  I guess we will find out when report cards come home. ;)

    Labels: , , ,

    Friday, September 23, 2011

    Hey There, Cupcake

     
    You know what's weird?  I was shopping at Crate & Barrel recently and these cookie cutters popped in my shopping basket.  Strange how things like that happen.

    I can already tell that this is going to be one of those cookie cutters that I use over and over again.  They'd look cute in any color and would be darling for a birthday party or just as an "everyday" cookie.

    This version is so, so simple.  Two colors (I used brown and a light pink), some sprinkles and a few red sixlets.  (I'm starting to love sixlets...remember those cherry cookies?)


    For the cupcake cookies, you will need:
    • cupcake sugar cookies
    • royal icing, tinted with AmeriColor Chocolate Brown and Soft Pink
    • disposable icing bag
    • coupler and tips (#3 & #1)
    • squeeze bottles
    • toothpicks
    • chocolate jimmies
    • red sixlets (or a bit of red icing)


    Using a #3 tip, outline the cookie in brown. (I like a larger tip here so the outline stands out.)  Reserve some of this piping consistency for later.

    Thin the brown and pink icings with water, a little at a time, until it is the consistency of thick syrup.  Cover with a damp dishtowel and let sit several minutes.

    Stir gently with a rubber spatula to pop any large air bubbles that have formed. Transfer to squeeze bottles.


    Fill in the bottoms of the cupcakes in brown.  Use a toothpick to guide to edges or pop and large air bubbles.


    Flood the tops of the cupcakes with the pink icing, working about 6 at a time.


    Leave the bottoms solid, or come back over the wet icing with a squiggle of pink icing going across.


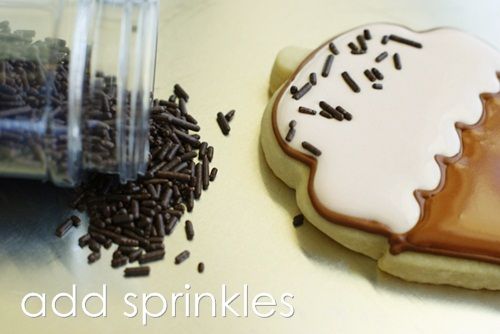
    After flooding, sprinkle chocolate jimmies on the tops....don't worry, the icing won't dry before you get back to it.


    Add a bit of piping consistency royal icing to the top of the cookie to attach the sixlet.  (If you don't have sixlets, just add a dot of red icing.)

    Switch the tip on the brown icing to a #1 or #2 and pipe lines on the "wrappers" that don't have the pink squiggle.

    Let dry 6-8 hours, or overnight.

    That's it!  Easy as pie cupcake!

    Labels: ,