Monday, January 7, 2013

Baby, it's Cold Outside!

Eskimos igloos
 I *know* if it's 31 degrees here in Houston this morning, it's really cold where you are. We're not quite in Eskimo mode, but I have been wearing jeans and boots for 2 weeks straight and THAT makes me very happy.  PS: can you send us some snow?

Eskimo zig zag sweater
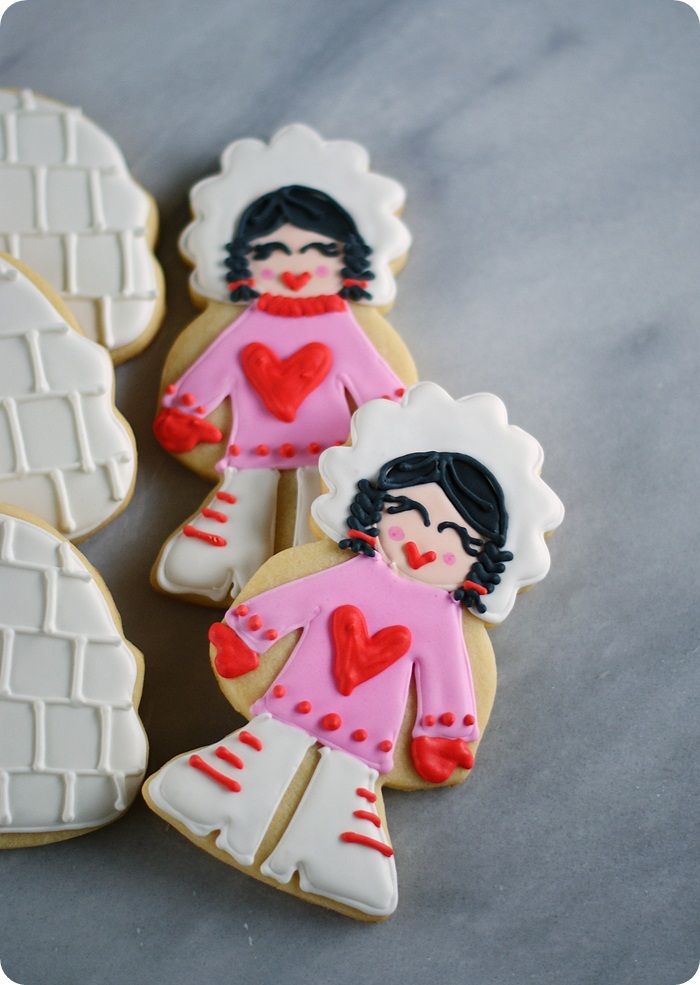
Having never been to Alaska, or anywhere else where Eskimos live, I can only imagine that the girls wear pink & red sweaters, and very big, clunky go-go boots.  Seems right.

Eskimo heart sweaters
As I was making these, I was thinking about "Eskimo Kisses," you know, rubbing noses together?  Kiddo & I used to do those ALL the time when he was little.  As an almost-14-year-old, I'm pretty sure he will be horrified, but I'm going to try to sneak one in today.

Eskimo girls line
These darling eskimo & igloo cookie cutters are from King Arthur Flour.  

Let's make some Eskimo cookies.  You will need:

Eskimo face outline
Use a #2 tip to pipe a circle for the face in copper/fleshtone.

Eskimo hair outline
With another #2 tip, pipe hair on the face in black. Reserve some of this piping consistency icing.

Use a #2 tip to pipe the outline of the sweater in pink...
Eskimo clothes outline
...and another to pipe the hood and boots with white.

Thin the copper, black, white and pink icings with water, a bit at a time, stirring with a silicone spatula, until it is the consistency of a thick syrup.  You'll want to drop a "ribbon" of icing back into the bowl and have it disappear in a count of "one thousand one, one thousand two." Four is too thick, one is too thin.  Count of 2-3 is good.  Cover with a damp dishcloth and let sit for several minutes.

Stir gently with a silicone spatula to pop and large air bubbles that have formed.  Pour into squeeze bottles as needed.     

Eskimo hair flood
Fill in the outlines for the different sections with the thinned flood icing, using a toothpick to guide to the edges and to pop large air bubbles.

Eskimo shirt flood

Eskimo face flood
The order really doesn't matter here.

Eskimo white flood
 Let the cookies dry for at least one hour.

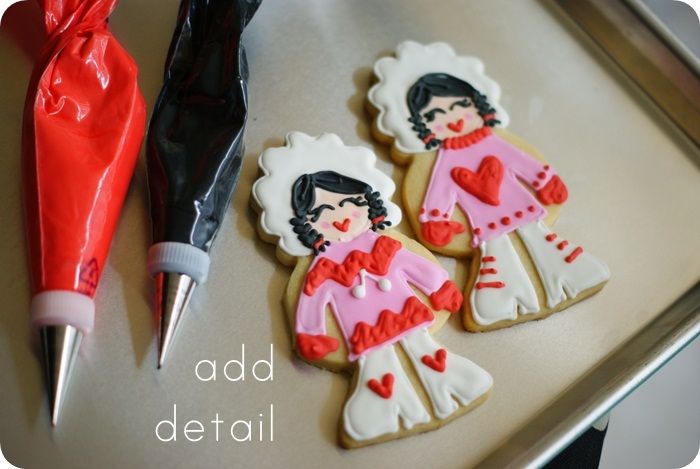
Now, add the details.
Eskimo add detail
  • use a #2 tip to add the sweater details and mittens in red icing.
  • use a #1 tip to add a mouth and boot details.
  • use a #1 tip to go over the outline of the hair, add braids, and eyes.
Eskimo hair close
The braids are just piped hearts really close to each other with a little fringe at the end.  I added just a swipe of red for a ponytail holder with a #1 tip.

Let the cookies dry 6-8 inches or overnight.  Add the cheeks with a pink food coloring pen. 

Eskimo girl close
I hereby declare this Eskimo Kiss Day!  My boys better look out!!!  Go get someone you love! ♥ 


Labels:

Friday, January 14, 2011

Let It Snow!


Did you know I've been living vicariously through you?  Yes, you there....the one with the snow. 

For those of us living in South Texas, snow seems very magical.  I'm picturing your kids coming in from making snow angels with little pink cheeks and noses. I dream of being bundled up in sweaters, scarves and coats with fur-trimmed (fake, or course) hoods. I can just see your family bursting in the front door to find a bubbling pot of chili on the stove and a fire in the fireplace.

{Yes, I've given this a little thought.}

So, these cookies are for you.  We don't wear many hats and mittens around here; we have to EAT them. ;)

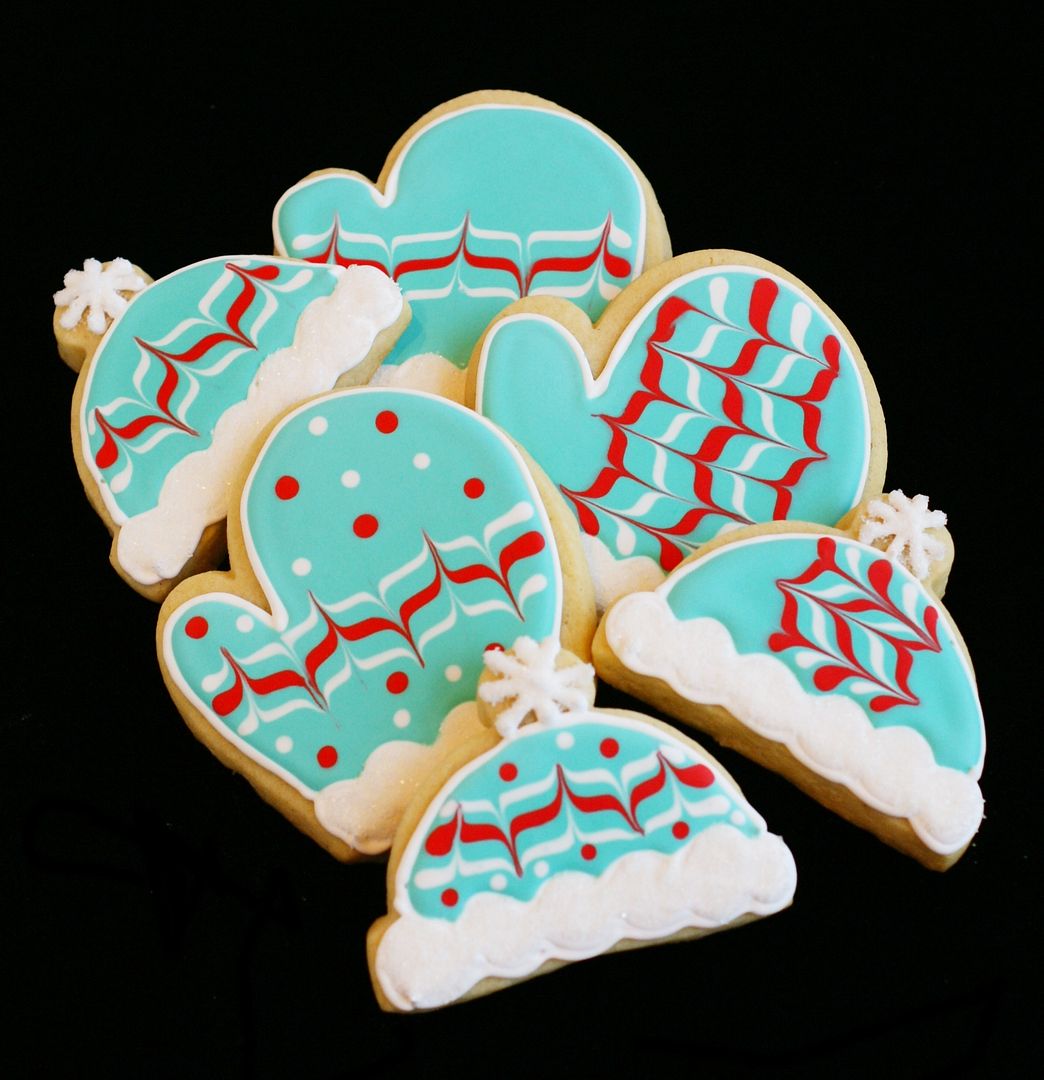
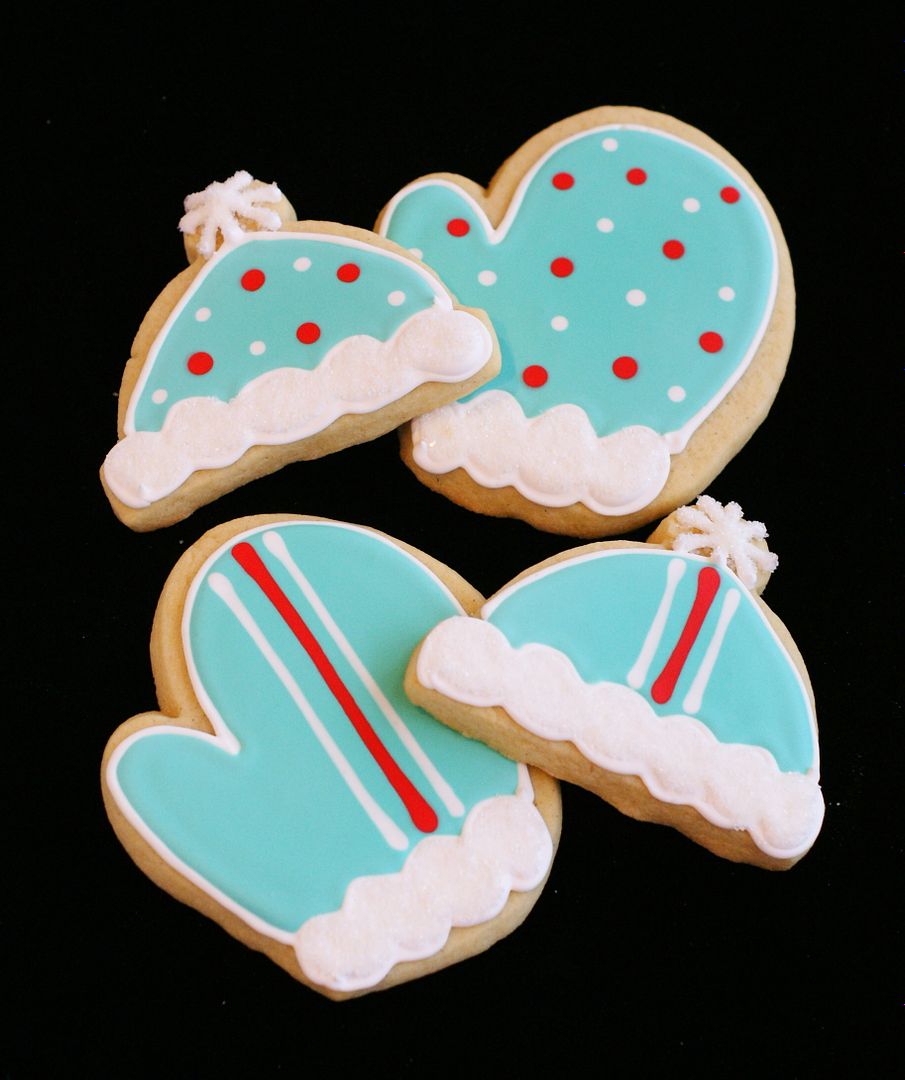
These winter cap and mitten cookies are really simple to make.  What I love about using this "wet-on-wet" technique, is that you can make many different designs all at the same time.


To make them, you'll need....
{Right up front, I missed taking pictures of some of the steps....please forgive me.}

Using a #3 tip, outline cookies.  I used a #3 tip here rather than a #2 because I wanted the outline to really show.

Thin all colors with a bit of water until the icing is the consistency of a thick syrup.  Cover with a damp dishcloth and let sit several minutes.

Uncover and stir gently with a rubber spatula to pop air bubbles that have risen to the surface.  Transfer icings to squeeze bottles.

Working 6-8 cookies at a time, fill in the main color and the white trim.  Use a toothpick to guide into edges.

Going back over the same cookies, add lines or dots with the other colors.

You can make dots.....


...or try marbling.

 
I thought dragging the toothpick ACROSS the lines made it look a little like cable knit.

Let dry overnight.

The next day, mix equal amounts meringue powder with water. (I used 1/2 tsp. each for 1 dozen cookies.)

Using a small paintbrush, paint on the mixture on the trim and top of cap.  Sprinkle on the sanding sugar over a coffee filter.  Let the excess fall onto the filter and use that as a funnel to put back in the bottle.

Is it snowing where you are?!?  Tell me the fun you are having! I want to hear ALL about it!

Labels:

Sunday, December 12, 2010

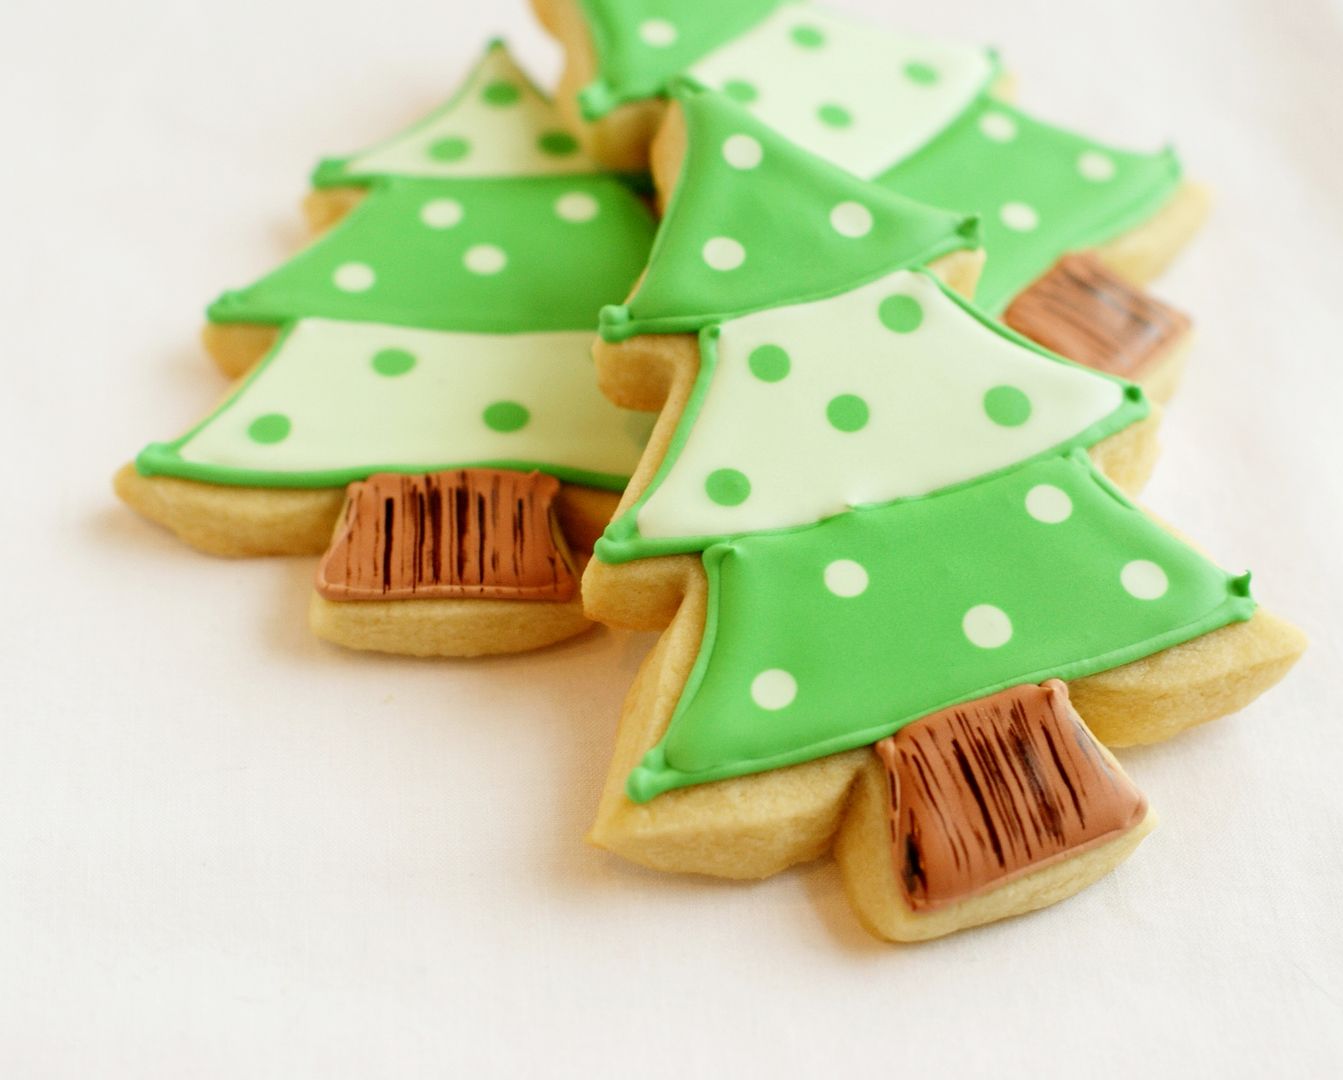
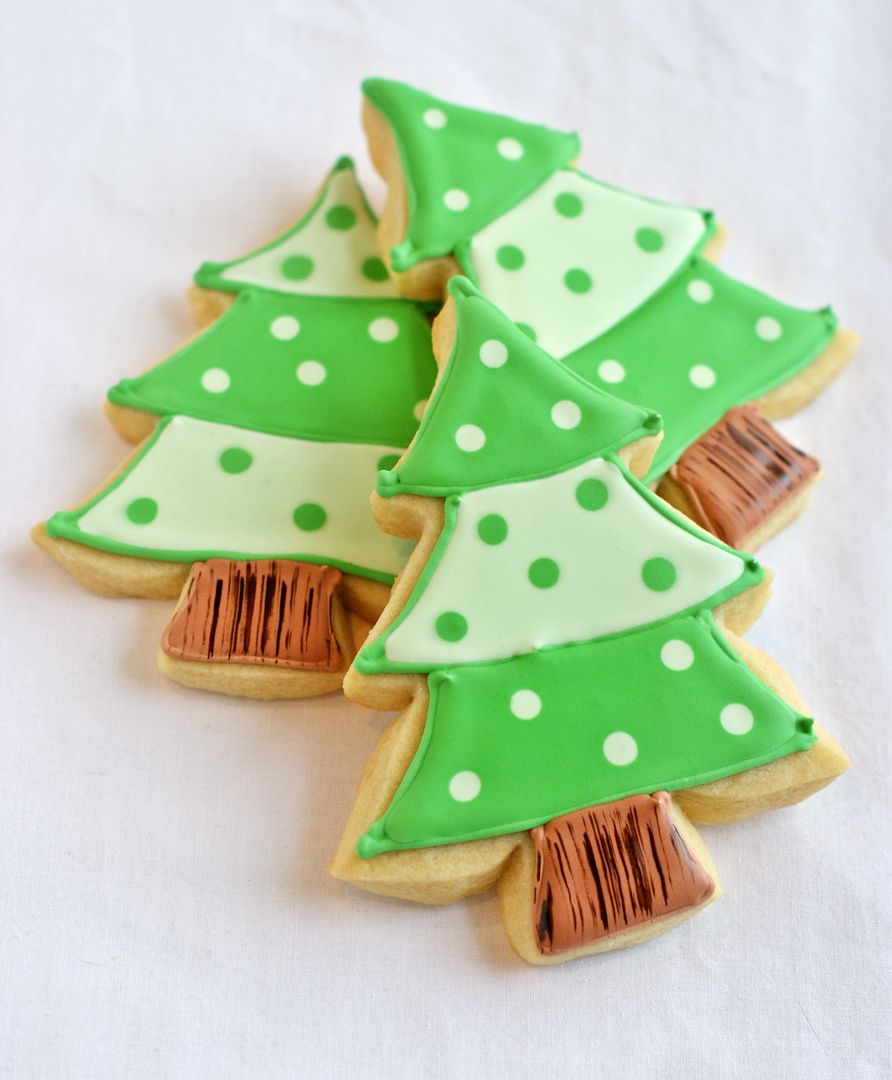
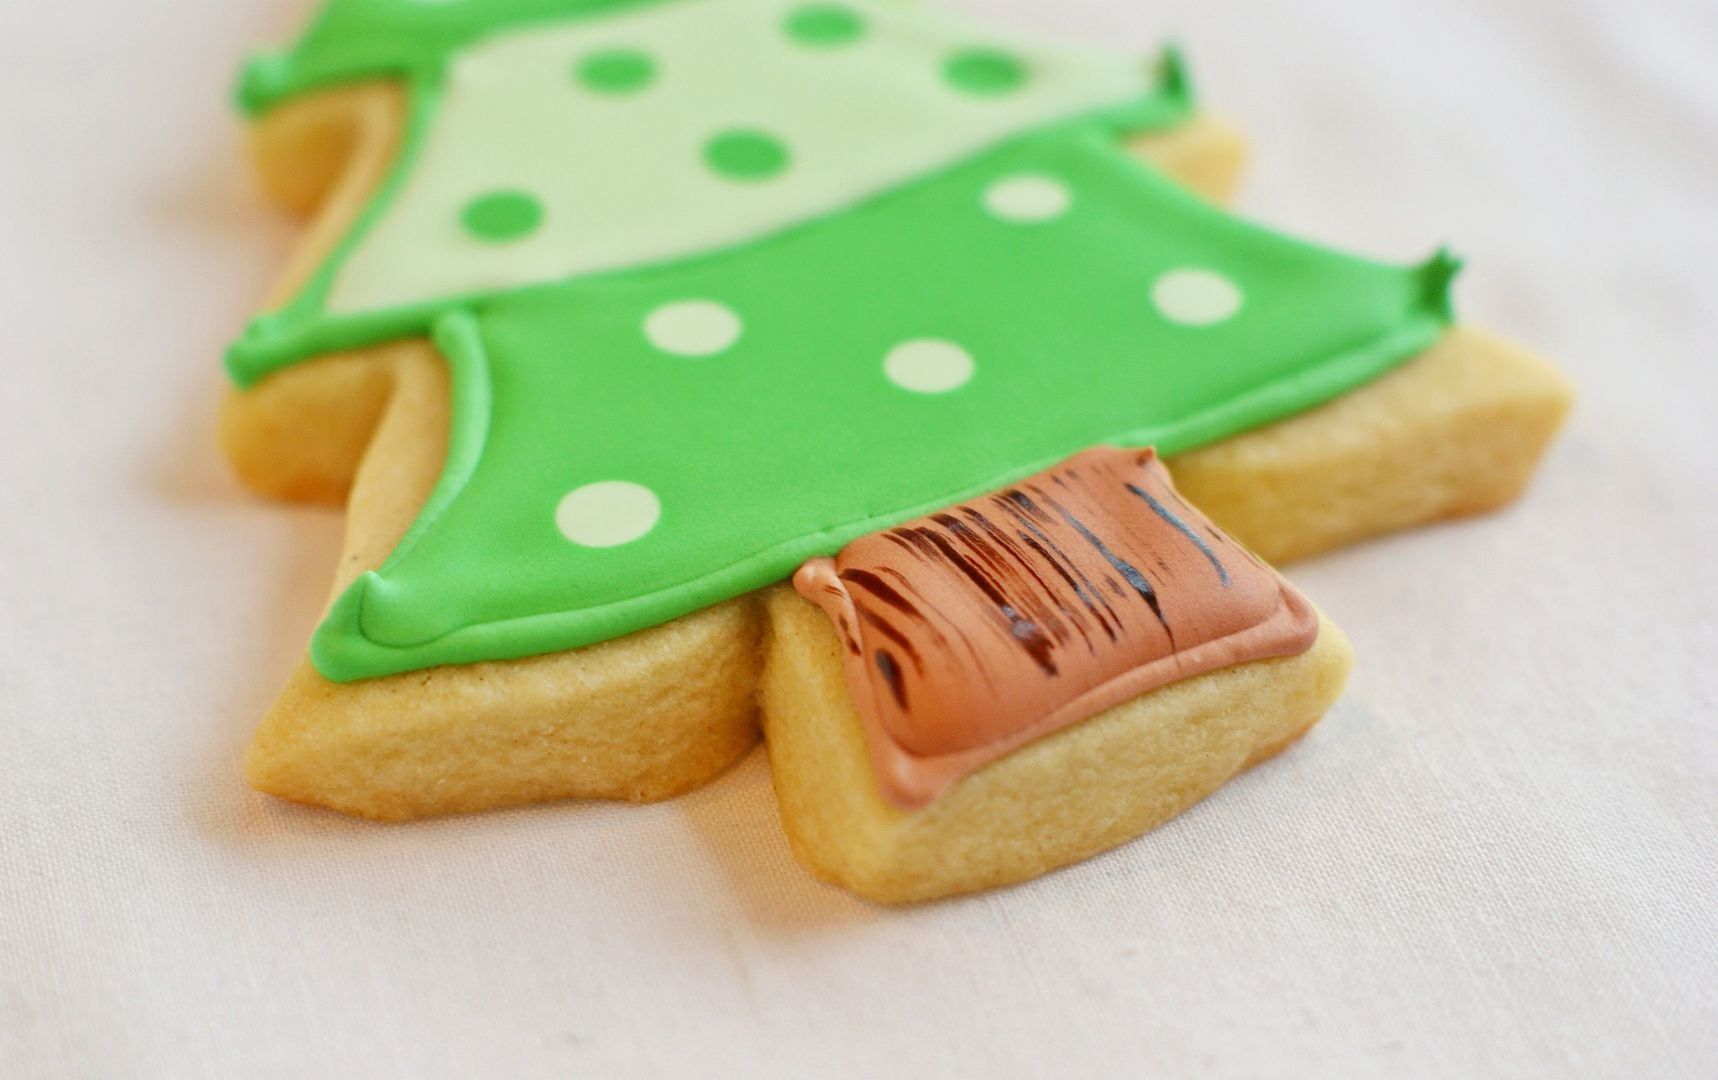
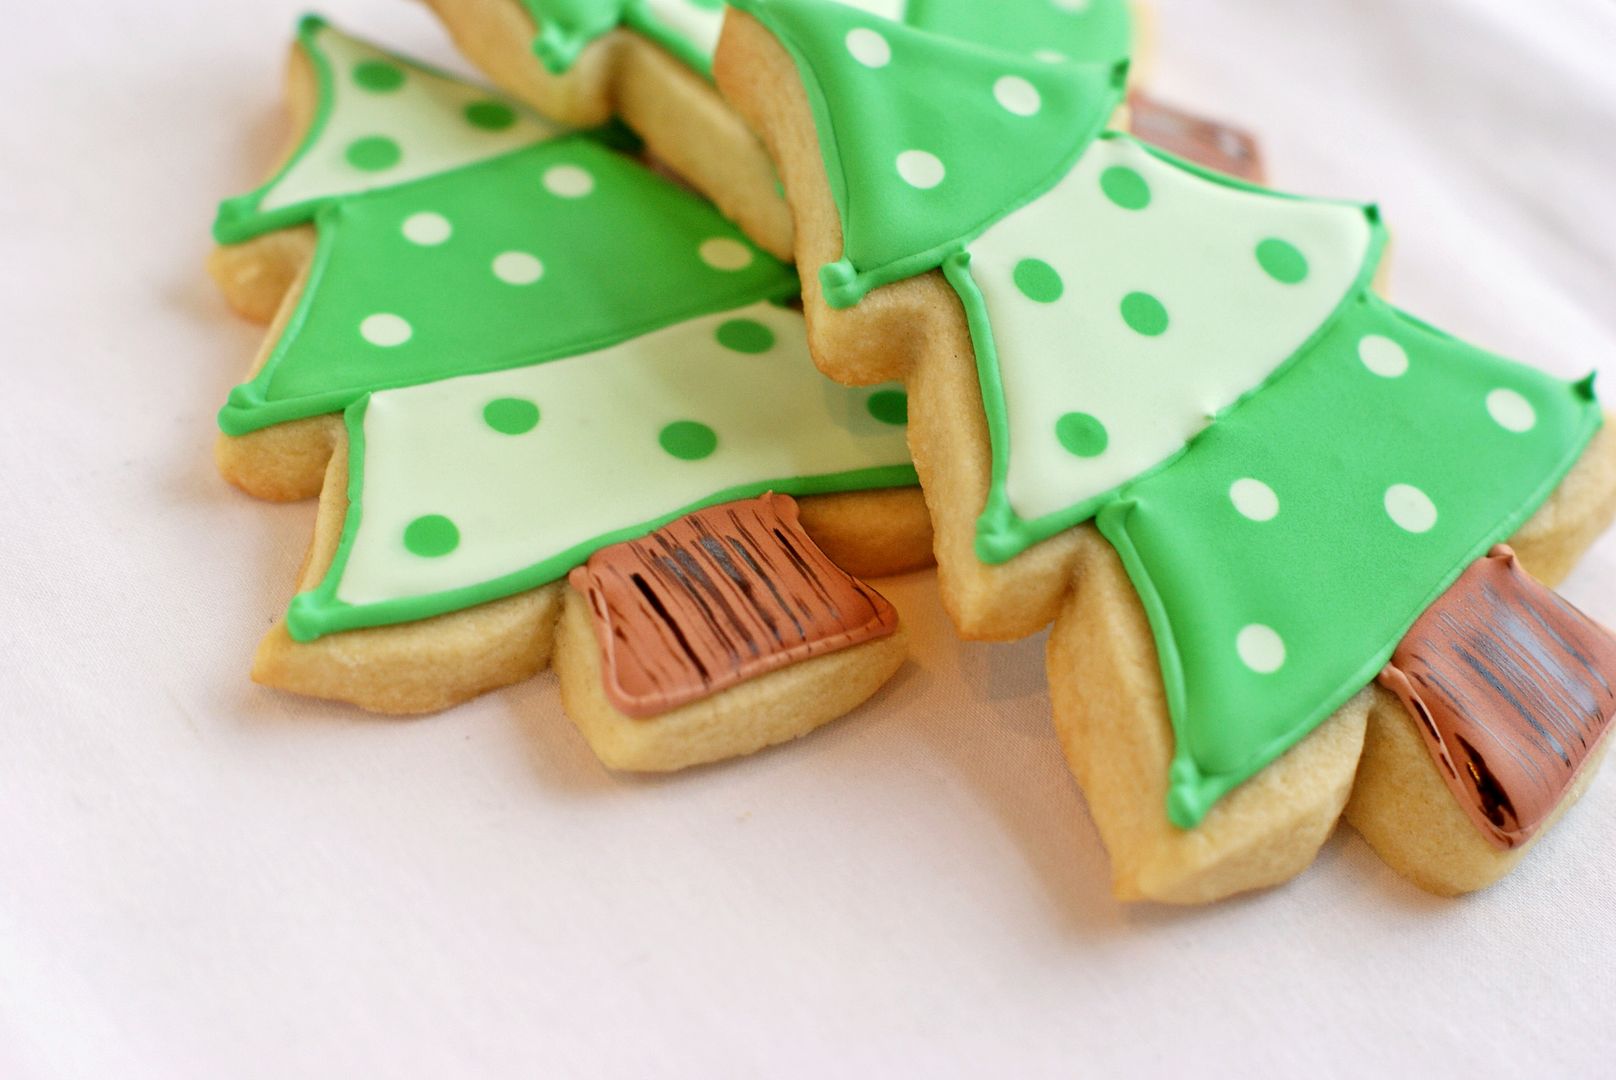
Dotty Winter Trees

...otherwise known as the "Trees of Indecision."
As soon as I saw these two-tone trees from A Dozen Eggs, I knew that tree cookies were in my future.

But, since I seem to have an obsession with dots....whether it be on cakes or apples or presents....I added some dots.
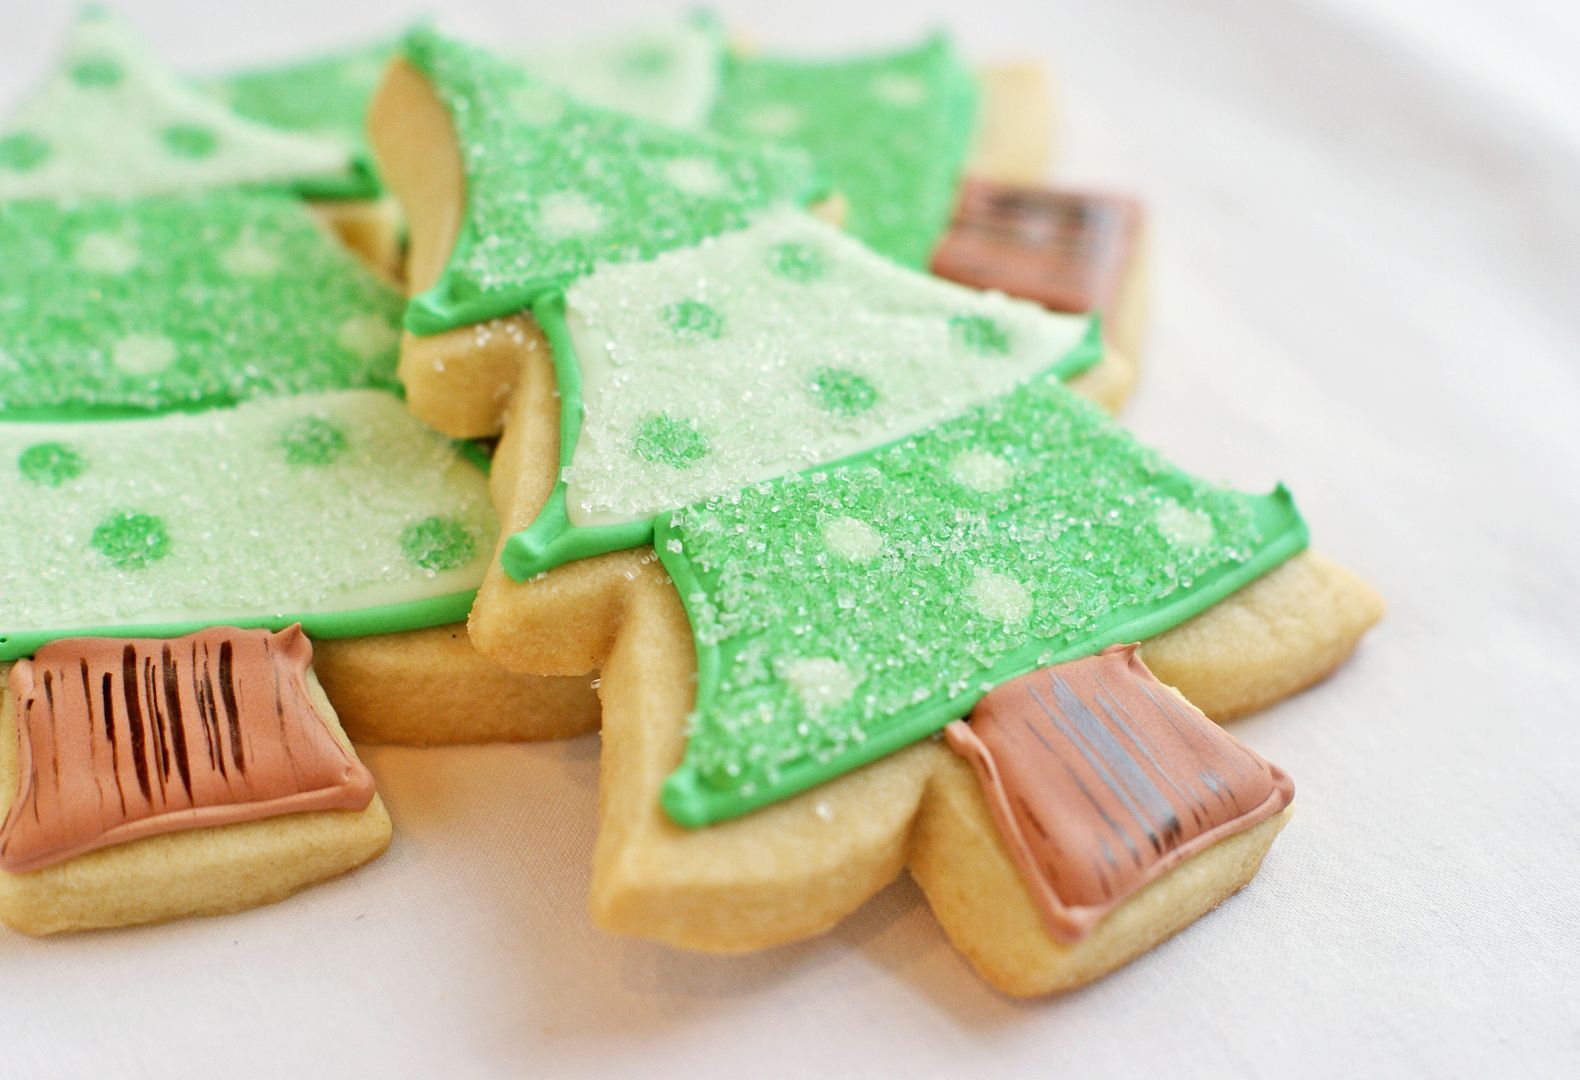
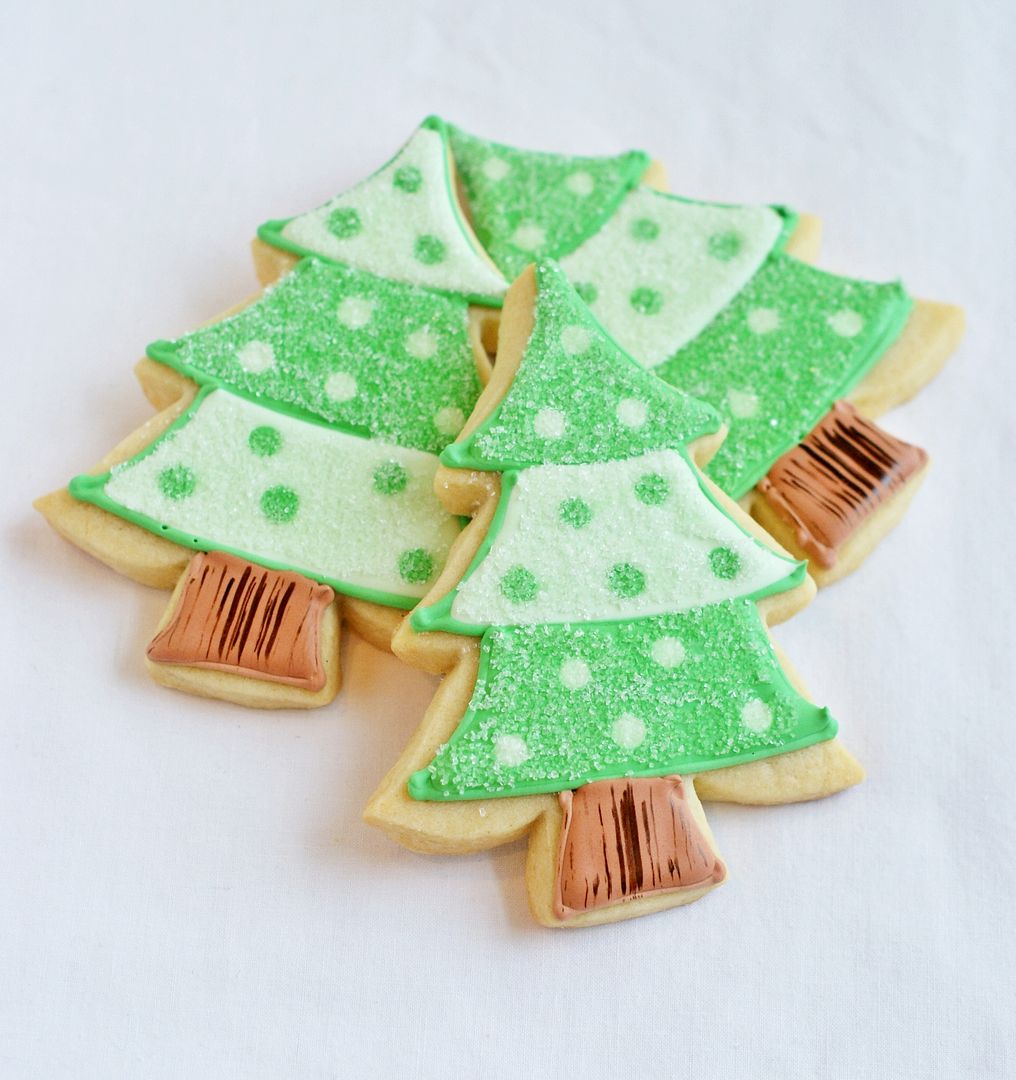
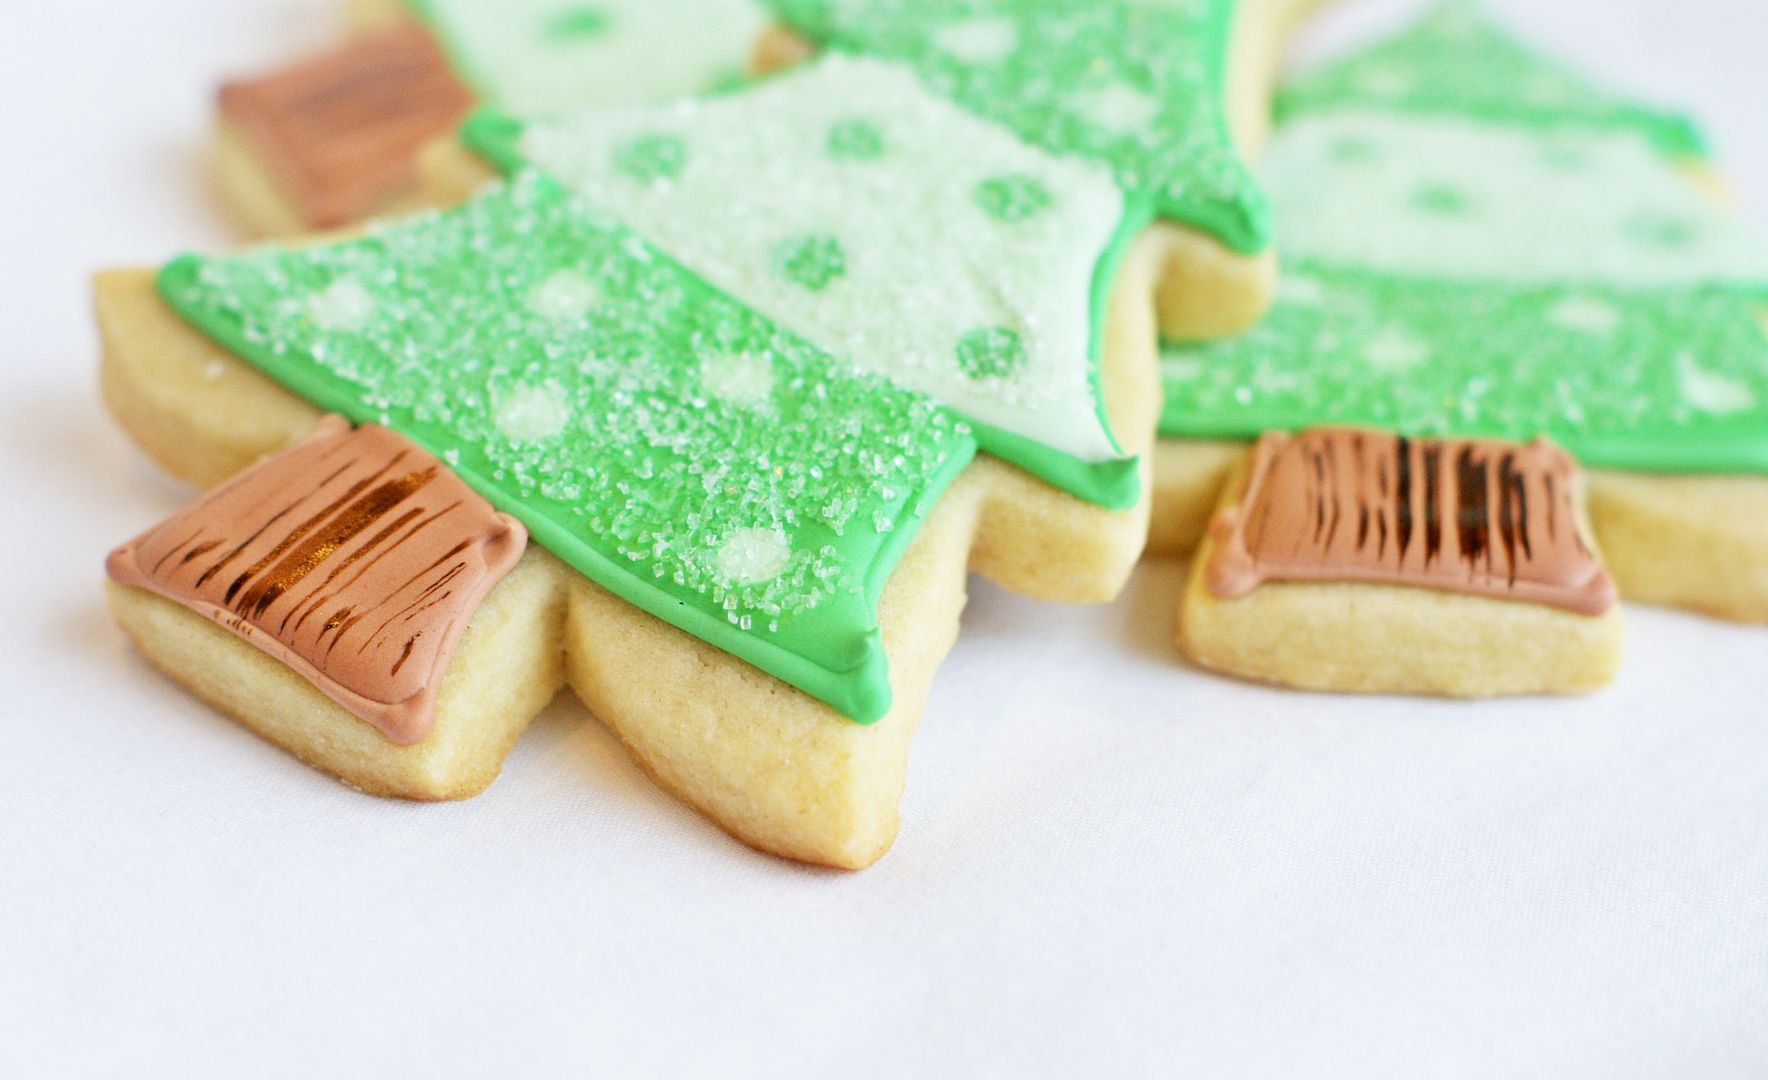
The indecision came in with the sanding sugar and the wood grain trunk. To sugar or not to sugar. To wood grain or not to wood grain.  Those were the questions.

{You know you are having serious cookie issues when you wake your husband up at the crack of dawn to say, "Sweetie, which do you like better, this plain tree trunk or the wood grain one?"}
Wood grain it was.

Now, *someone* in my house does not care for sanding sugar.  (Not the way it looks, but the way it tastes.)  Had I known this before marrying him, we would have been in for some MAJOR pre-marital counseling.
I, on the other hand, love that bit of crunch on a soft sugar cookie.  So, I went for half and half.

To make these trees, you'll need:
Dotty Winter Tree Cookie Tutorial:
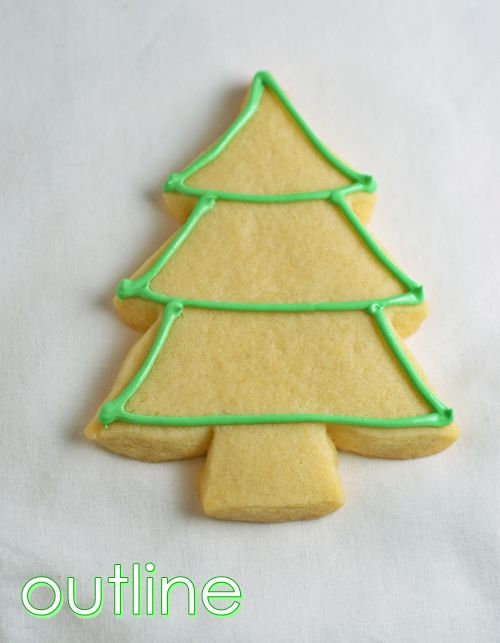
With a #3 tip, outline the tree on green, piping 3 sections of the tree.
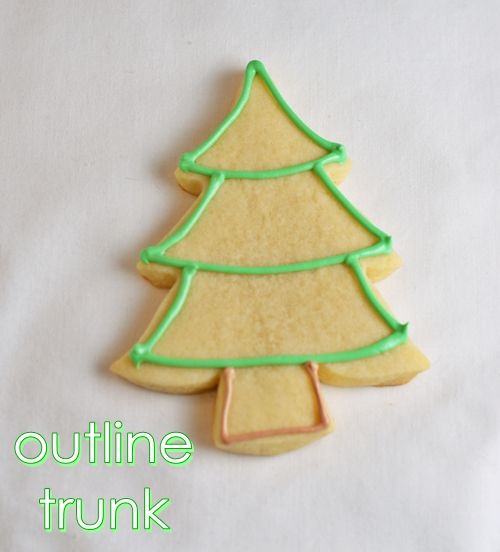
With a #2 tip, outline the trunk in brown.

Thin the green, light green and brown icings with water, a bit at a time, until it is the consistency of thick syrup.  Cover with a damp dish towel and let sit several minutes.

Stir gently with a rubber spatula and transfer icings to squeeze bottles.
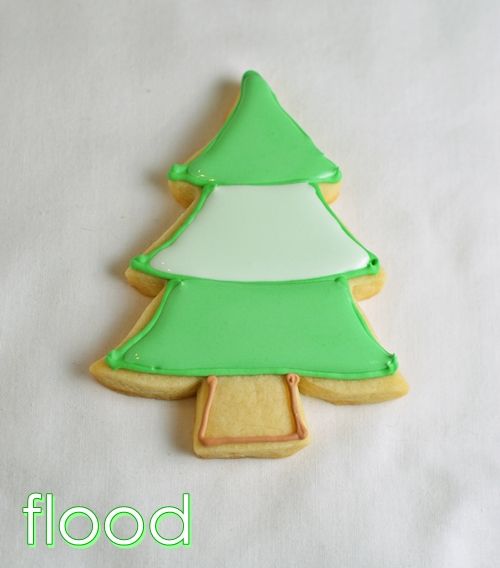
Working 6-8 cookies at a time, fill in the trees in the 3 colors of green.  Use a toothpick to spread to edges and pop large air bubbles.
Come back over the filled trees while the icing is still wet and drop on dots of thinned icing.
Fill in the trunks in brown.  Use a toothpick to spread to edges and pop large air bubbles.

Let dry overnight.
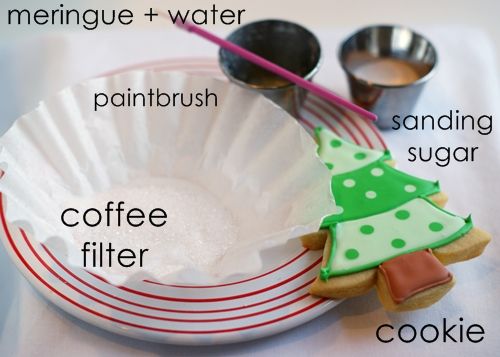
The next day, set up a sanding sugar station.  Mix equal parts meringue powder with water.  With a small paintbrush, brush the mixture on the area to be sanded.  Sprinkle on the sanding sugar and shake excess over a coffee filter.  The filter can be used as a funnel to go back into the bottle.

For the wood grain, I used a cookie painted technique from Renee of Kudos Kitchen.  She is a fabulous artist, check out her painted tiles, and she shared a video of how to add wood grain on cookies at University of Cookie.

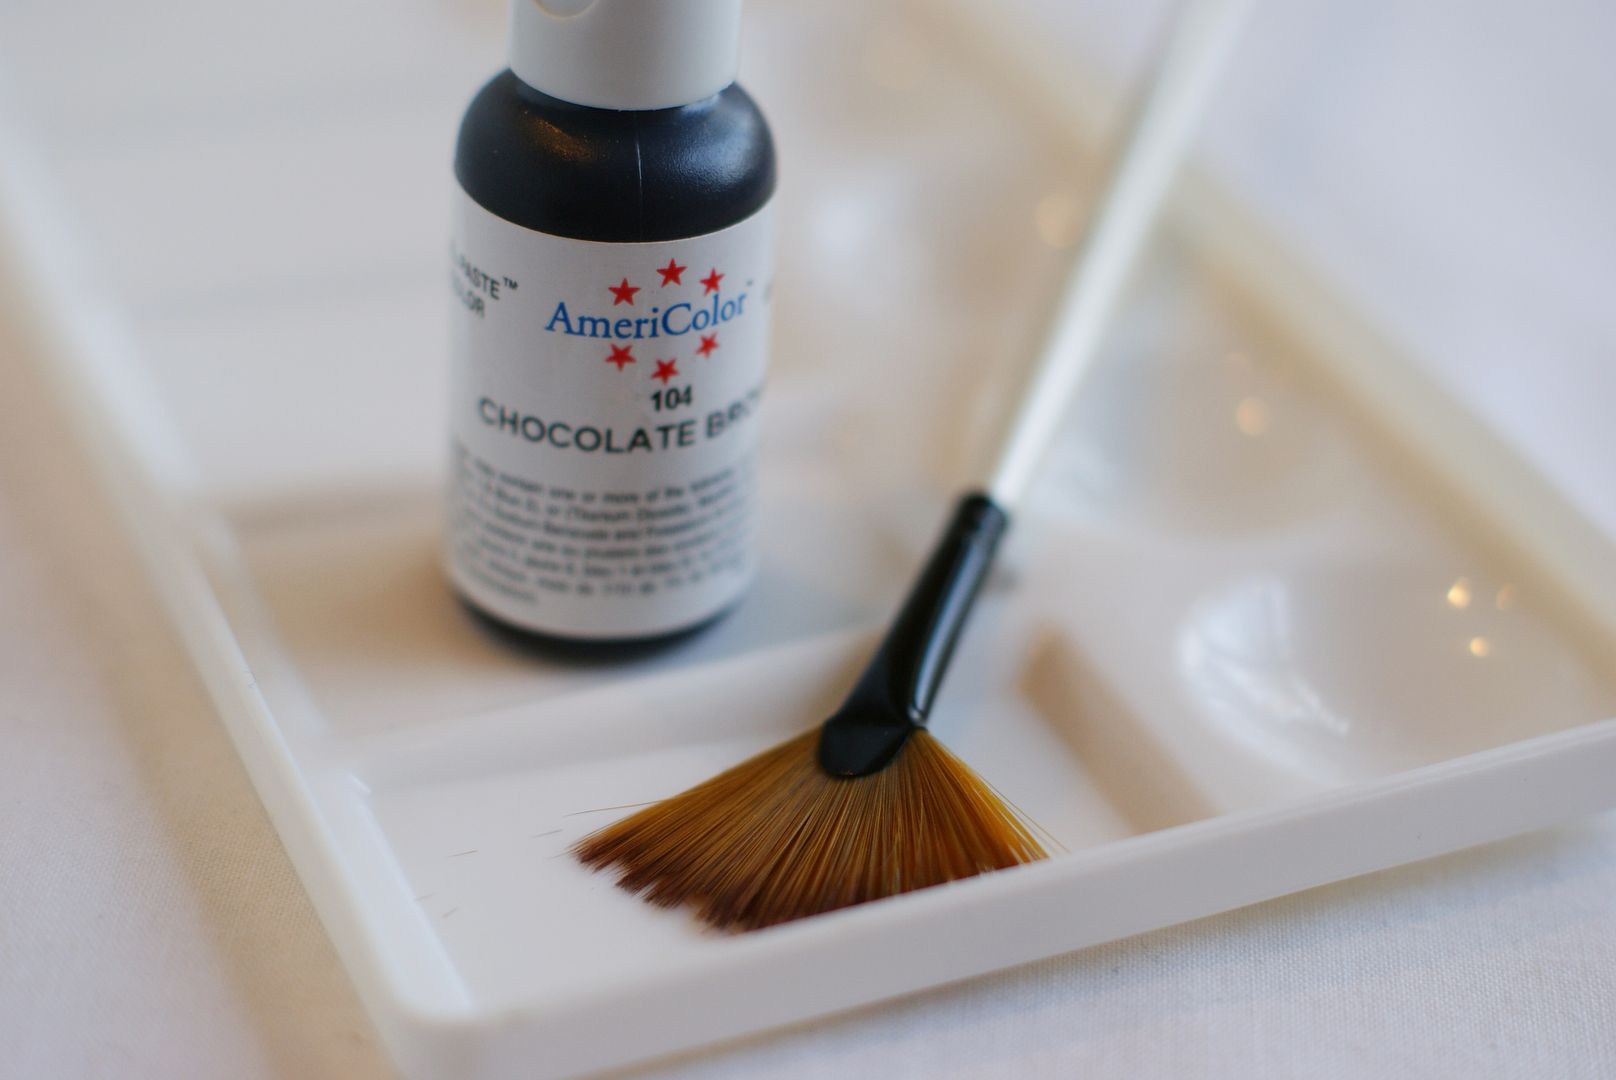
Basically, mix water with food coloring....a 1 to 1 ratio or so.  Trim your fan brush, so that it is uneven.  Dip the brush into the food coloring mixture, dab on a paper towel and brush onto your cookies. (I used the same technique on the Harry Potter broom cookies.)

Tell me....are you a sanding sugar lover like me, or do you side with Mr. E on this one?

Labels: ,