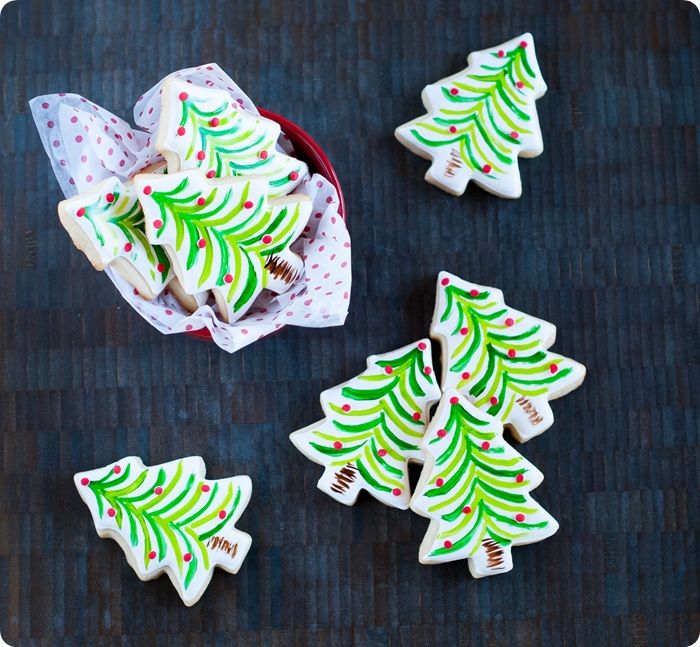
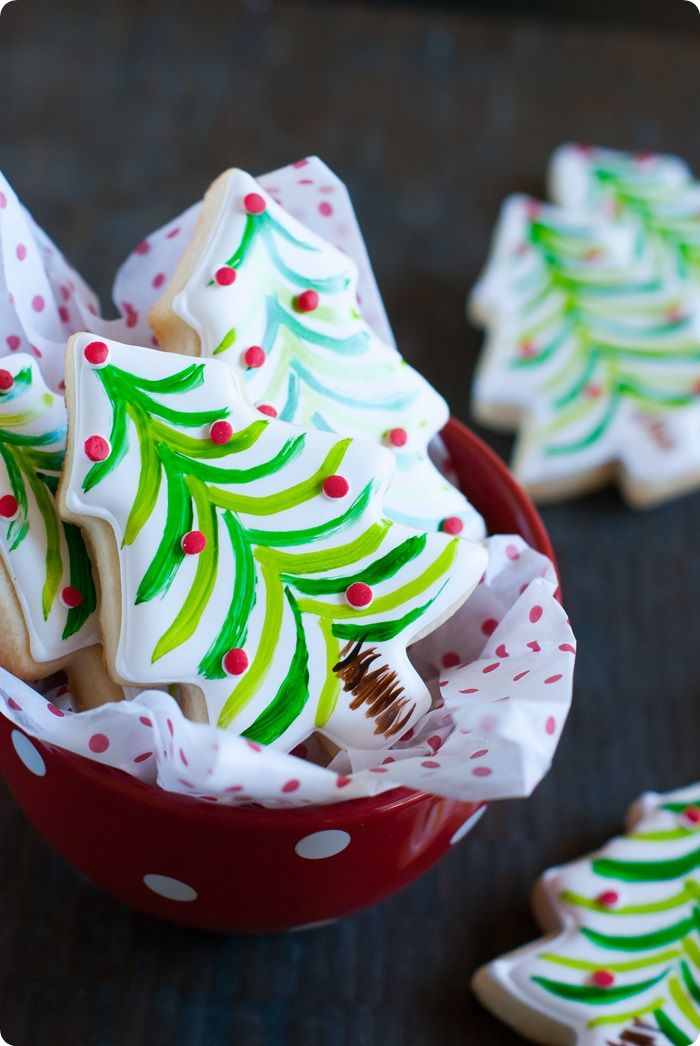
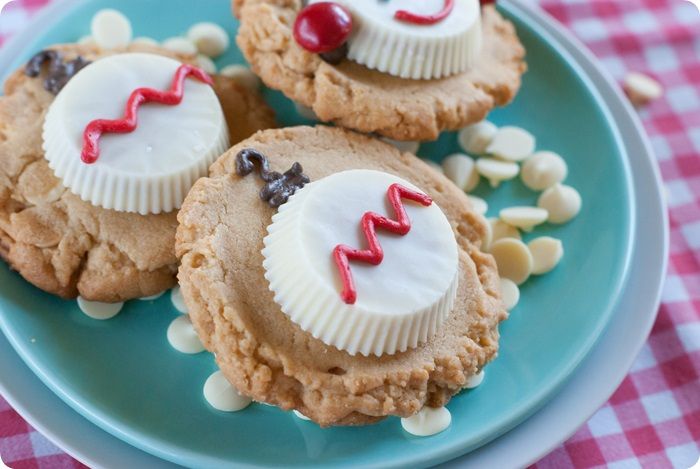
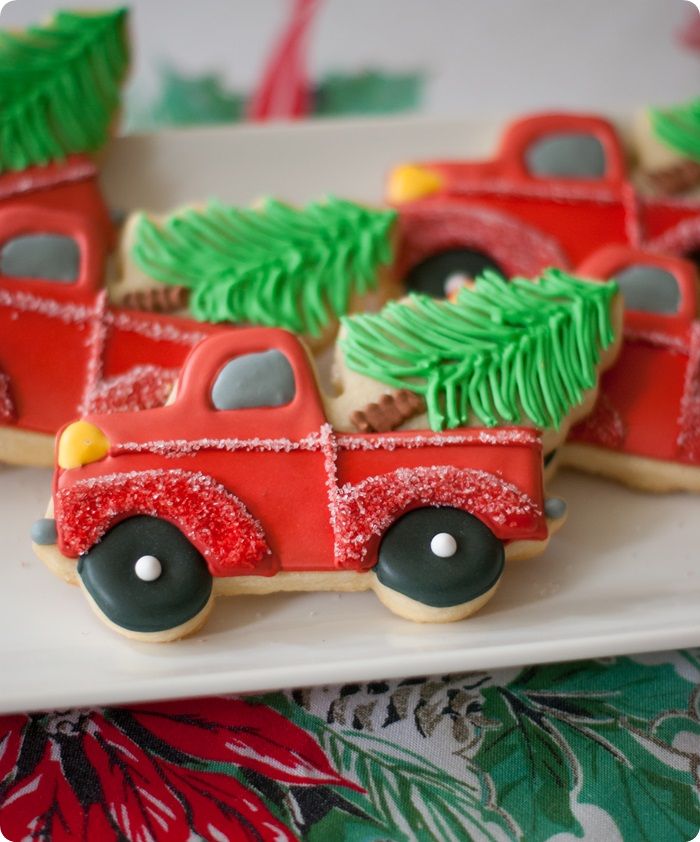
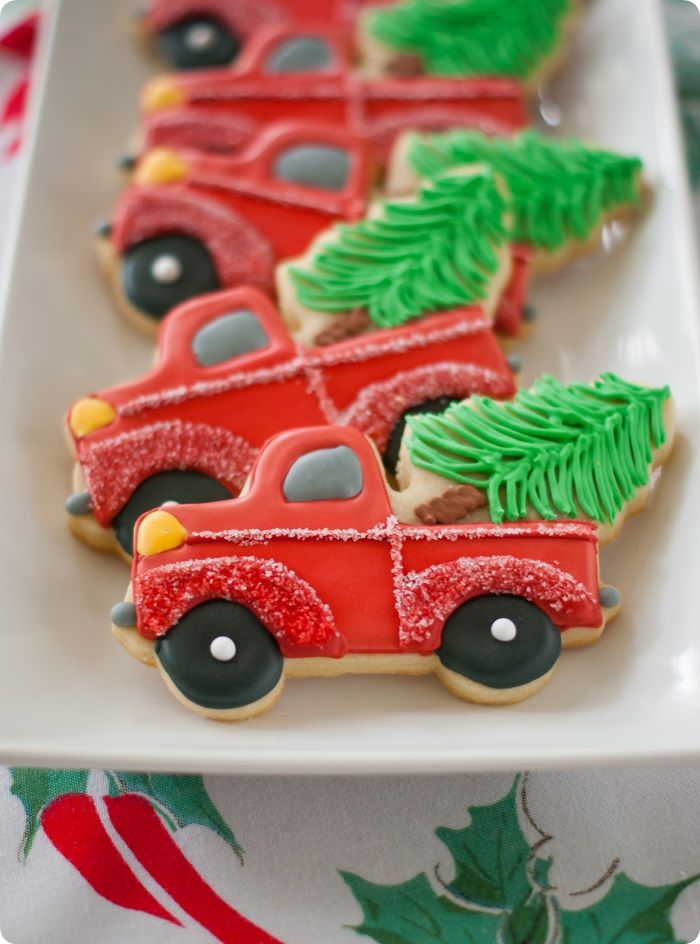
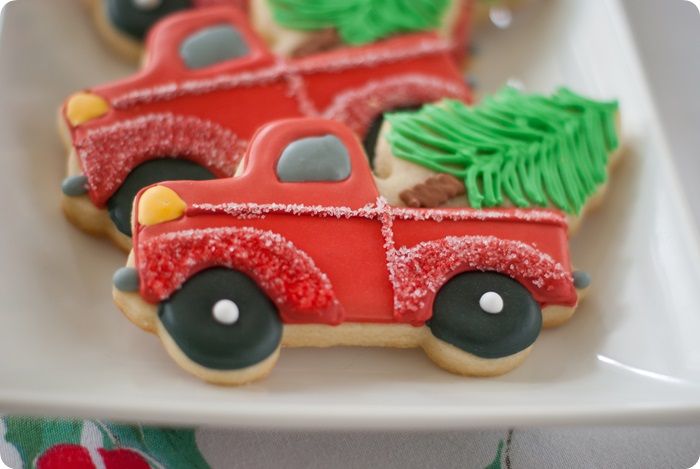
Beep! Beep! It's Christmas!
Guys, I've had this cookie cutter for YEARS. It intimidated me. Every year after Christmas I would think to myself, "next year, I'll use that cutter." And, the next year rolled around and I just couldn't get the design quite right.
Armed with inspiration from King Arthur Flour, I broke out my cookie cutter and went to work.

To make Christmas Tree Truck cookies, you'll need:
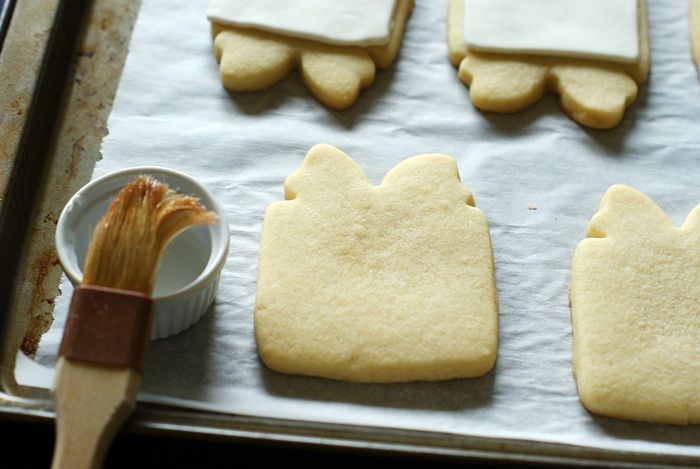
- truck cookies, using this recipe (similar cutter here...and truck and tree cutter here!)
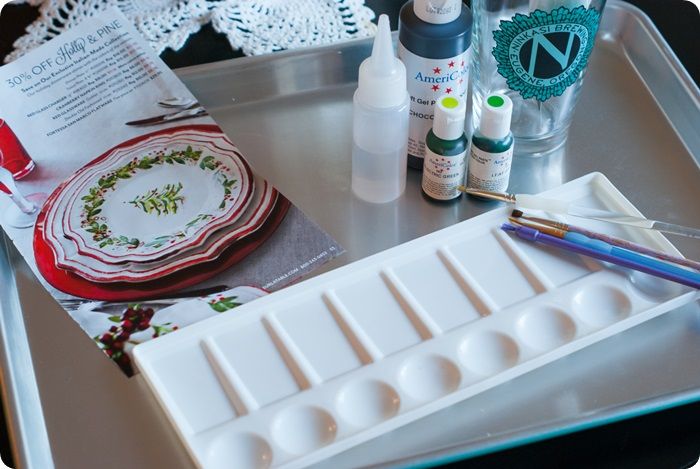
- royal icing tinted with AmeriColor super black, super red (two shades), egg yellow, grey (made with black), leaf green, chocolate brown, and bright white
- disposable icing bags
- squeeze bottles
- decorating tips (#2, #3) and coupler
- meringue powder
- small paintbrush
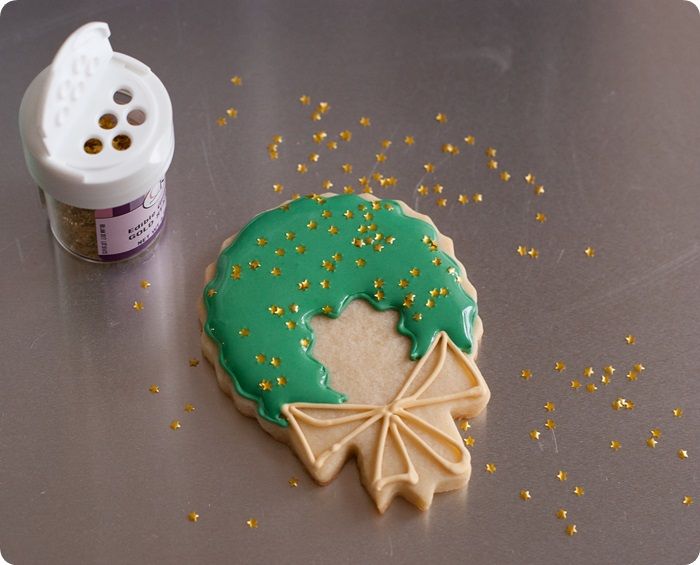
- white sanding sugar
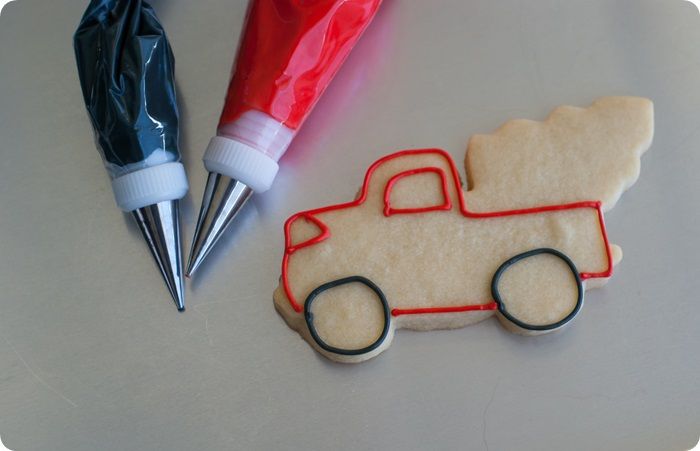
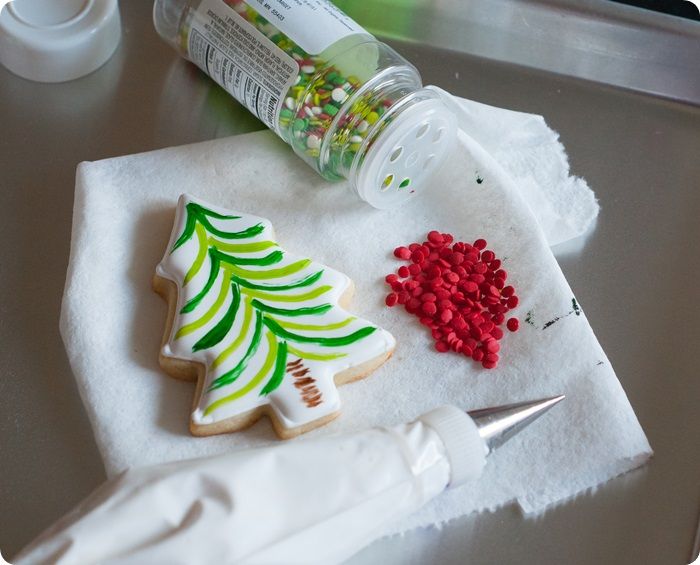
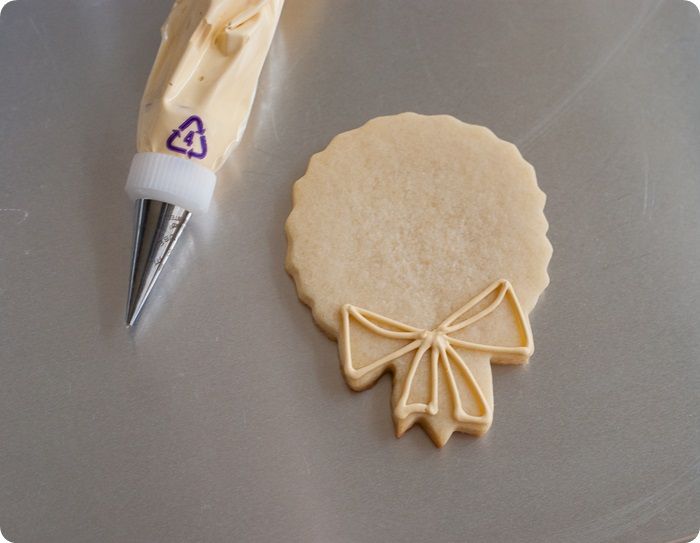
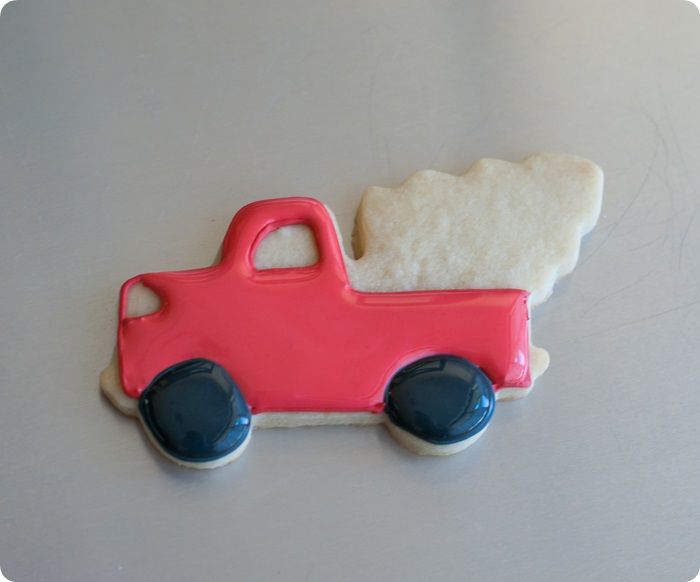
Use a #2 tips to outline the wheels (black) and truck body (darker red).. Reserve some of this red piping icing for later.
Thin the black, light red, grey and yellow icings with water, a bit at a time, stirring with a silicone spatula, until it is the consistency of a thick syrup. You'll want to drop a "ribbon" of icing back into the bowl and have it disappear in a count of "one thousand one, one thousand two." Four is too thick, one is too thin. Count of 2-3 is good. Cover with a damp dishcloth and let sit for several minutes.
Stir gently with a rubber spatula to pop any large air bubbles that have formed. Transfer to squeeze bottles.
Fill in the outlines with thinned icing. Use a toothpick to guide into corners and pop large air bubbles.
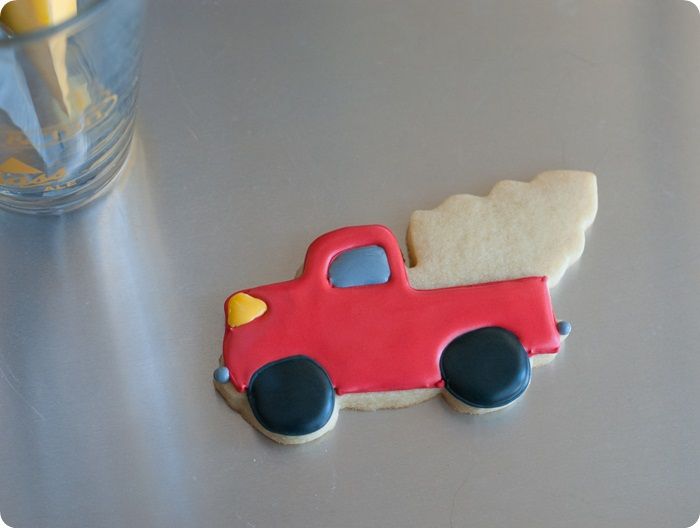
Let the cookies dry for at least one hour.
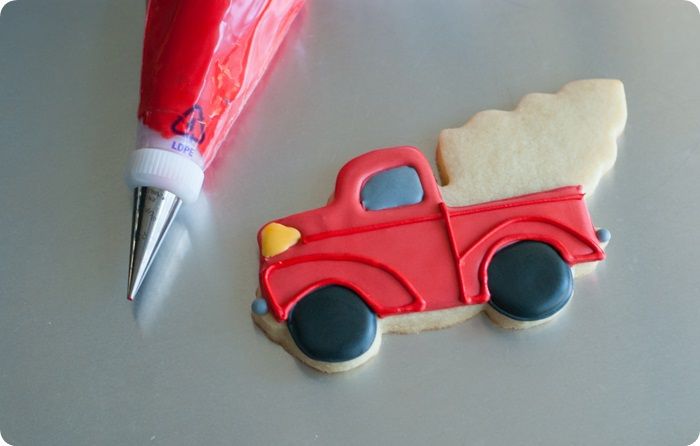
Use a #2 tip to outline the wheel wells (fenders?) in the darker red icing. Pipe a line across the truck body and one for the door.
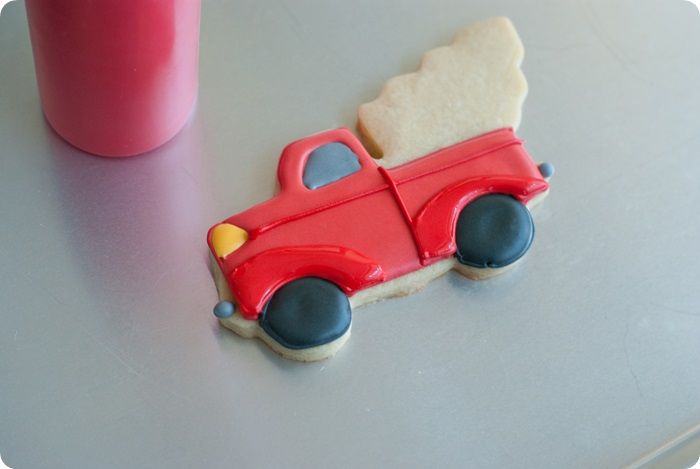
Thin the dark red icing as above and fill in the outlines.
Use a #3 tip to add centers to the wheels in white.
Let the cookies dry uncovered, 6-8 hours, or overnight.
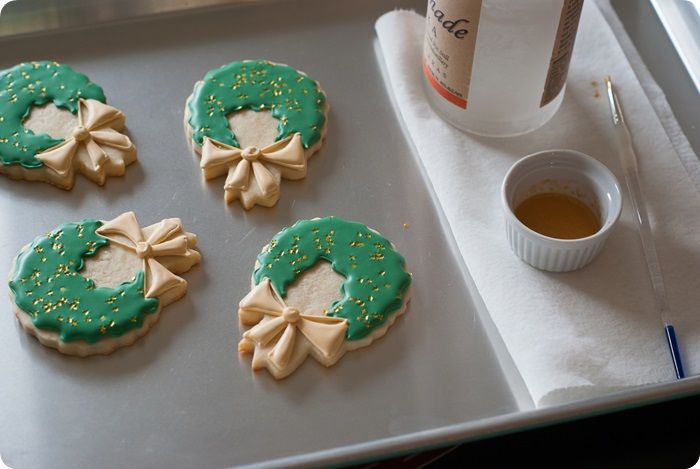
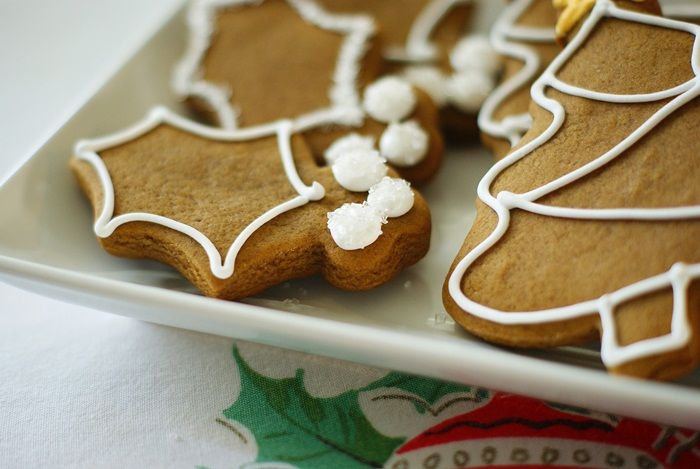
Once the cookies are completely dry, combine equal parts meringue powder and water, and brush the mixture onto the wheel wells and piped detail lines. Sprinkle on the sanding sugar and shake off the excess.
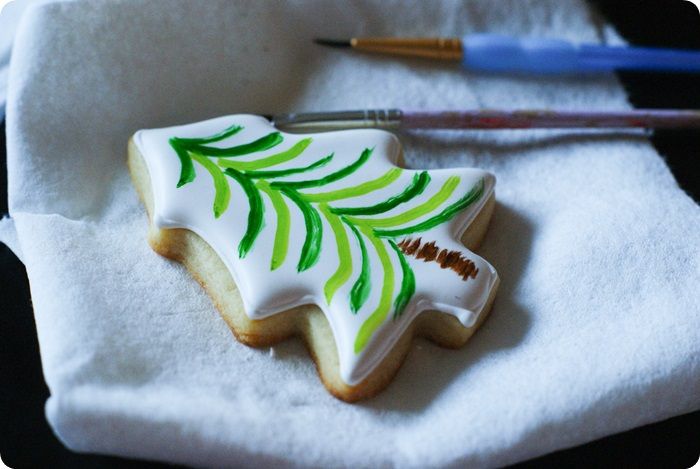
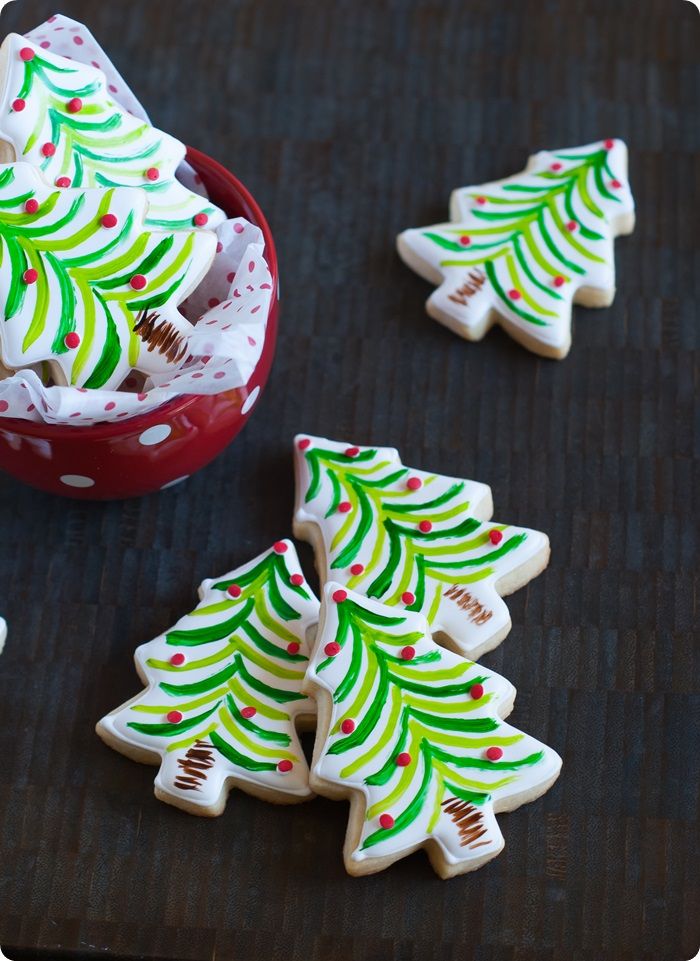
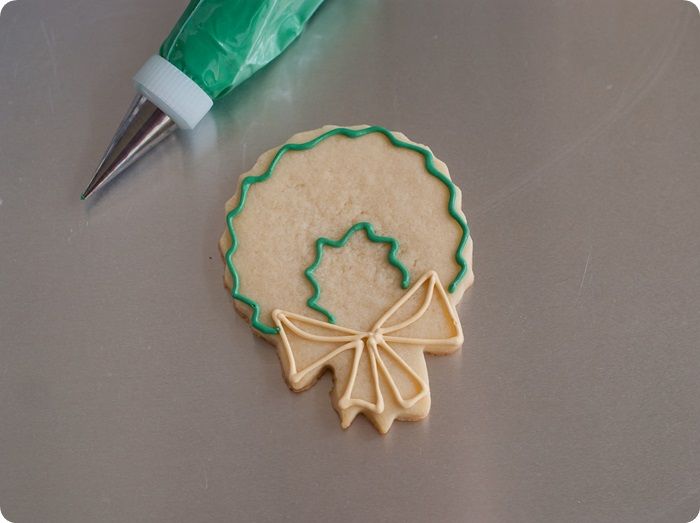
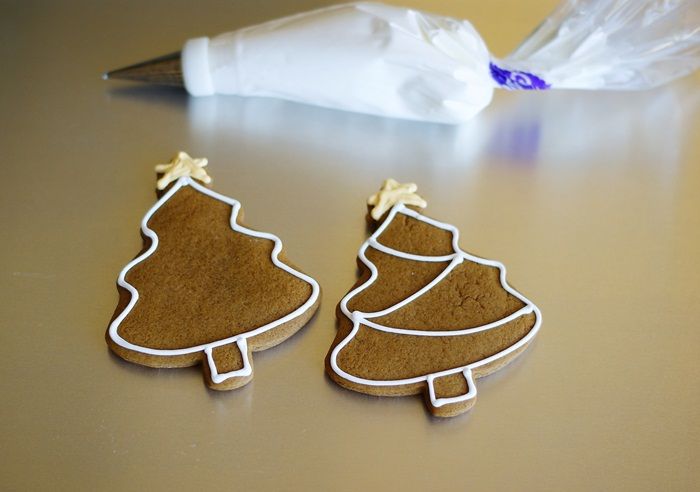
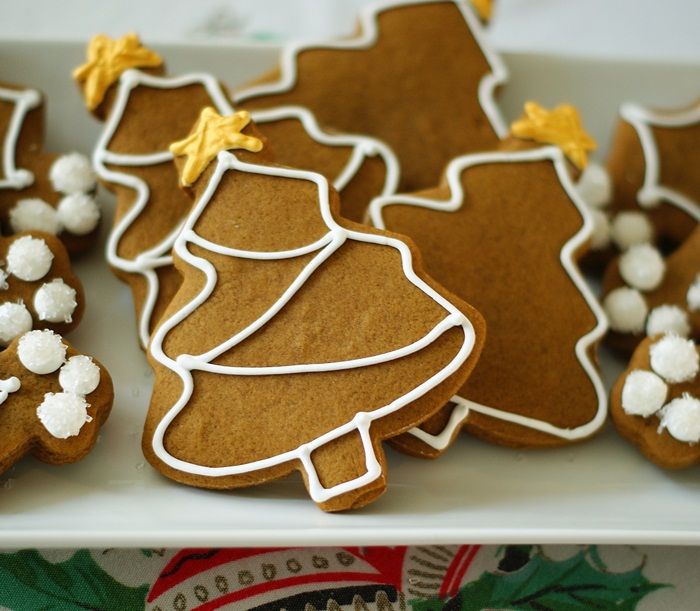
Use a #2 tip to pipe branches for the trees in green. I made one layer, then when back over and added several more on top.
Use a #2 tip to add a truck with brown icing.

Do you have any cookie cutters stashed away that intimidate you just a little bit?
Labels: Christmas
posted by Unknown @ 8:32 AM
0 Comments
![]()