Thursday, December 6, 2012

Faux Bois...ooo-la-la!

I'm a little obsessed with faux bois (foh bwah).

Maybe the obsession has to do with the fact that it's one of the few French phrases I can pronounce.
"Excusez moi"
"S'il vous plait"
&
"Faux Bois"

Don't EVER ask Mr. E about the time when we were newly married and visiting New Orleans. We were having breakfast at a little coffee & beignet place, and I just could not work out in my head how to pronouce the coffee.  Cafe au lait. Cafe au lait.  I didn't want my new husband to know that I was unsophisticated, so I didn't ask him.  The waiter came to our table and I ordered...

Cafe O' LOT.  Yeah.
Did I mention Mr. E took French in high school? He laughed. I gorged myself on beignets.

Spanish, on the other hand, oh...I work on it.  EVERY DAY I work on my "easy breezy" ala the Sophia Vergara CoverGirl commercial.   We look really similar, so it comes pretty naturally.

*cough*

Back to faux bois.  Obsessed.

I found this stamp at Michaels and knew it was meant for cookies.  There's a little controversy brewing in the cookie world about whether stamps are safe for cookie decorating.  Here's my take.  I washed the stamp.  I pressed it into fondant for about 5 seconds.  I'm not eating THE STAMP.  If it scares you, place a piece of cling wrap between the stamp and fondant.  The image just won't be as sharp.

To make Faux Bois Package cookies, you'll need:
  • sugar cookies
  • white fondant (I like Satin Ice)
  • corn syrup
  • wood grain stamp
  • AmeriColor Chocolate Brown
  • vodka
  • small paintbrushes
  • royal icing, tinted with AmeriColor SuperRed
  • #2 tip and coupler
  • disposable icing bag
  • squeeze bottle
  • toothpicks
Roll the fondant on a surface coated with corn starch. (Roll it thin, mine is a bit thick.) Use the cookie cutter to cut the fondant, and slice off the bow section.

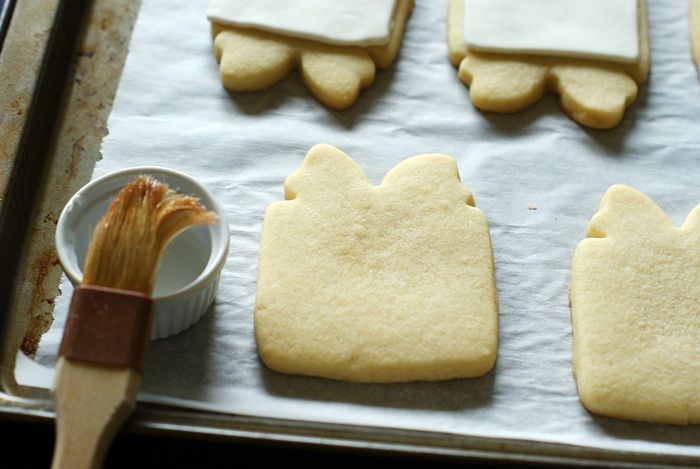
Brush the square part of the cookie with corn syrup.  Place on the cut fondant and press lightly to adhere.

Combine food coloring with vodka.  No real measurements here...the vodka will help the food coloring dry and the alcohol will evaporate.

Press the clean stamp into the fondant.  Press firmly and be sure to apply pressure up and down and side to side to imprint across the entire cookie.

Dip the paintbrushes into the food coloring mixture and blot on a paper towel. "Paint" the indentations made by the stamp.

{Note: why I didn't just paint the stamp, I'll never know.  It didn't occur to me until I was in bed that night.  Try it.}

Use a #2 tip to outline the bow with royal icing.

Thin the icing with water, a bit at a time, stirring with a silicone spatula, until it is the consistency of a thick syrup.  You'll want to drop a "ribbon" of icing back into the bowl and have it disappear in a count of "one thousand one, one thousand two." Four is too thick, one is too thin.  Count of 2-3 is good.  Cover with a damp dishcloth and let sit for several minutes.

Stir gently with a silicone spatula to pop and large air bubbles that have formed.  Pour into a squeeze bottle.

Fill in the outline with the thinned flood icing, using a toothpick to guide to the edges and to pop large air bubbles.

If desired, go back over the bow with the piping icing to add detail.  The wet flood icing needs to dry uncovered 6-8 hours or overnight.

Don't you love it in white, too?  You can really see the texture of the fondant.

It reminds me of a cable knit sweater.  Hmm...anyone have a cable knit stamp?

I could totally see these as a circle or square cookie with a really pretty star tip border.  So, they're not just for Christmas packages!

Faux Bois...say it today.  It's fun.

Oh!  If you are a faux bois-lover, take a gander at Mandi's fabulous painted faux bois FLOOR!!!  I just love her style and fearlessness when it comes to decorating!

Labels: ,

Monday, August 20, 2012

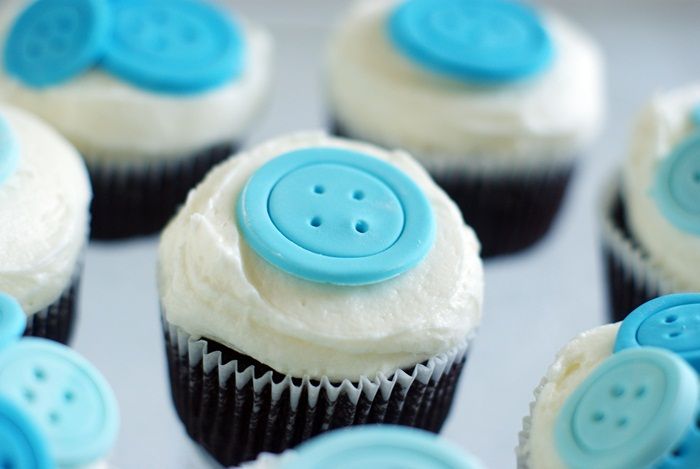
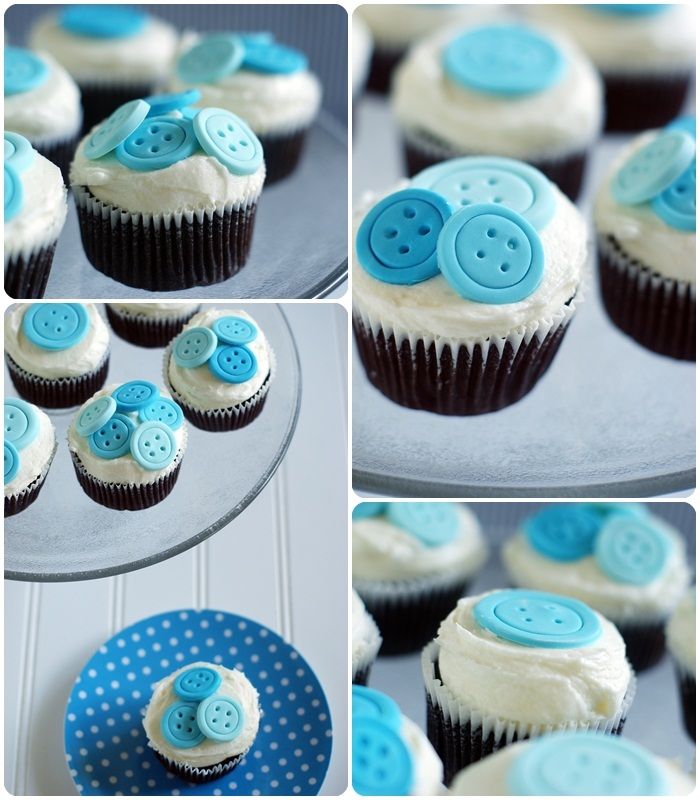
Cute as a Button Cupcakes

Welcome!  Come on in!  Today you're attending a baby shower.
{Yes, you there...in your pajamas...you're at a baby shower.}
Our baby shower today is in honor of Jenny from Picky Palate.  Jenny is the creator of such lovelies as Oreo-stuffed chocolate chip cookies, and Pumpkin Ice Cream Glazed Donuts, and she has a cookbook *just about* ready to come out. Jenny always has her two precious boys helping in the kitchen (I love that), and is currently cooking up another little helper. ;)

Now, when I was asked to "bring something" for the shower (and if you must know, my household of 3 ate them all), I first thought of these Cute as a Button cookies, and thought, "I'll turn those into cupcakes!"  I then realized that maybe I had seen something like that before and lo and behold, Button Cupcakes are in Meaghan's book, Sugarlicious.  So, maybe I didn't come up with such an original idea after all.

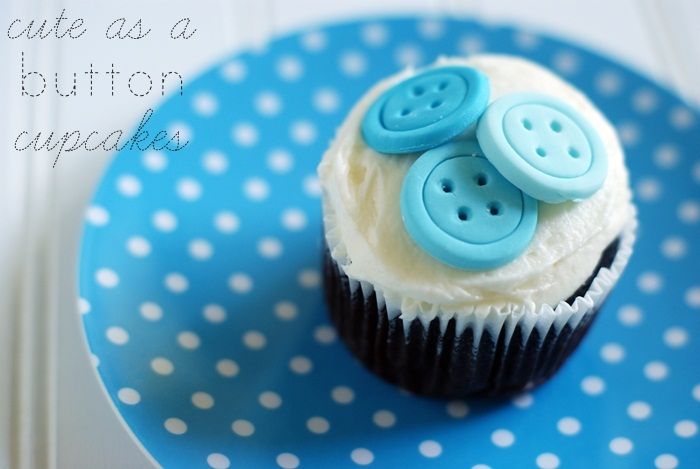
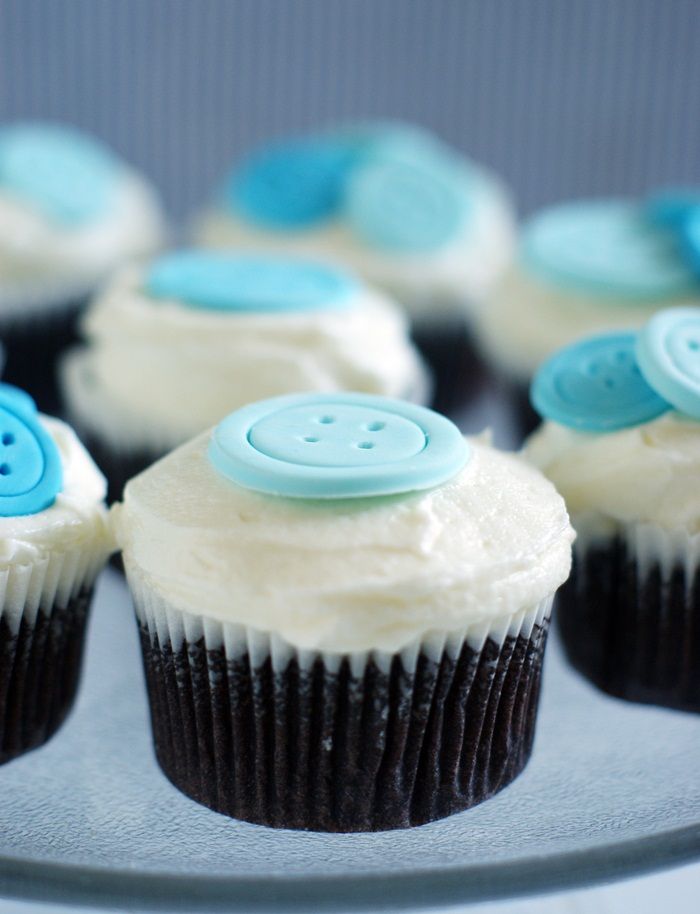
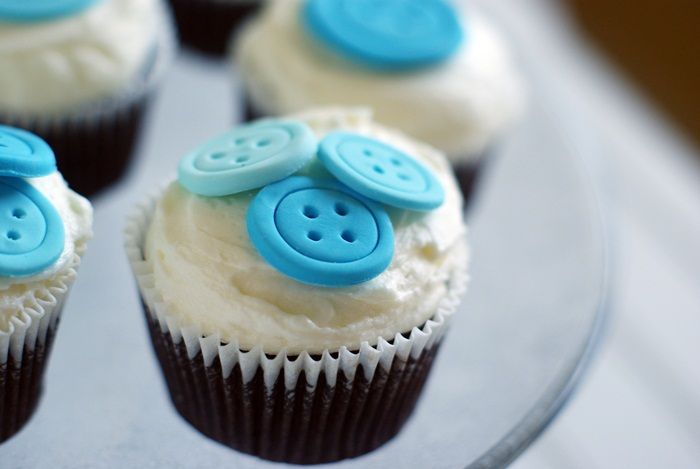
The cupcakes are just a simple one-bowl chocolate cupcake from Martha, topped with Shelly's vanilla buttercream and fondant buttons.

You'll want to make the buttons ahead of time (the instructions are here), and let them dry a bit before using.  Place them on the cupcakes as close to serving as you can and don't refrigerate the fondant.

I used Satin Ice brand fondant, and tinted it in three shades of blue using AmeriColor Sky Blue gel paste food coloring.

Be sure to have some more baby shower snacks with the other hostesses!


Angie: Bakerella Baby Faces
Bev: Bev Cooks Horseradish Deviled Eggs
Bridget: Bake at 350 Cute as a Button Cupcakes
Cheryl: TidyMom Salted Caramel Cupcakes
Gaby: Whats Gaby Cooking Blueberry Buttermilk Cake
Heather: Heather's Dish Perfect Pancake Bites   
Julie: The Little Kitchen Mixed Berry Mint Slushies
Kathy: Panini Happy Baby Oreo Ice Cream Pies
Kristan: Confessions of a Cookbook Queen Homemade Animal Crackers
Lauren: Lauren's Latest Mini Chocolate Lava Cakes
Maria: Two Peas and Their Pod Cookies 'n Cream Sheet Cake
Marion: Sweetopia Baby Shower Cookie Favors 
Marla: Family Fresh Cooking Blueberry Mint Agua Fresca
Michelle: Brown Eyed Baker Shrimp Nacho Bites 
Robyn: Add a Pinch Blue Velvet Cake
Shaina: Food For My Family Ginger Plum Preserves
Shelly: Cookies and Cups Oreo Pop Baby Rattles
Teresa: Blooming on Bainbridge Pom-Pom Cupcakes

Happy new baby, Jenny!!!  We're all so excited to see your newest little kitchen helper!!! ♥


Labels: ,

Saturday, May 21, 2011

Dosey Doe : Stamped Fondant Cookies

 
There's a little place we like to frequent called Dosey Doe.
It's a coffeehouse/restaurant/bar/music hall with a Texas flair. 

So, one night as I was sipping a Shiner, listening to Two Tons of Steel, my mind went to cookies.  I thought maybe "branded" cookies would be cool....2 D's for Dosey Doe.

It wasn't until I started making them, that I realized they looked like they could be for a place called The Double D Ranch, and that just sounds like a Texas version of Baywatch.

Let me give you the low-down on stamping fondant.  Apparently, rubber stamps are NOT something you want to have come in contact with your food.  Who knew?  So, use a piece of plastic wrap between your fondant and the stamp.

To make "branded" cookies, you'll need:
  1. fondant: homemade or Satin Ice (it's good!)
  2. corn starch
  3. rolling pin
  4. stamps
  5. Americolor Chocolate Brown food coloring
  6. small paintbrush
  7. fan paintbrush
  8. tray
  9. corn syrup
FIRST....don't get so excited over trying a stamp that you FORGET TO TINT YOUR FONDANT. I intended to tint the fondant light brown to look more like wood.

Roll the fondant out thin on a corn starch-coated surface.  Cut with the same cutter as your cookies.

 
Cover the fondant pieces with plastic wrap and stamp.


Place on a parchment-lined cookie sheet.


Paint the letters with brown food coloring with a small paintbrush. 


Using a fan brush, paint the wood grain on the fondant using Renee's technique shown here on University of Cookie.  The only difference being that you use the food coloring straight...no added water.

Let the food coloring dry.  To attach to the cookies, use a pastry brush to apply a thin layer of corn syrup to the back. Place on the cookie to adhere.

There ya go...."branded" cookies.  Yee-haw!

I'm excited to experiment a bit more with stamped cookies!  What would you stamp?

Labels: ,

Monday, May 16, 2011

Hey there, little lady(bug)!


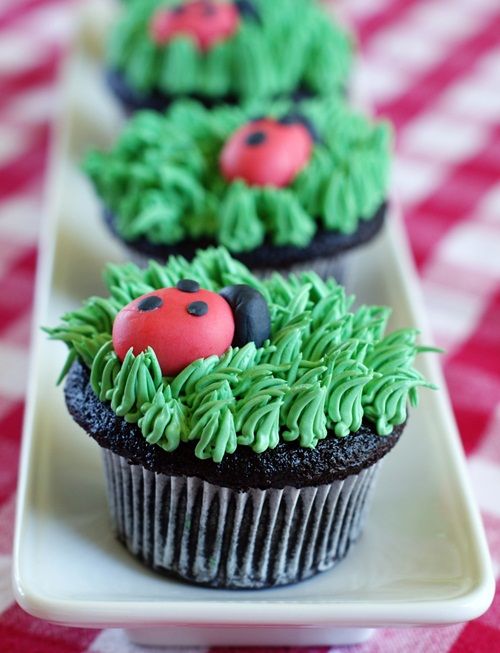
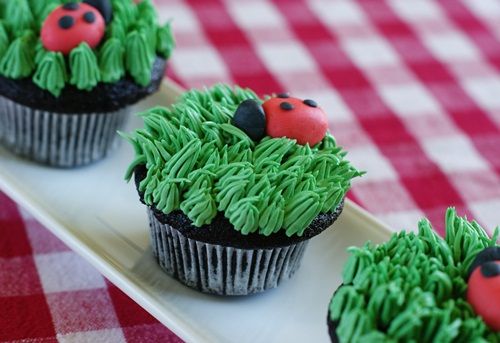
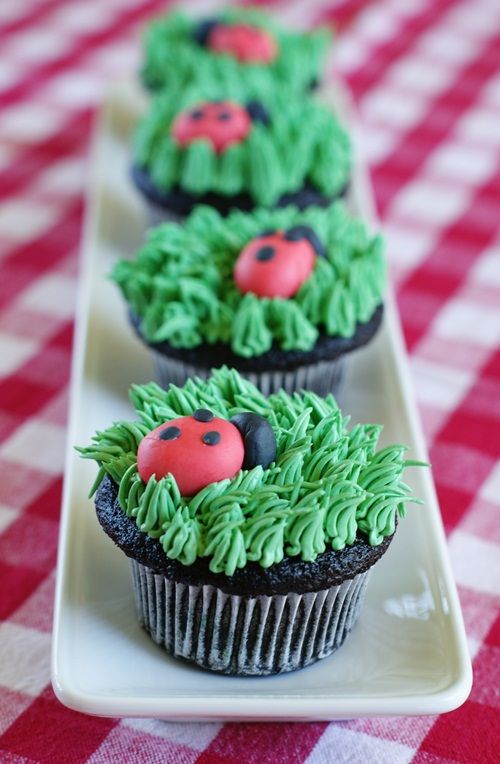
Ever since I bought the Martha Stewart Cupcakes book; I've been dreaming of making these little ladybug cupcakes.
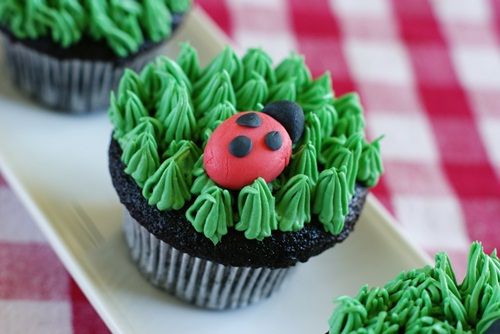
For the cupcakes, I decided to go with chocolate instead of vanilla, though, thinking it looked more like dirt.  Don't we all want our cupcakes to look like dirt? ;)

The recipe for the chocolate cupcakes (below) is so good...the cupcake are moist and light...perfect!


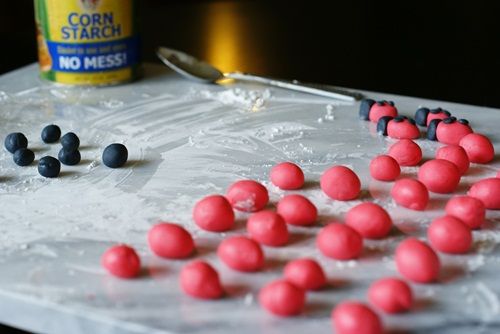
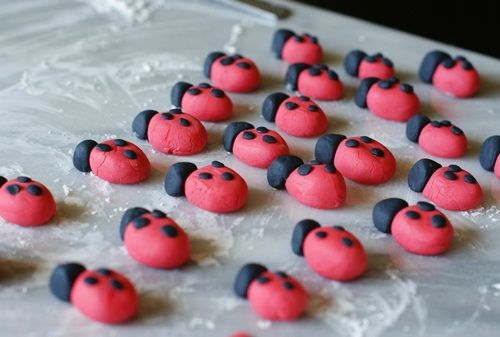
In Martha's book, the ladybugs are made from marzipan.  These I made from fondant that I had on hand.  And, I tried the Satin Ice fondant, although making it at home is easy, too.  The Satin Ice brand tastes great and smells like sugar heaven...it's nice to have on hand for fondant emergencies. ;) I found it at Sur La Table.  Either way you go, you'd use AmeriColor Super Red and Super Black food colorings to tint them.

One-Bowl Chocolate Cupcakes
{adapted from Martha Stewart Cupcakes}

3/4 c. dutch-process cocoa powder, such as Hershey's Special Dark
1 & 1/2 c. all-purpose flour
1 & 1/2 c. sugar
1 & 1/2 tsp. baking soda
3/4 tsp. baking powder
3/4 tsp. coarse salt
2 eggs
3/4 c. warm water
3/4 c. buttermilk
3 TBSP vegetable oil
1 tsp. pure vanilla extract

Preheat oven to 350 degrees. Line 18 muffin tins with cupcake liners; set aside.

With the whisk attachment of an electric mixer, whisk together cocoa powder, flour, sugar, baking soda, baking powder, and salt. Add eggs, warm water, buttermilk, oil, and vanilla, and mix on low speed until smooth, about 3 minutes. Scrape down the sides and bottom of bowl as needed.

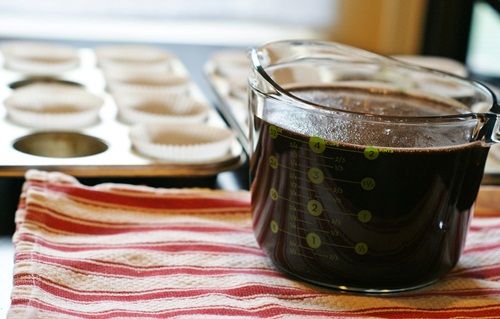
The batter is very wet. Pour into a large glass measuring cup to easily pour into muffin cups.

Fill baking cups 2/3rd full of batter. Bake about 20 minutes until a toothpick inserted in the middle comes out clean and the tops bounce back when lightly pressed. Cool on wire racks 10 minutes, then invert and remove from pans.  Cool completely on the wire racks.

The frosting is swiss meringue buttercream, although you could use any frosting that holds its shape.  For a great post on SMBC (I hear that's what the cool kids call it), visit my friend Gail, over at One Tough Cookie.  Her recipe is delicious and she makes the process look so easy!

The buttercream was tinted green with AmeriColor Leaf and Forest Green food colorings and piped onto the cupcakes with a #233 Wilton tip.

*That grass frosting counts as a serving of "greens," right?*

Labels: ,