Monogrammed Pumpkin Cookies
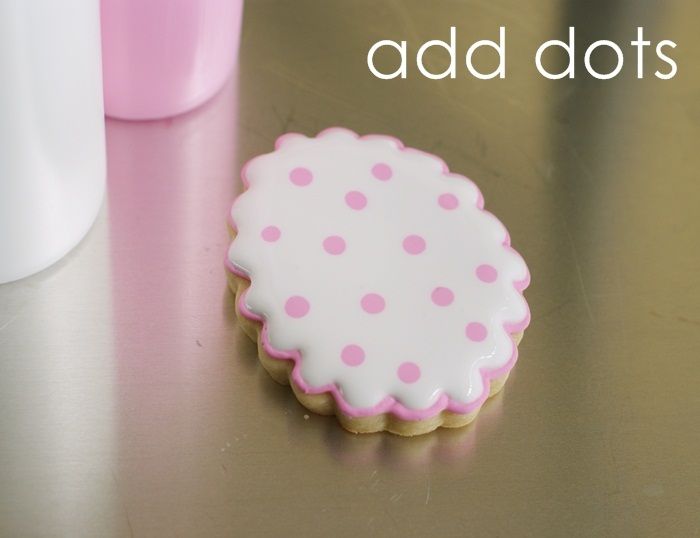
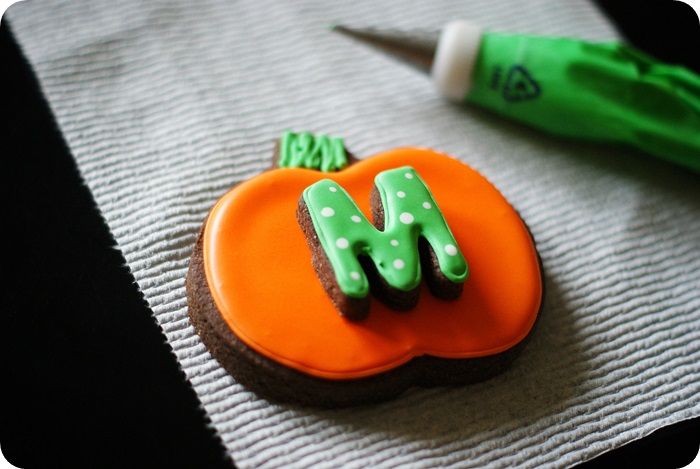
What's better than a polka dot, monogrammed pumpkin cookie?
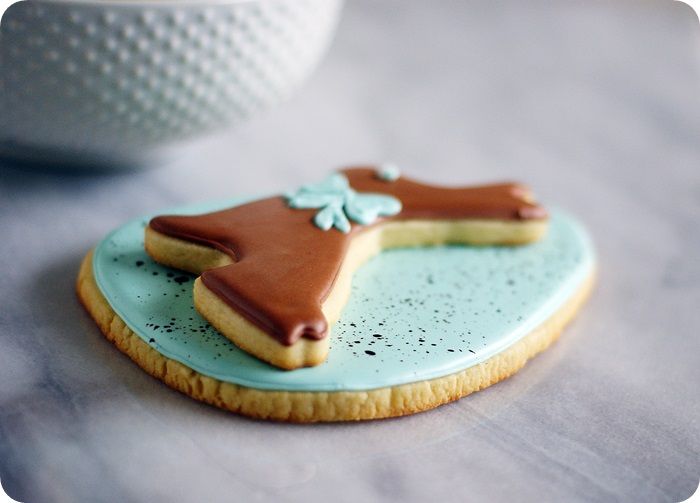
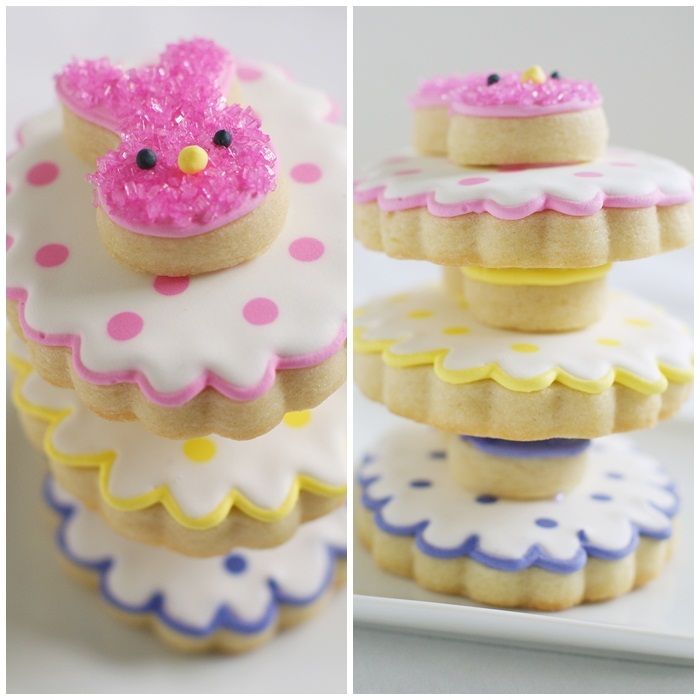
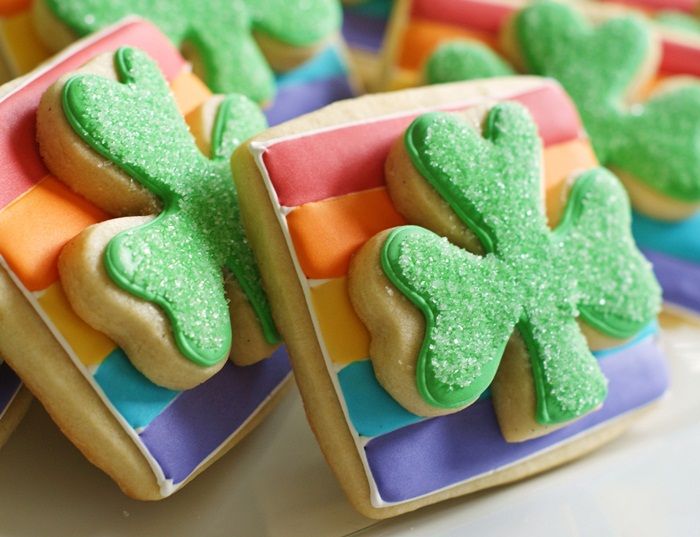
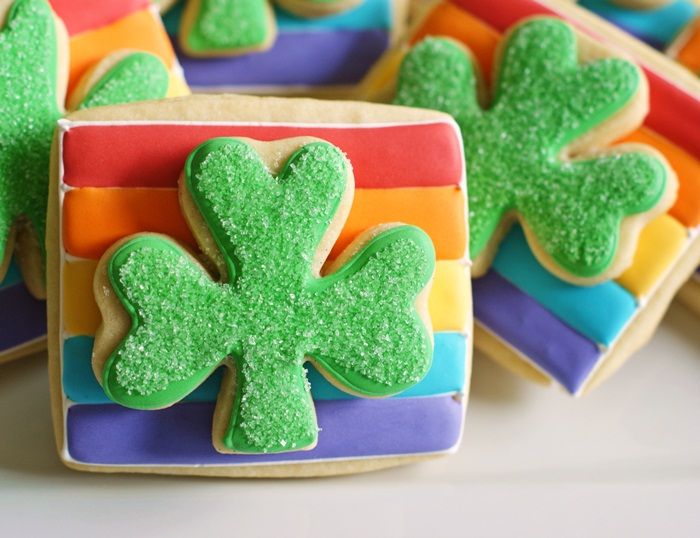
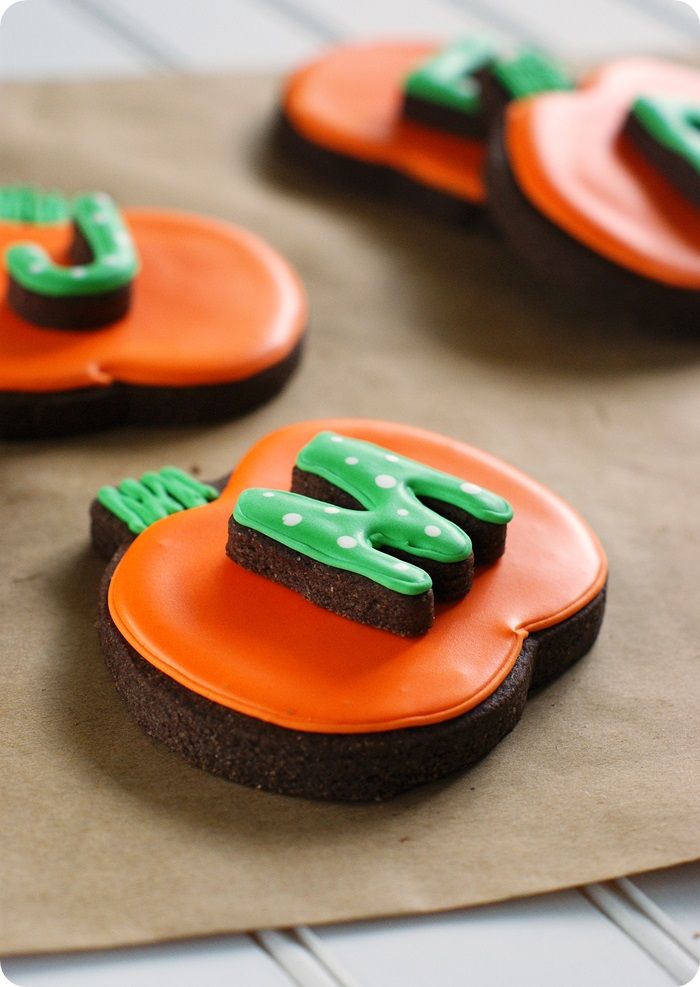
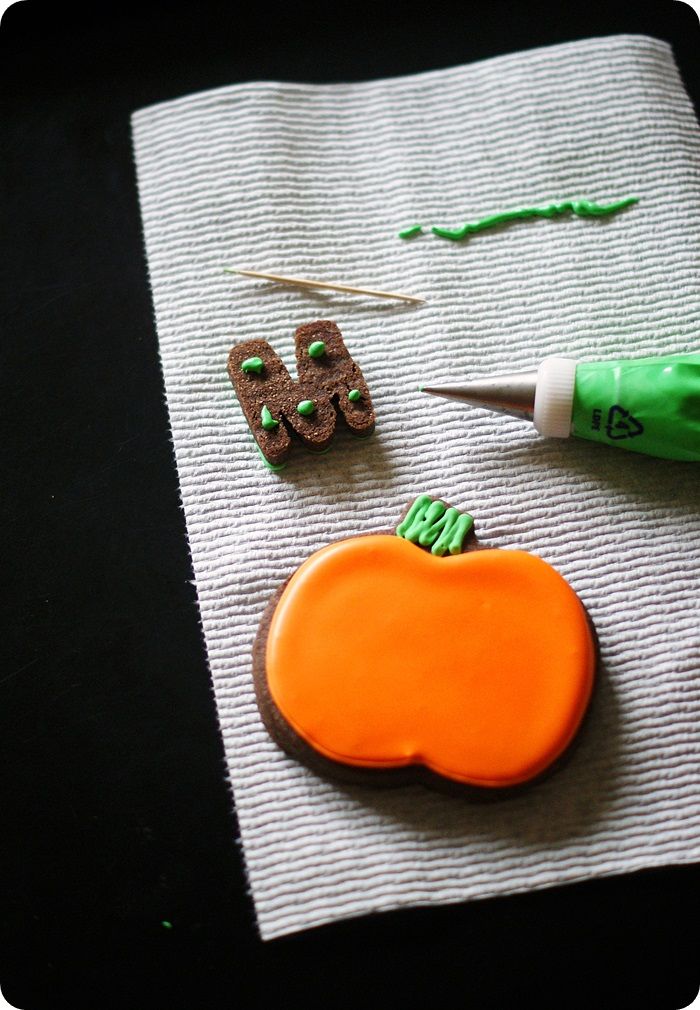
How about a DOUBLE-DECKER, polka dot, monogrammed pumpkin cookie?
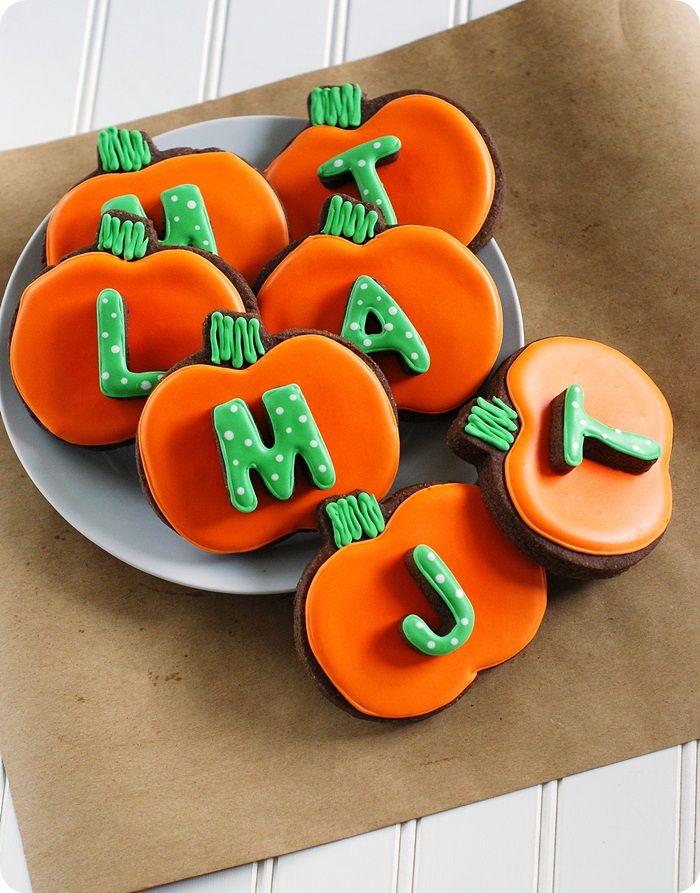
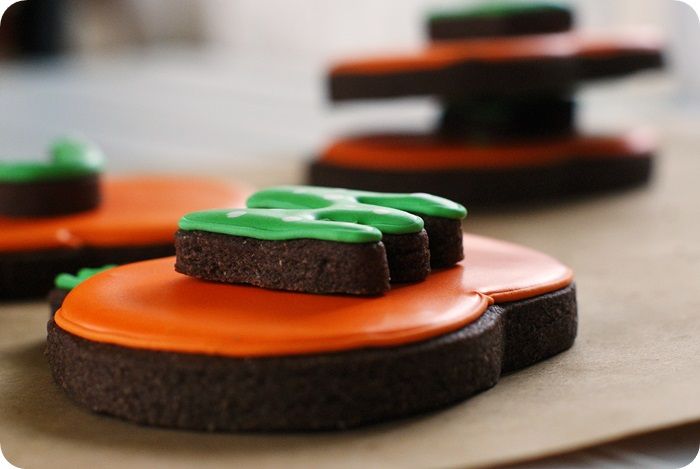
Let me show you how to make them. They're perfect for class parties or sharing with the neighbors!
To make monogrammed pumpkins, you'll need:
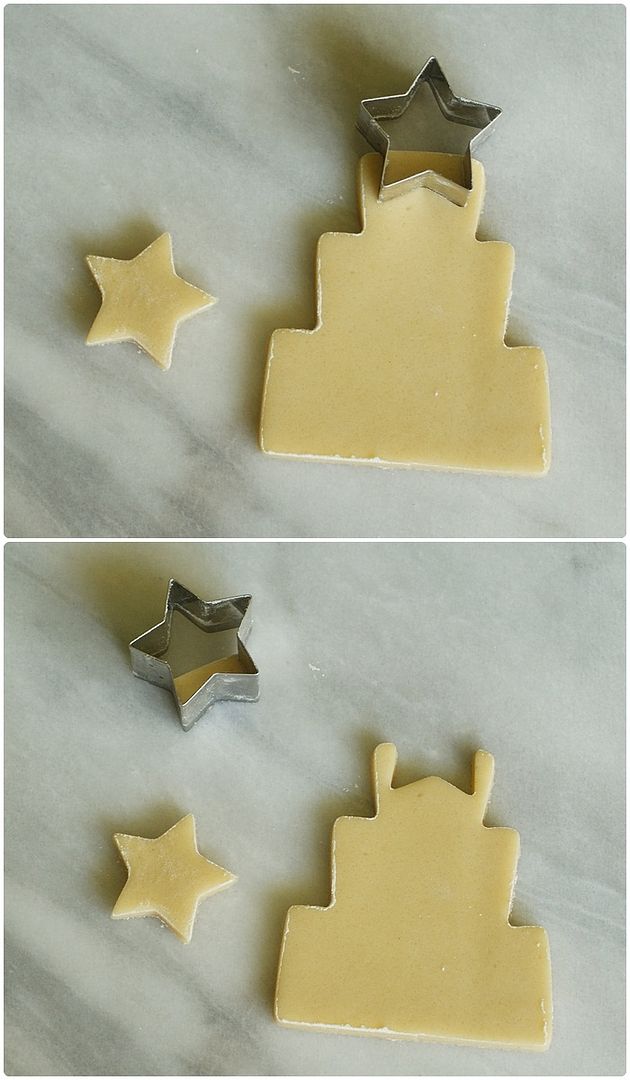
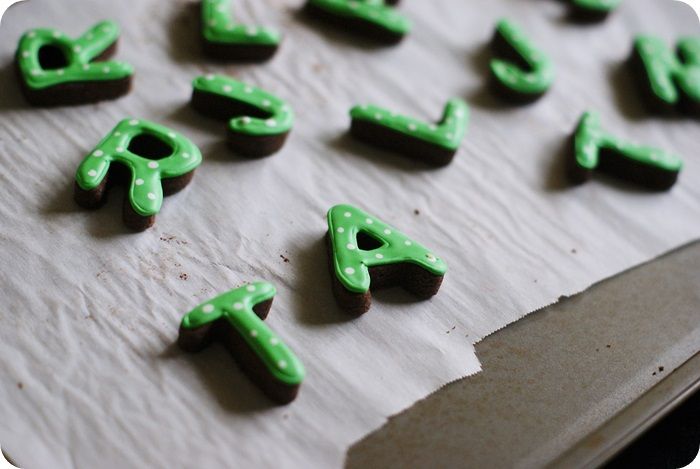
- cut-out cookies cut with a pumpkin cookie cutter and alphabet cookie cutters (I used chocolate cut-out cookies, but you could use any of the cut-out recipes listed here.)
- royal icing, divided and tinted with AmeriColor Orange, Leaf Green and Bright White
- disposable icing bags
- coupler and tips: #2
- squeeze bottles
- toothpicks
- small ramekin
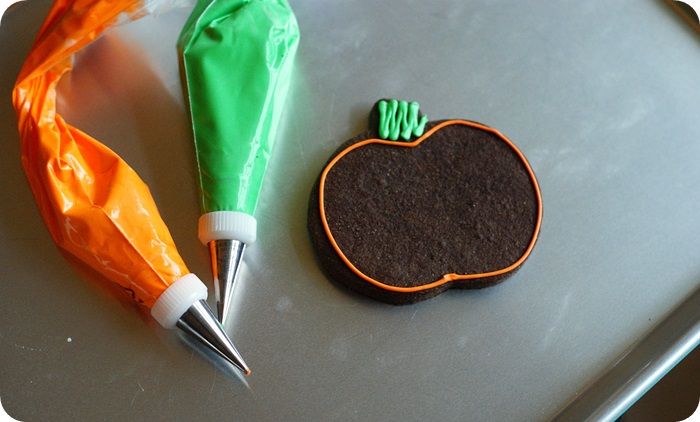
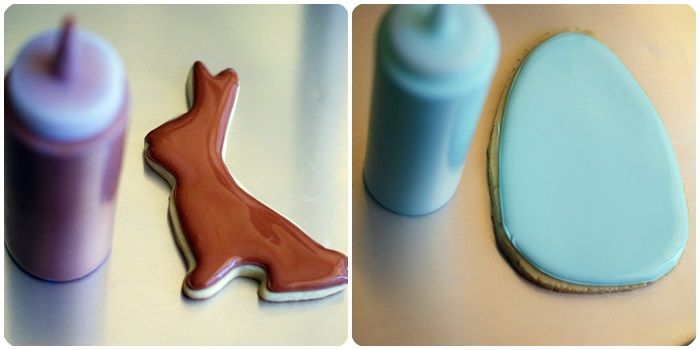
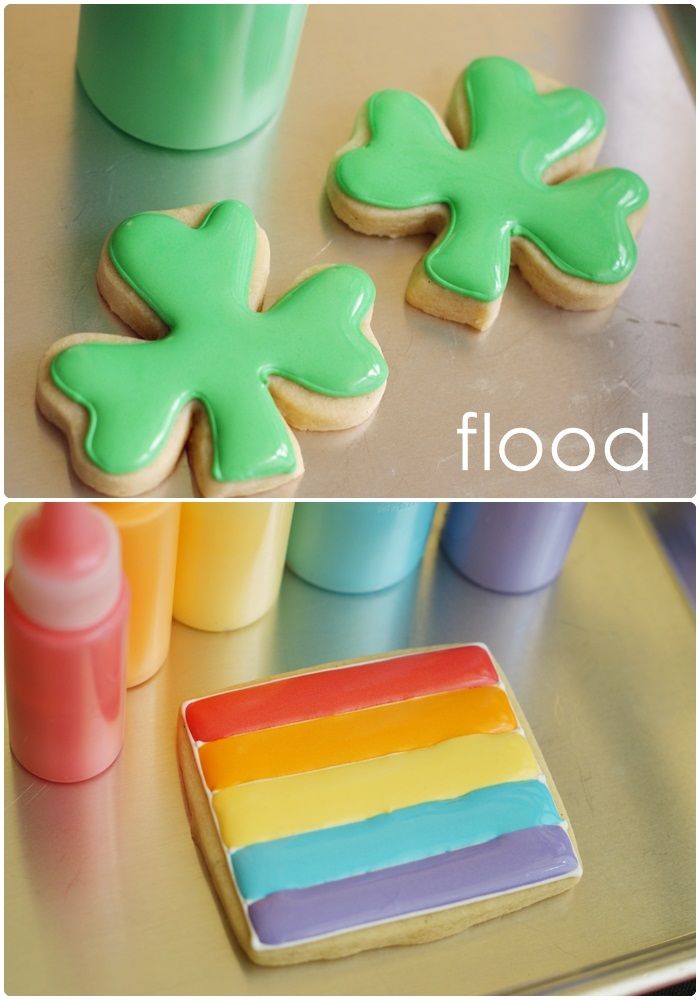
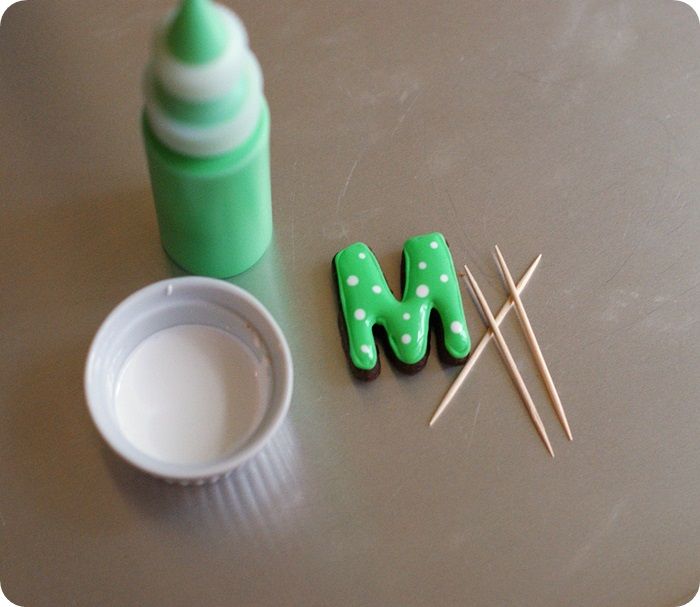
Thin the orange, green and white with water, a bit at a time, stirring with a silicone spatula, until it is the consistency of a thick syrup. (Reserve some of the piping consistency green icing for attaching the cookies later.) You'll want to drop a "ribbon" of icing back into the bowl and have it disappear in a count of "one thousand one, one thousand two." Four is too thick, one is too thin. Count of 2-3 is good. Cover with a damp dishcloth and let sit for several minutes.
Stir gently with a silicone spatula to pop and large air bubbles that have formed. Pour into squeeze bottles as needed.
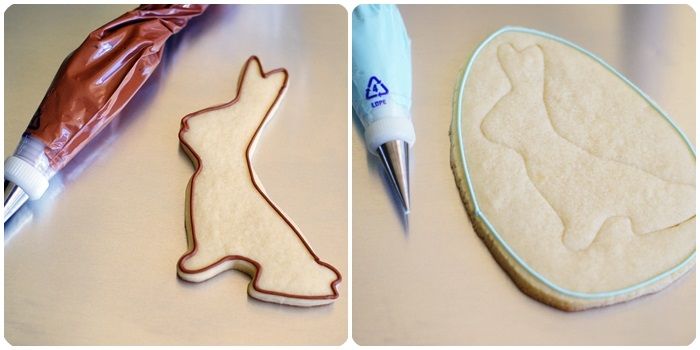
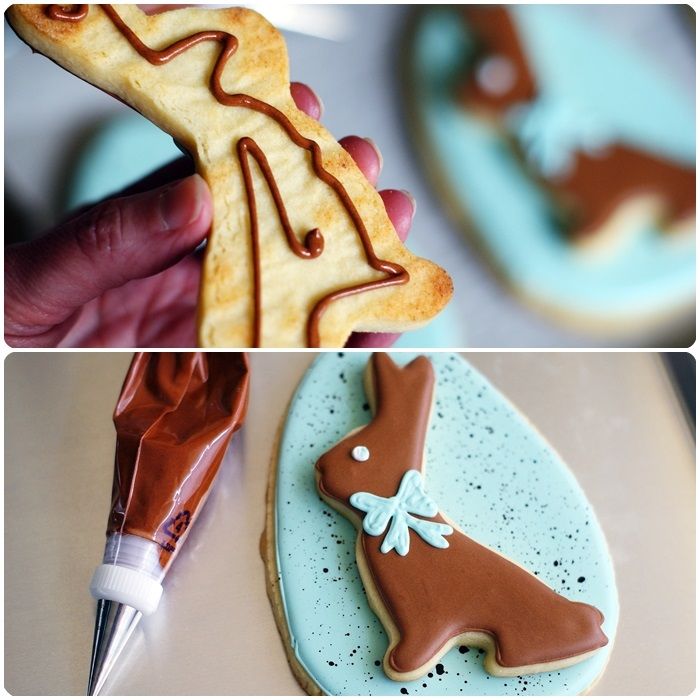
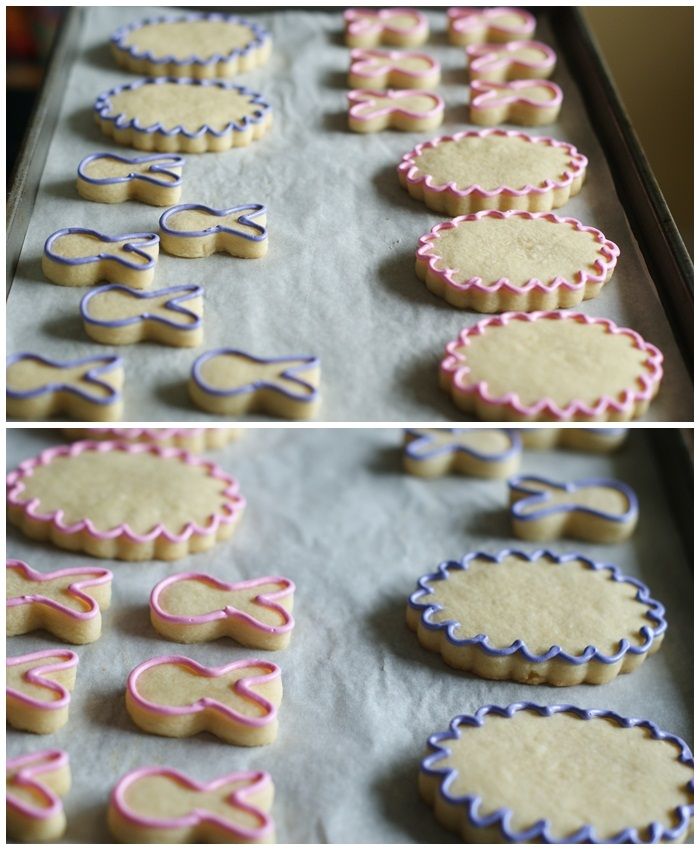
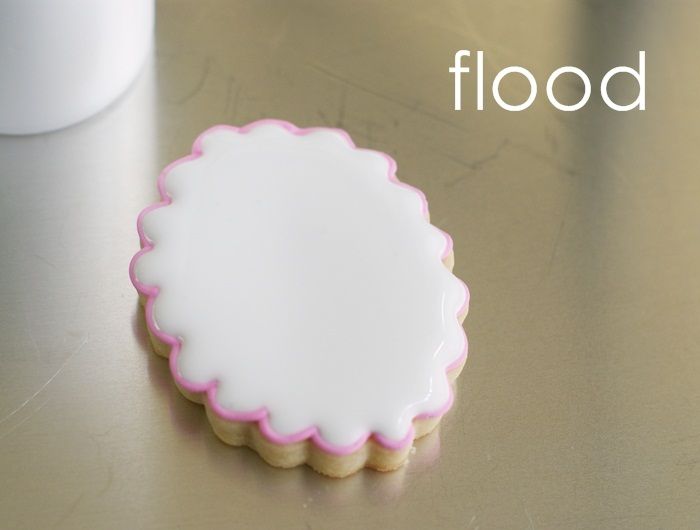
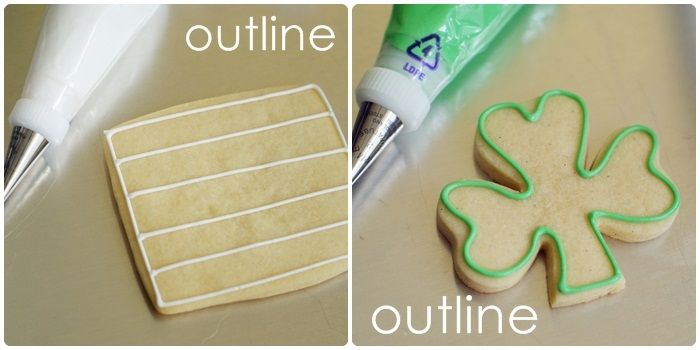
Fill in the outlines with the thinned icing, using a toothpick to guide to the edges and to pop large air bubbles.
Let the cookies dry uncovered, 6-8 hours, or overnight.
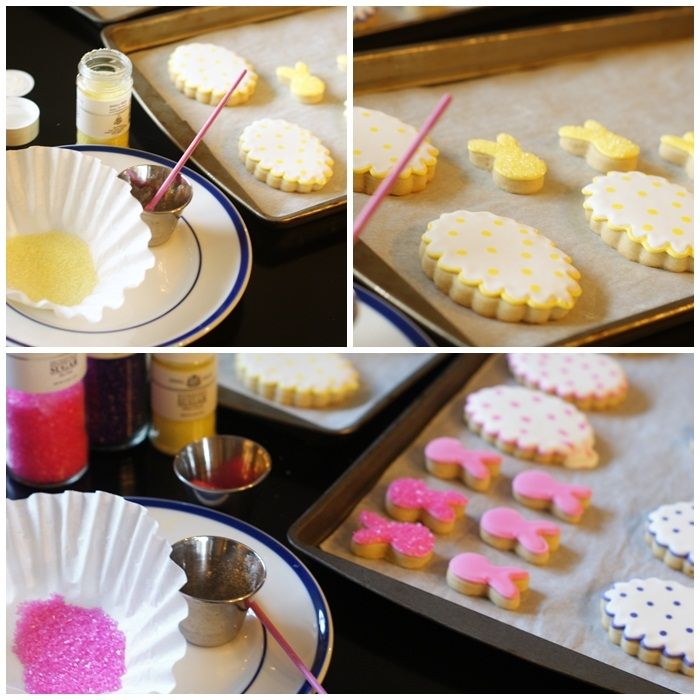
Here are the letters drying in the dehydrator...
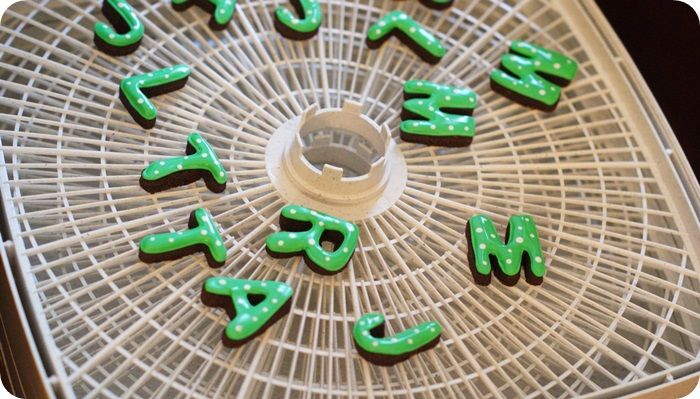
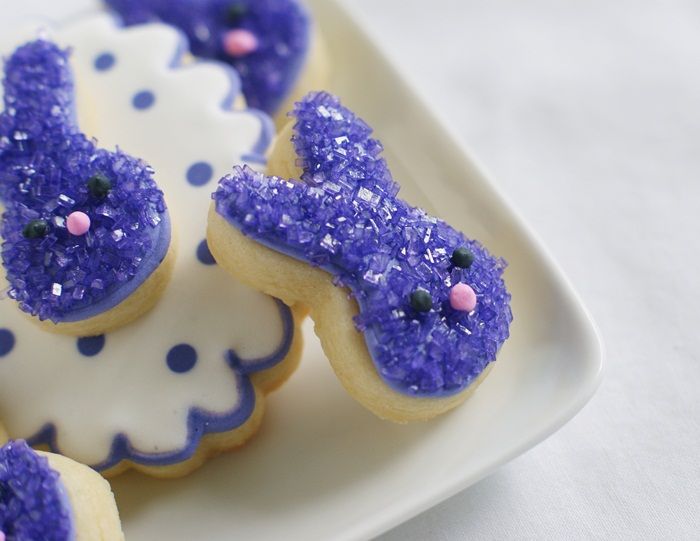
Aren't they cute??!
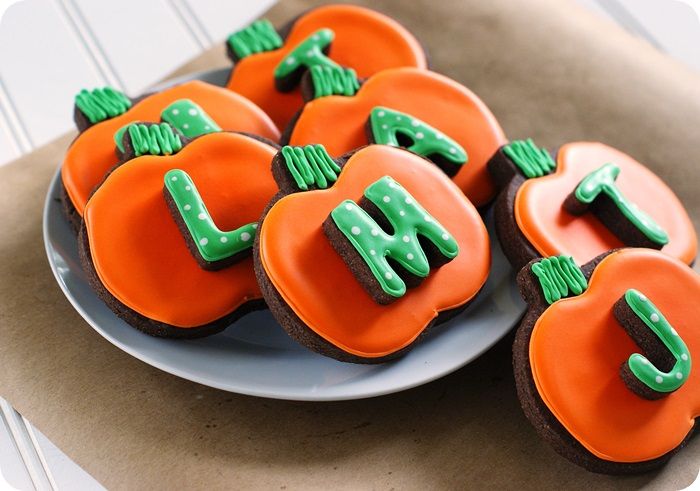
These were so much fun to make. I hope you'll try them at home, too.
Labels: double-decker, fall, halloween, monograms
posted by Unknown @ 7:27 PM
0 Comments
![]()